Beloved, I pray that all may go well with you and that you may be in good health, as it goes well with your soul. ~3 John 1:2
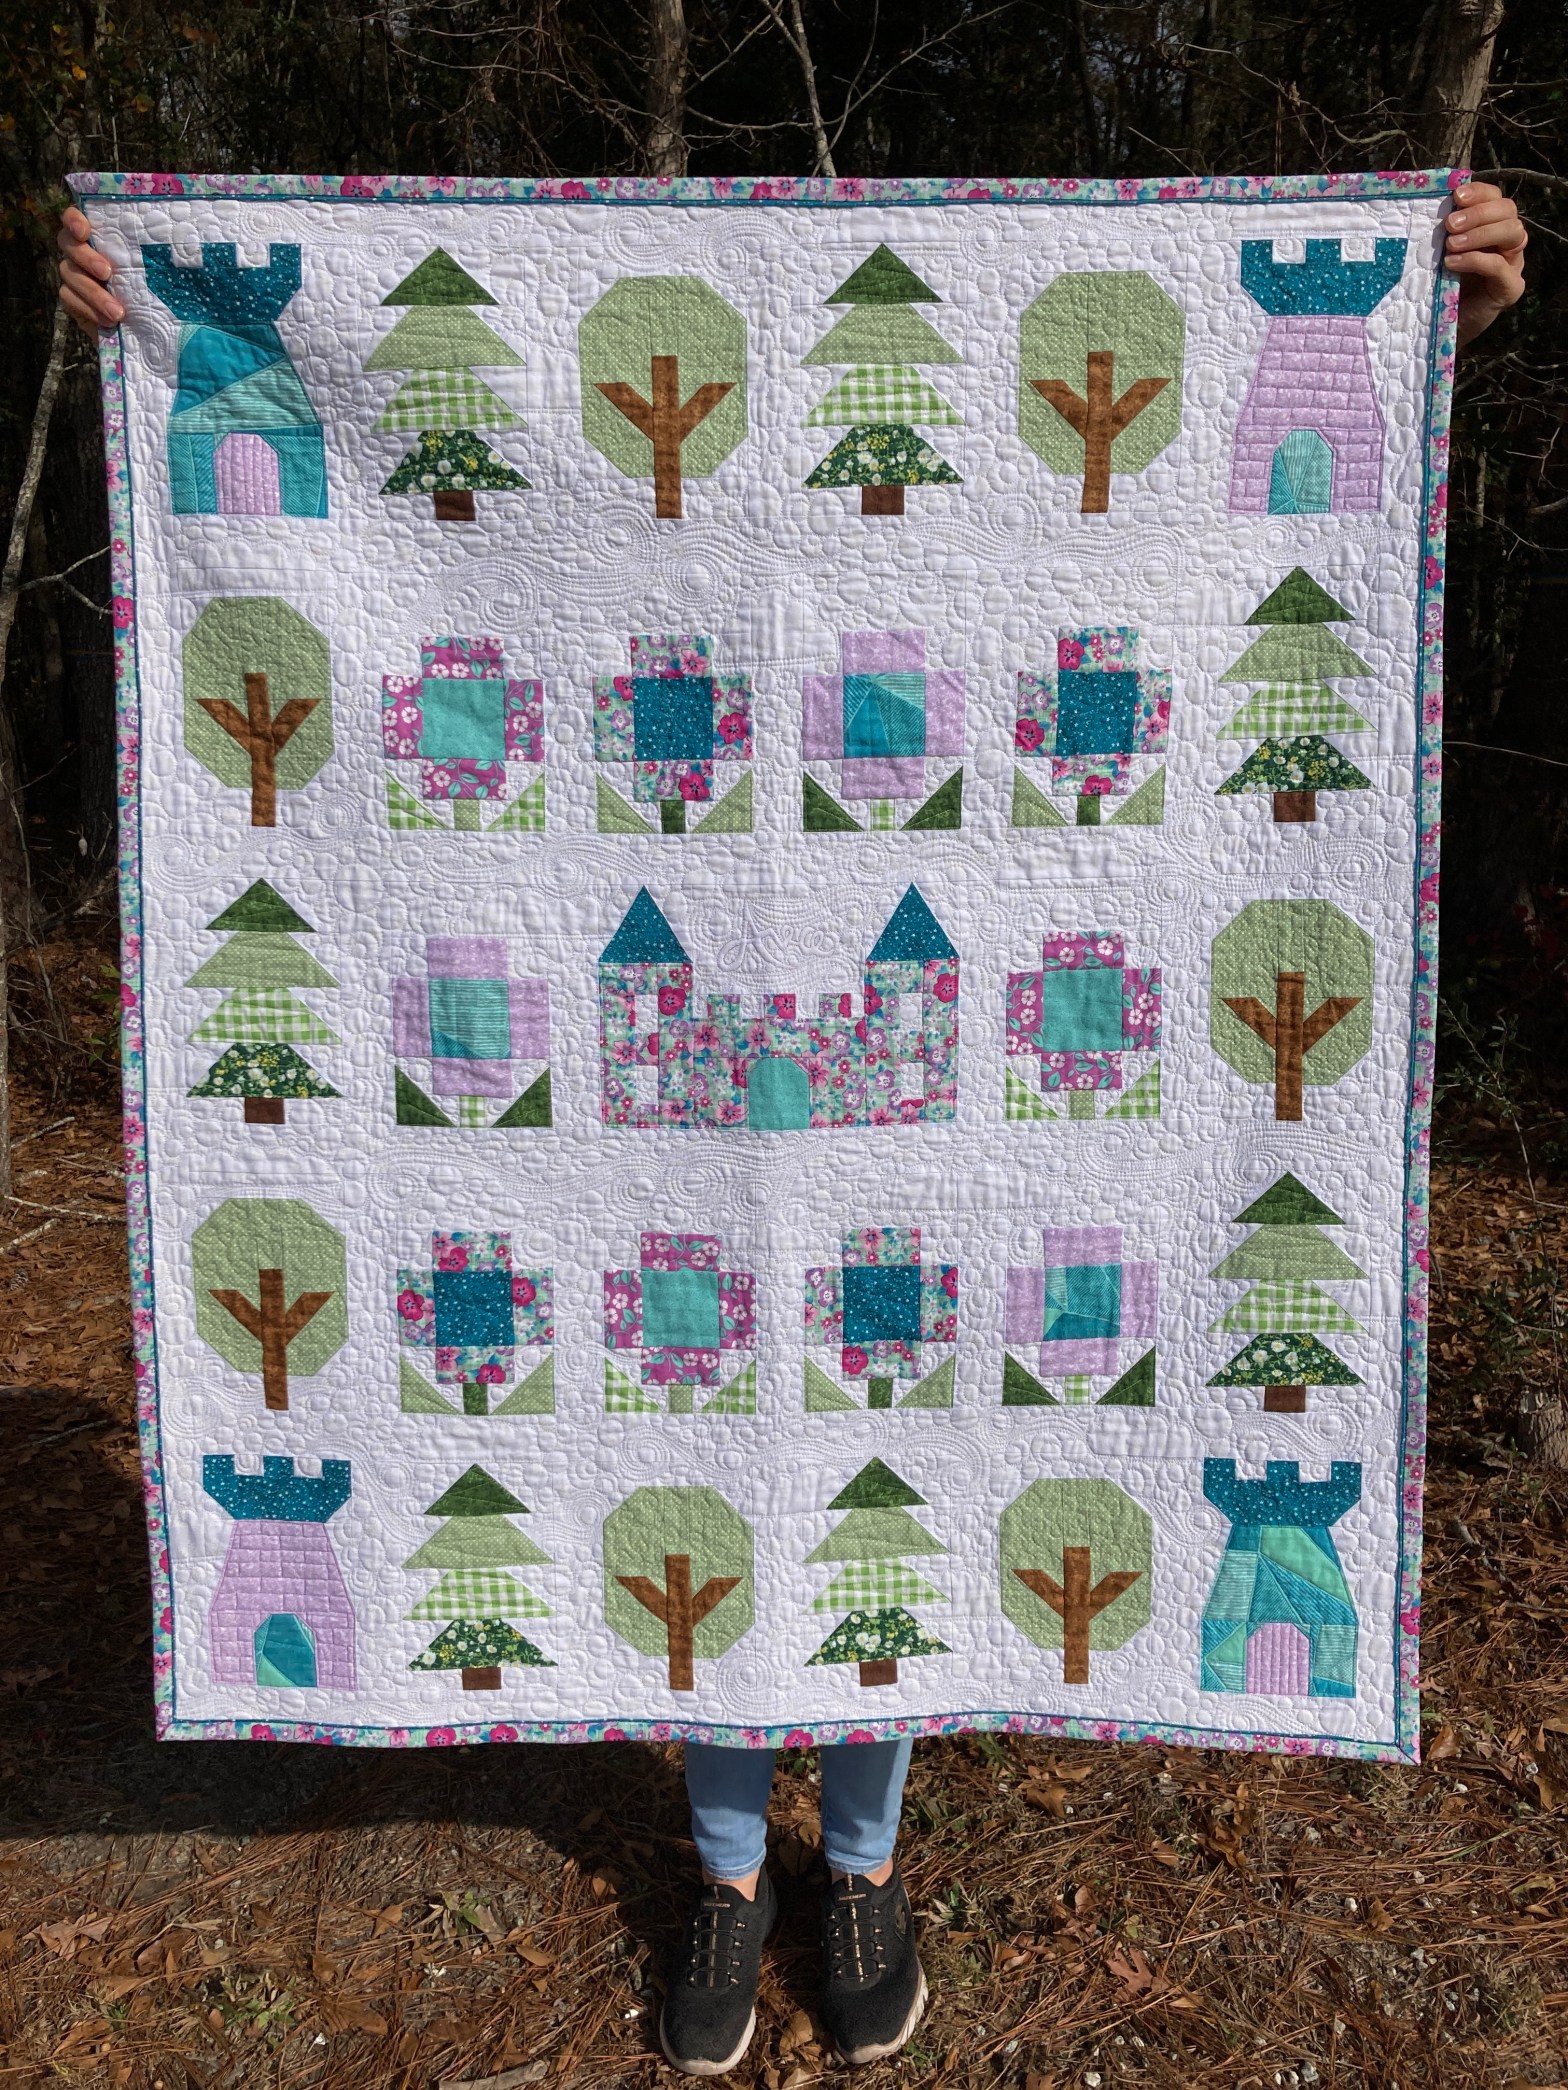
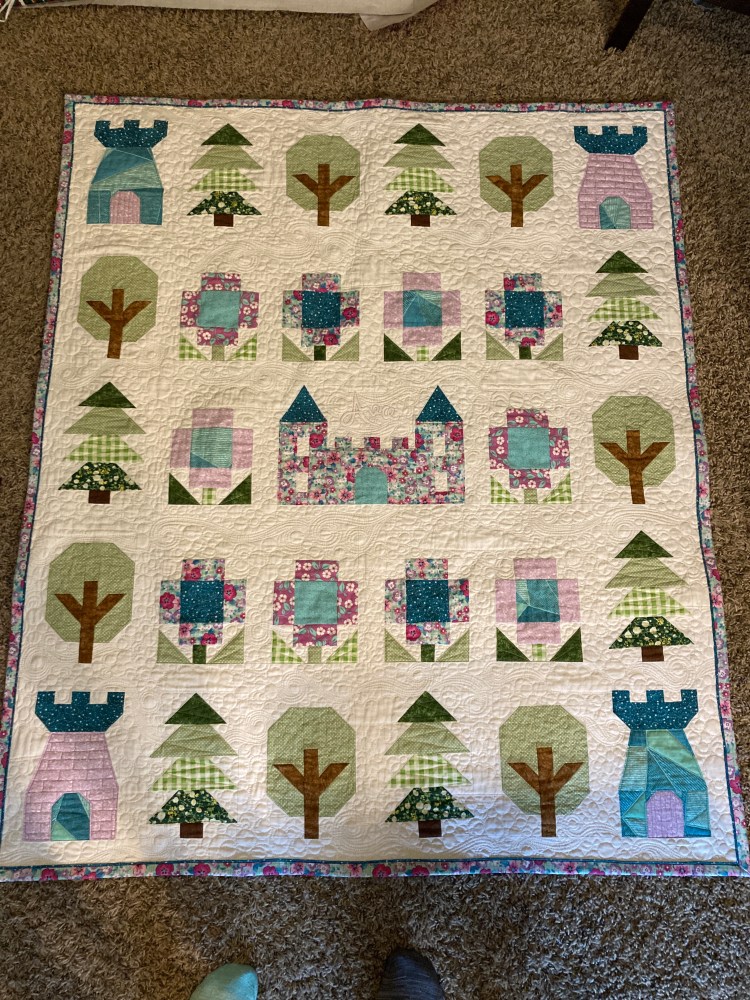
I hope everyone had a very Merry Christmas and a happy New Year! My mom gave me a countdown to Christmas box with all things sewing related for Christmas. There was an adorable kitchen towel that said, “A clean kitchen is a sign of a broken sewing machine.” I should make one for myself that says “A new blog post is a sign of a broken sewing machine:) It has been so long since I have written a blog post, so I am very excited to share the project I finished in December! This quilt is called “Little Kingdom” by Astrid at Apples and Beavers. It utilized blocks from two different patterns and was so much fun to make! I made this quilt for a church friend who just had a baby this November. I hope that baby Ava will enjoy sleeping and playing with this fun and colorful quilt! Here is the journey of this quilt and some other recent projects! As always, would love to hear your comments or see pictures of projects you are working on!
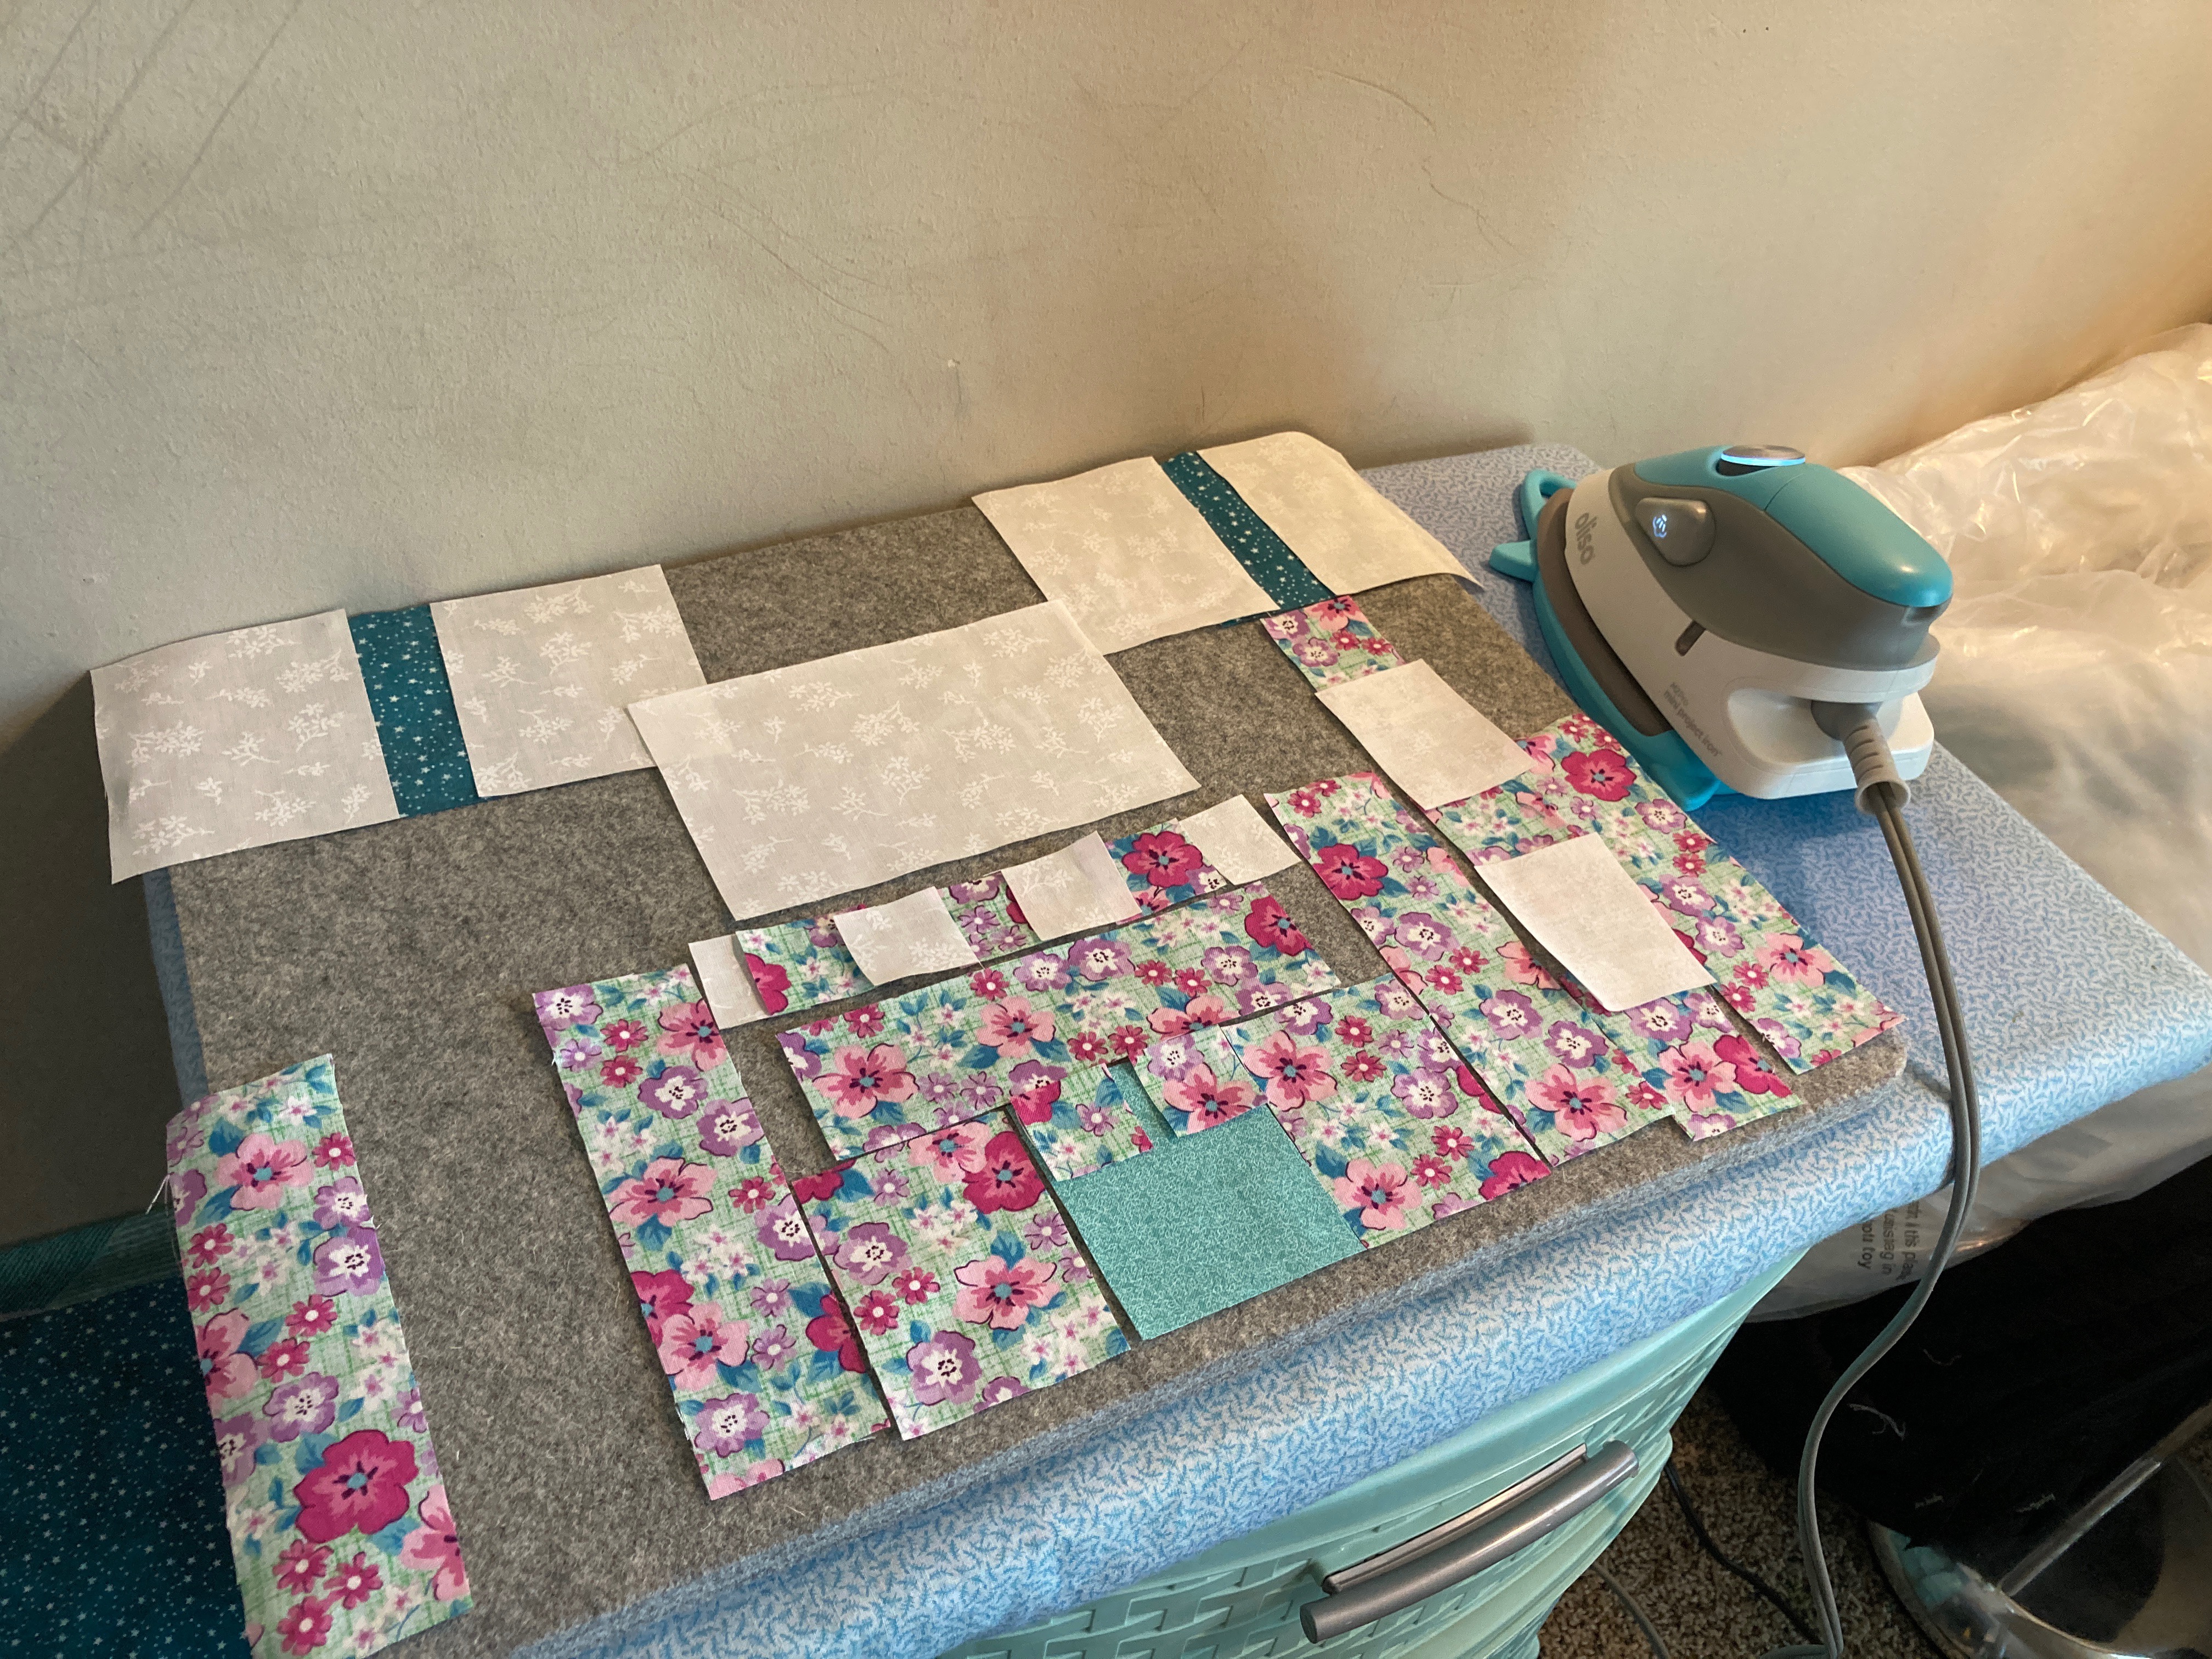
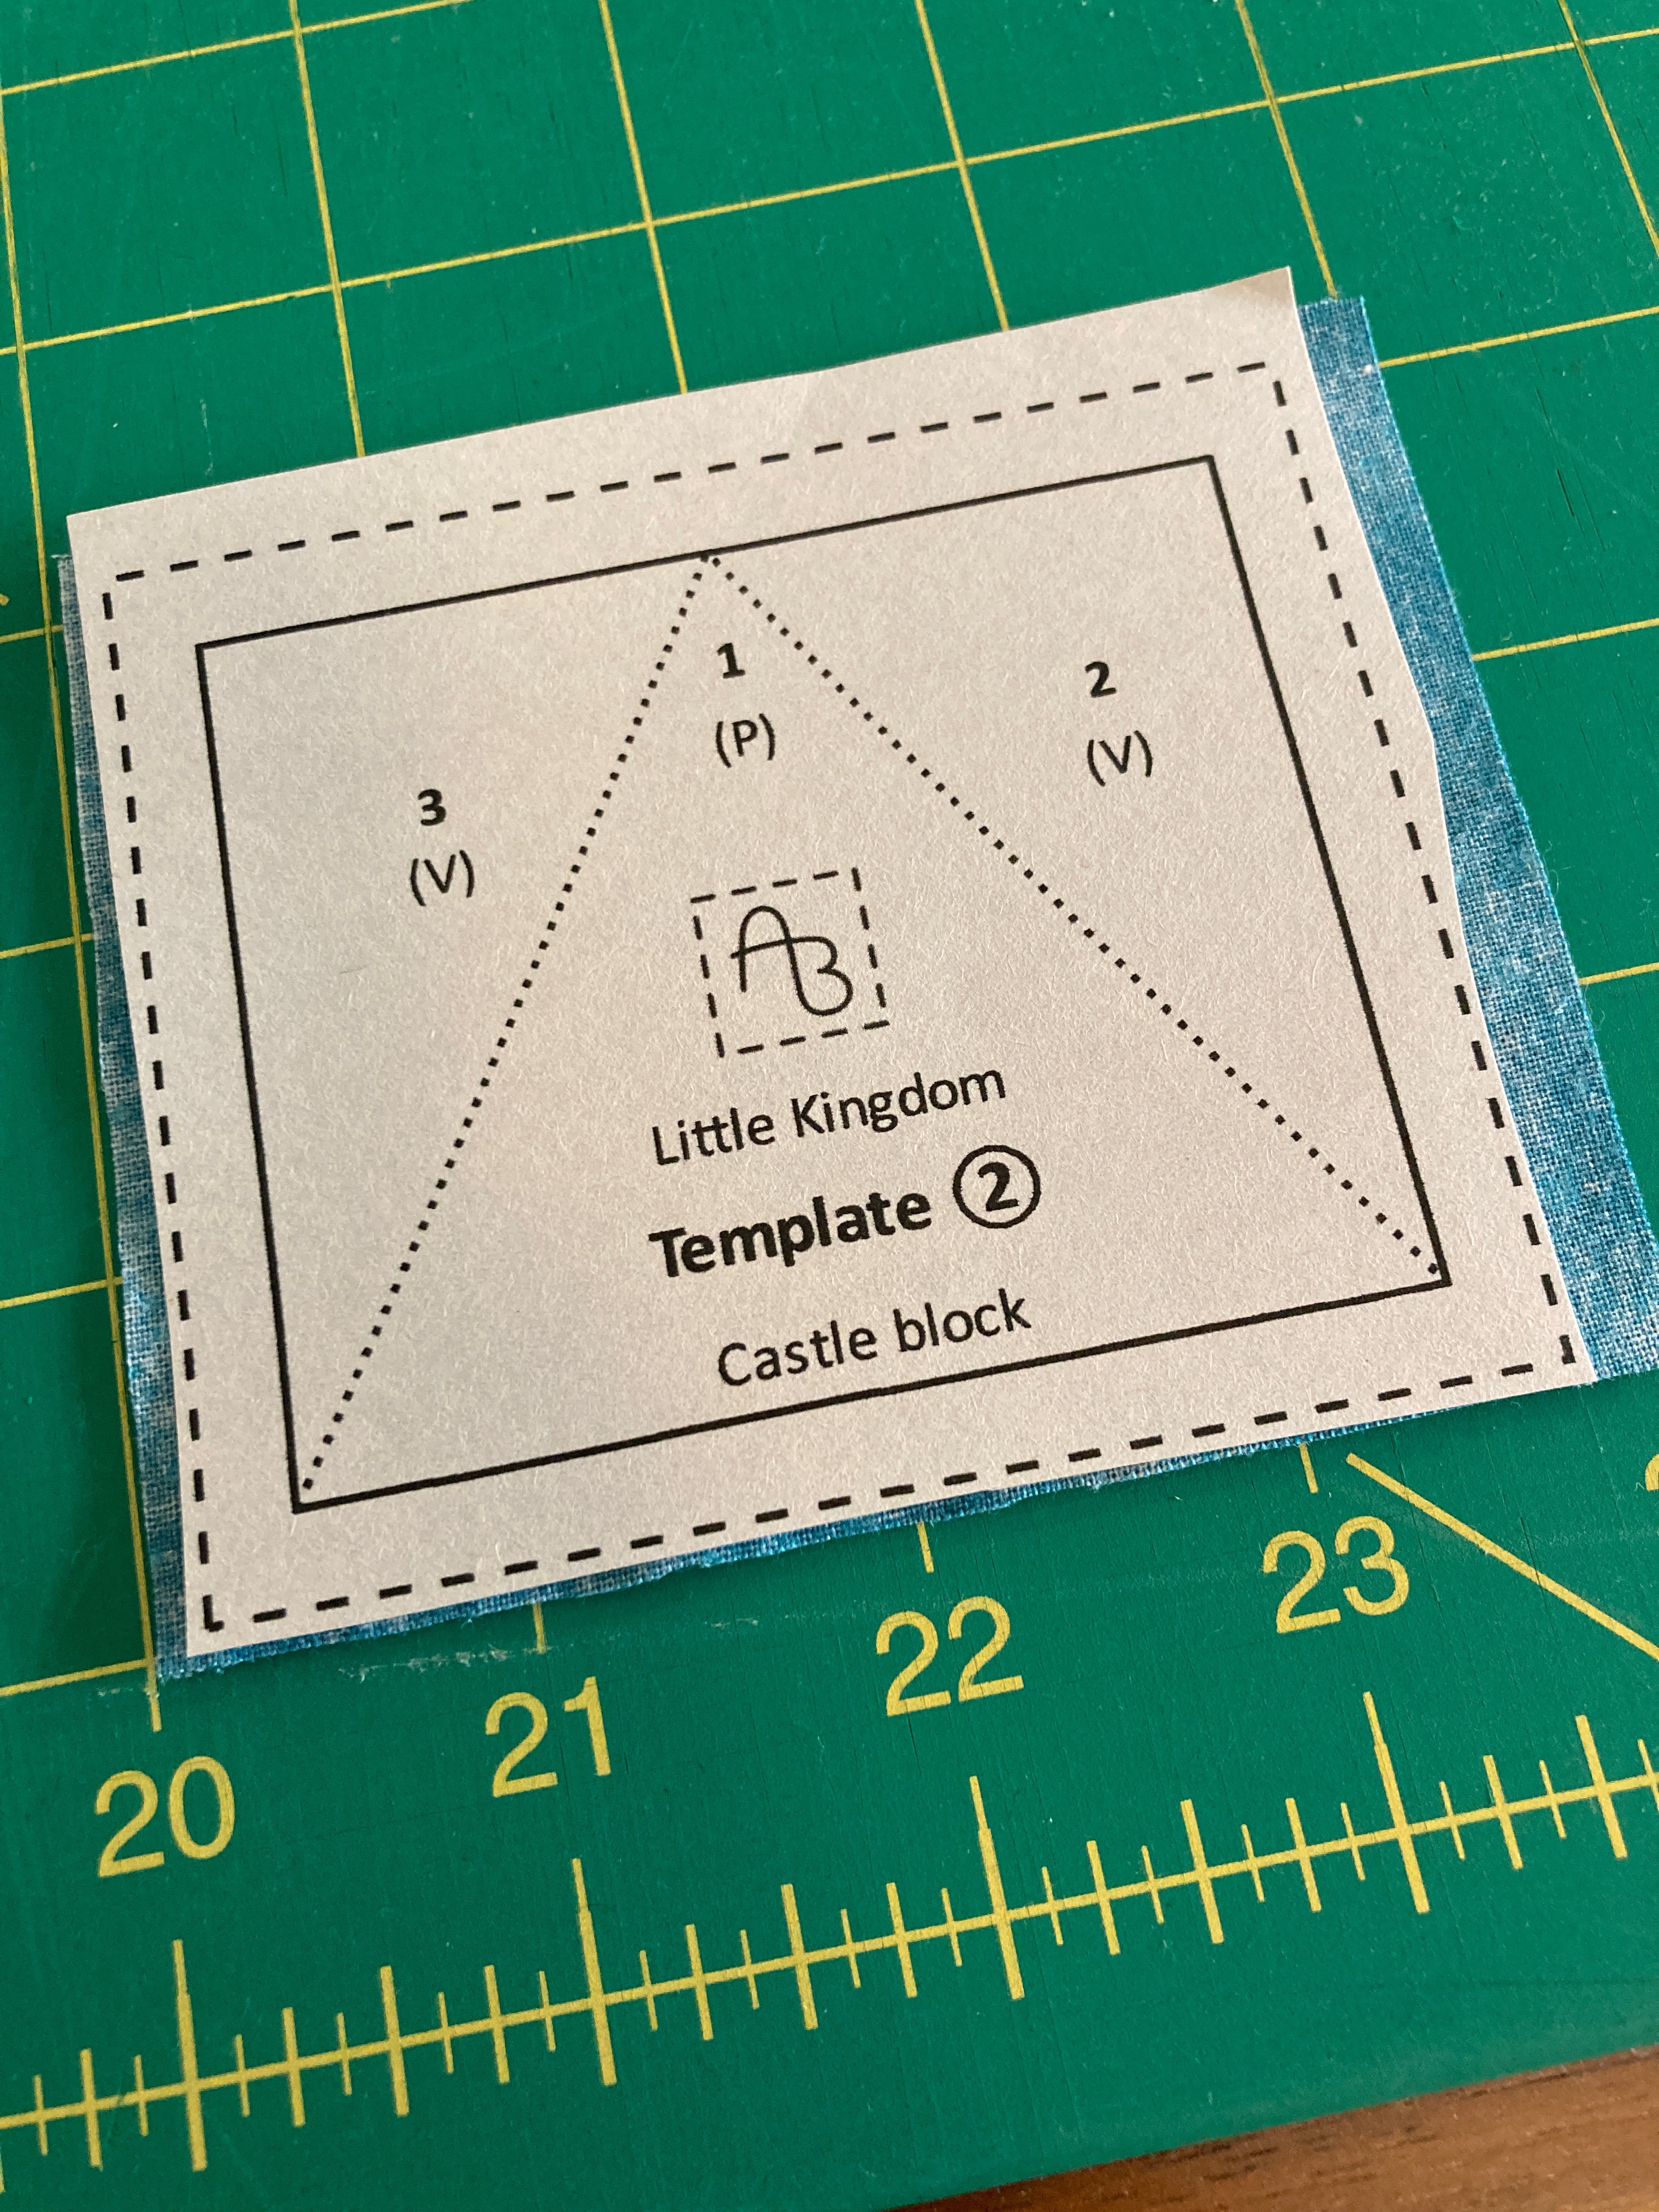
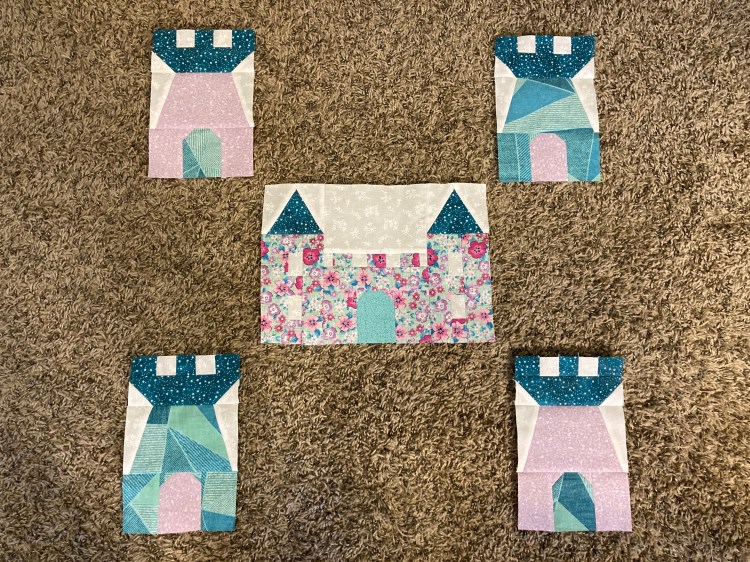
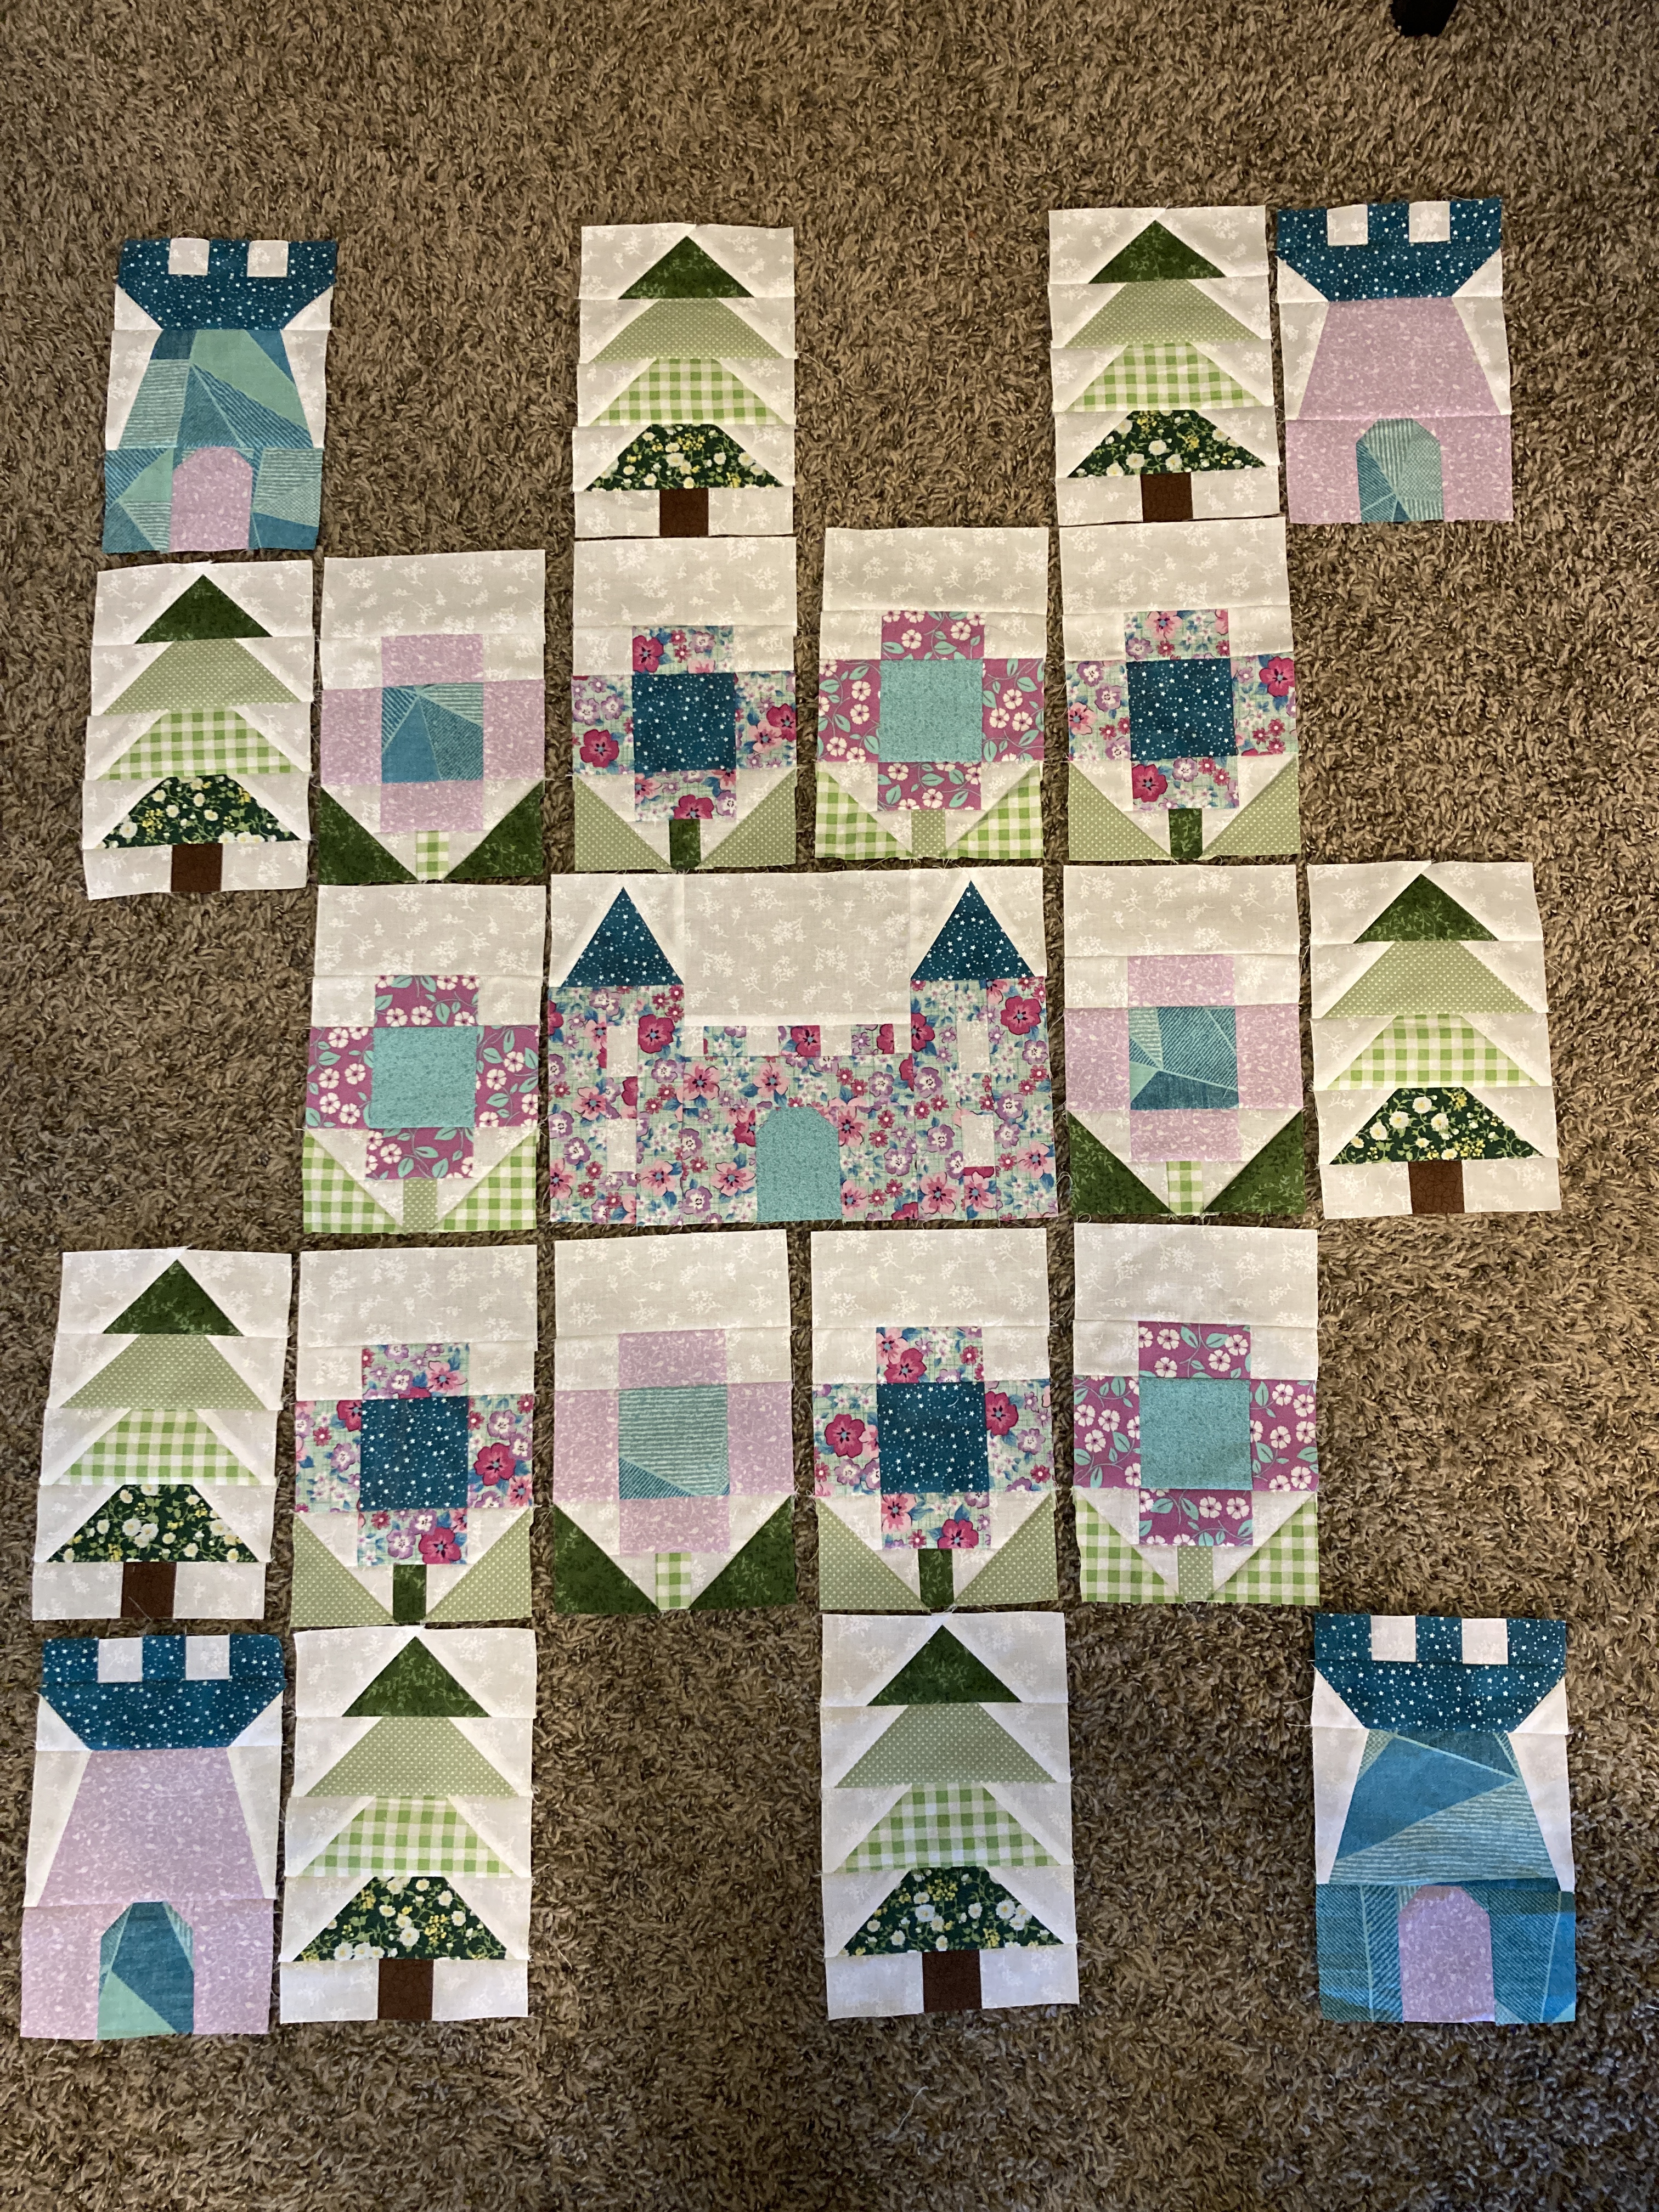
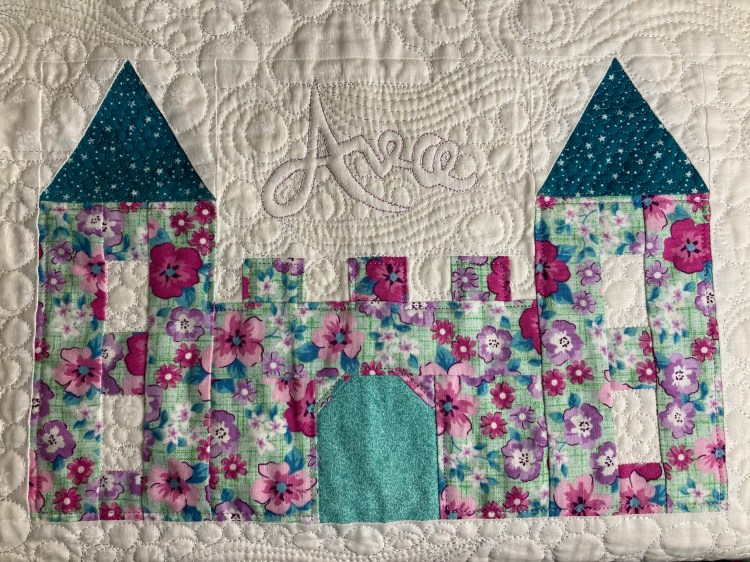
The main block of this quilt is the castle and the towers. Some paper piecing was involved with both patterns, but mostly piecing little blocks together.
I love the way paper piecing comes out exact and crisp. Unfortunately, most of my blocks I make don’t come out like that. For this quilt, I spent some time measuring and squaring my finished blocks. I ended up making them a little smaller than what the directions called for, so that all my blocks could be the same size.

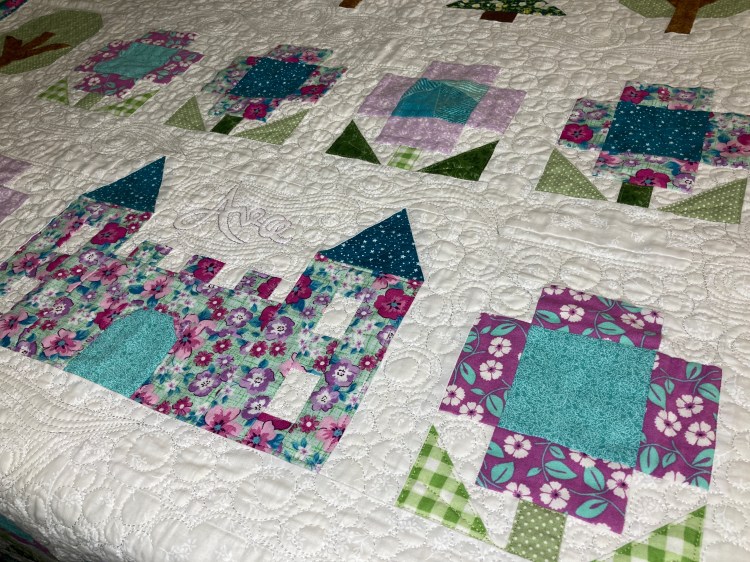
Trapunto Style Name
Below is the video I promised from my last post about how I achieved the baby name in the quilt. This one was not as effective, probably due to the thinner nature of the font; however, the technique is the same. This is the first time I have tried to make a tutorial video, so please provide feedback if you have any. I would love to know! I did not cover two things in the video: one, how I drew the name on the fabric and two, the final quilting of the name. I had a bad camera angle on my video of me drawing the name, so it was worthless to include (sorry!). However, all you really need to know is that the font can be pretty much anything you want, just must be thick (not single lines). You can even print out and trace a font you like from the computer if you are not comfortable free drawing. I used a water erasable marker. Lastly is the quilting after the entire quilt is pieced and backed. It is important that you re-trace the name to make the texture appear, and the closer you can get with your quilting design the better! If you have any questions, please reach out to me!
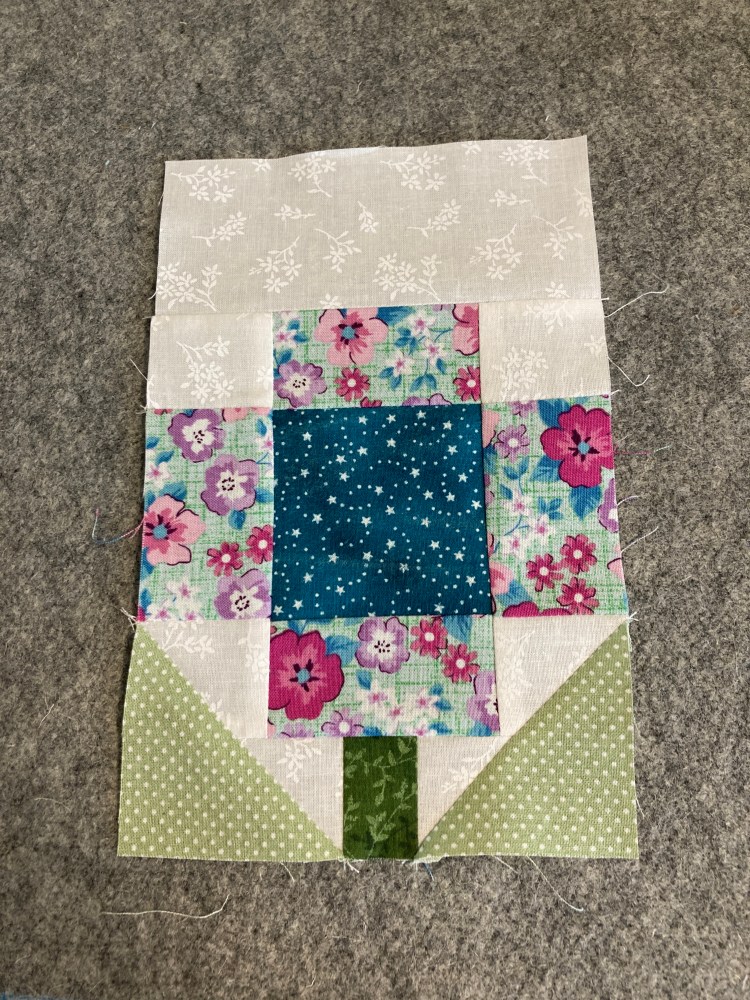
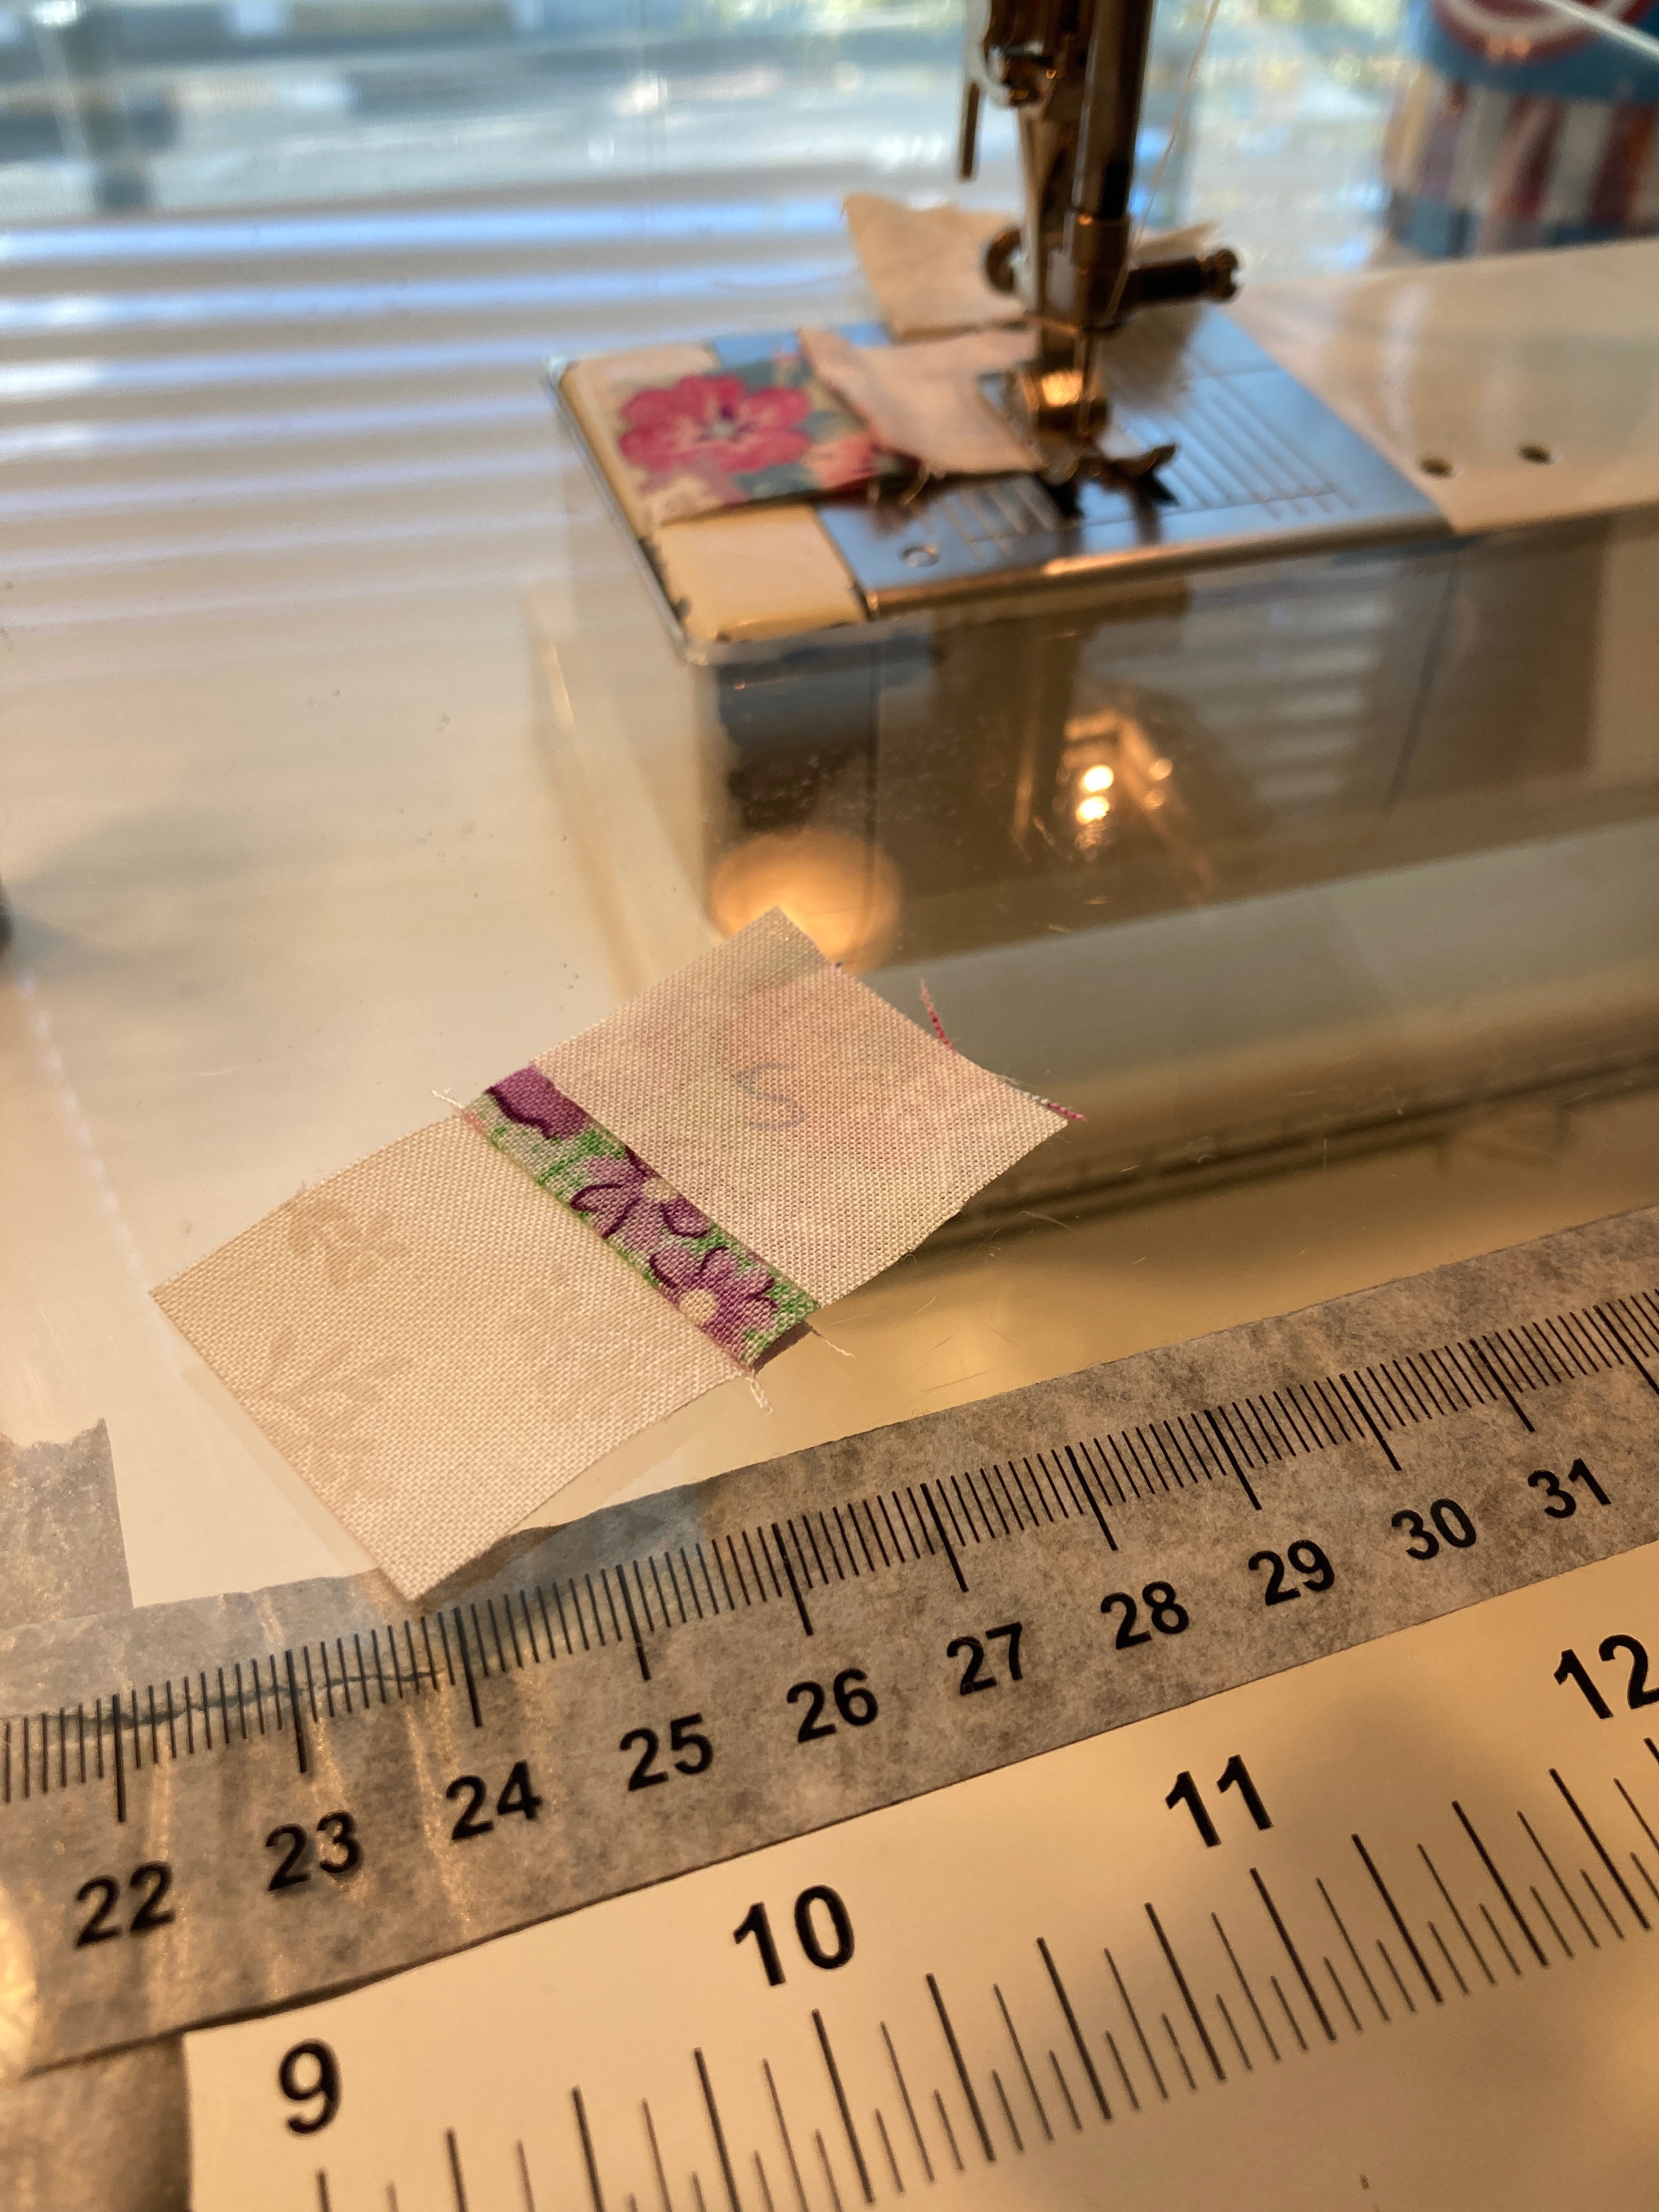
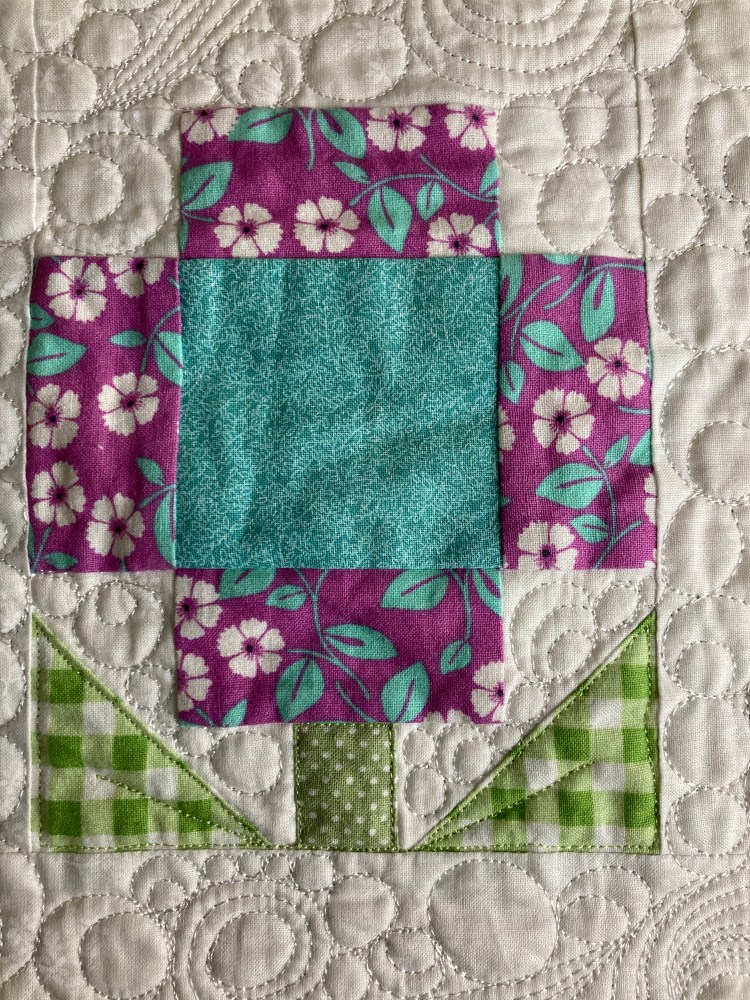
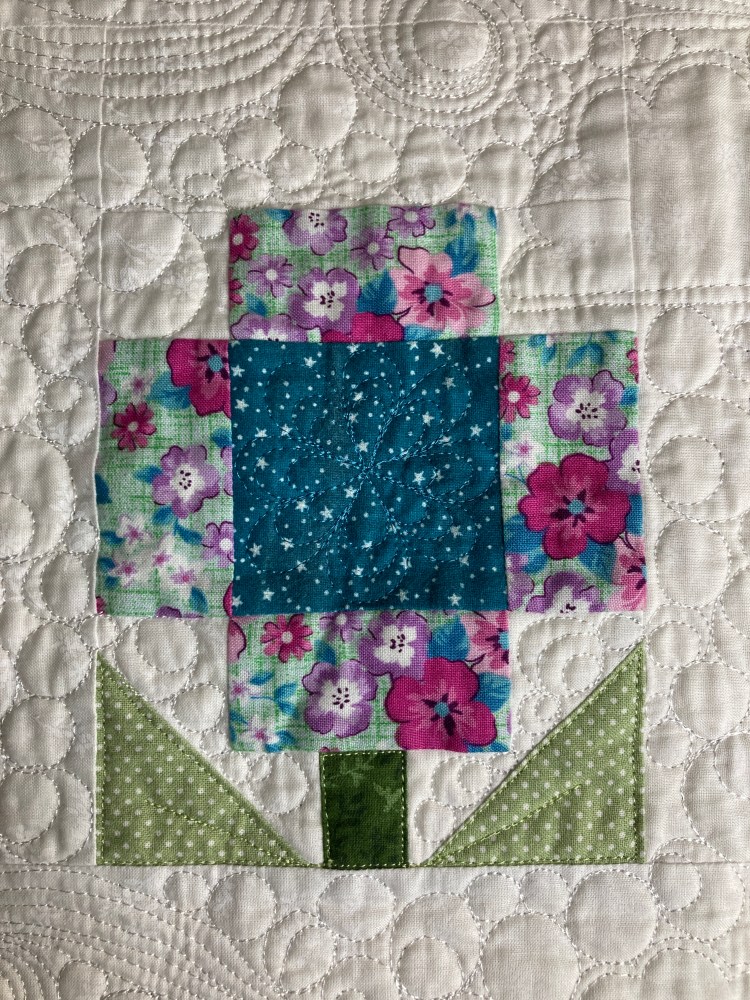
The next couple of blocks were these adorable and easy flower blocks!
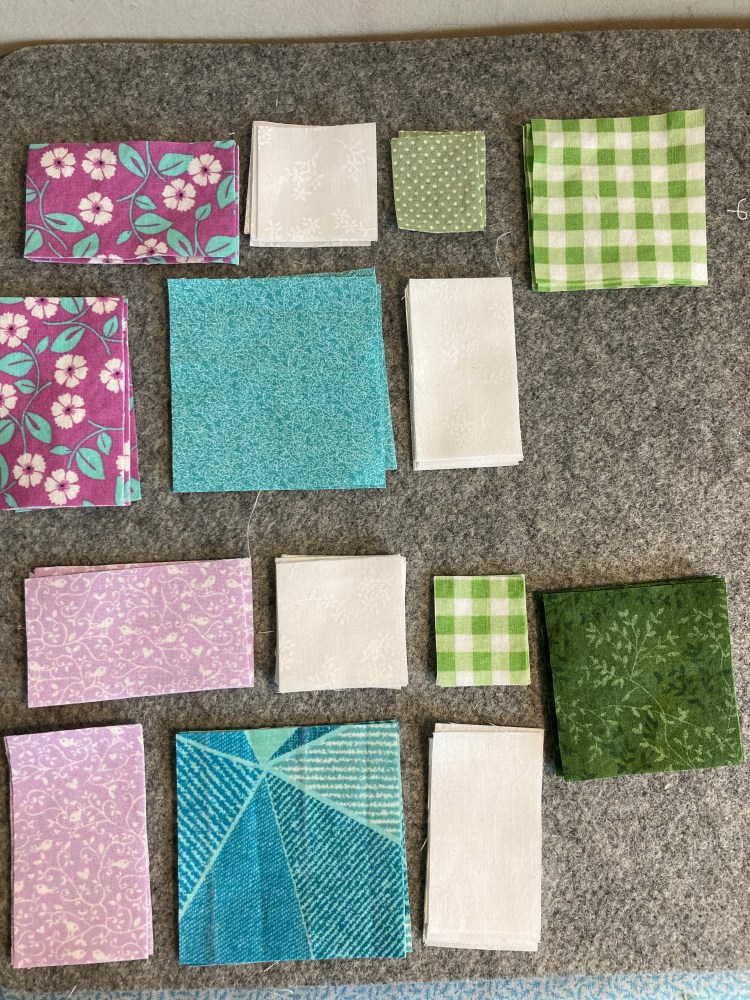
I chain pieced all the flowers together after I cut out all the fabric I needed.
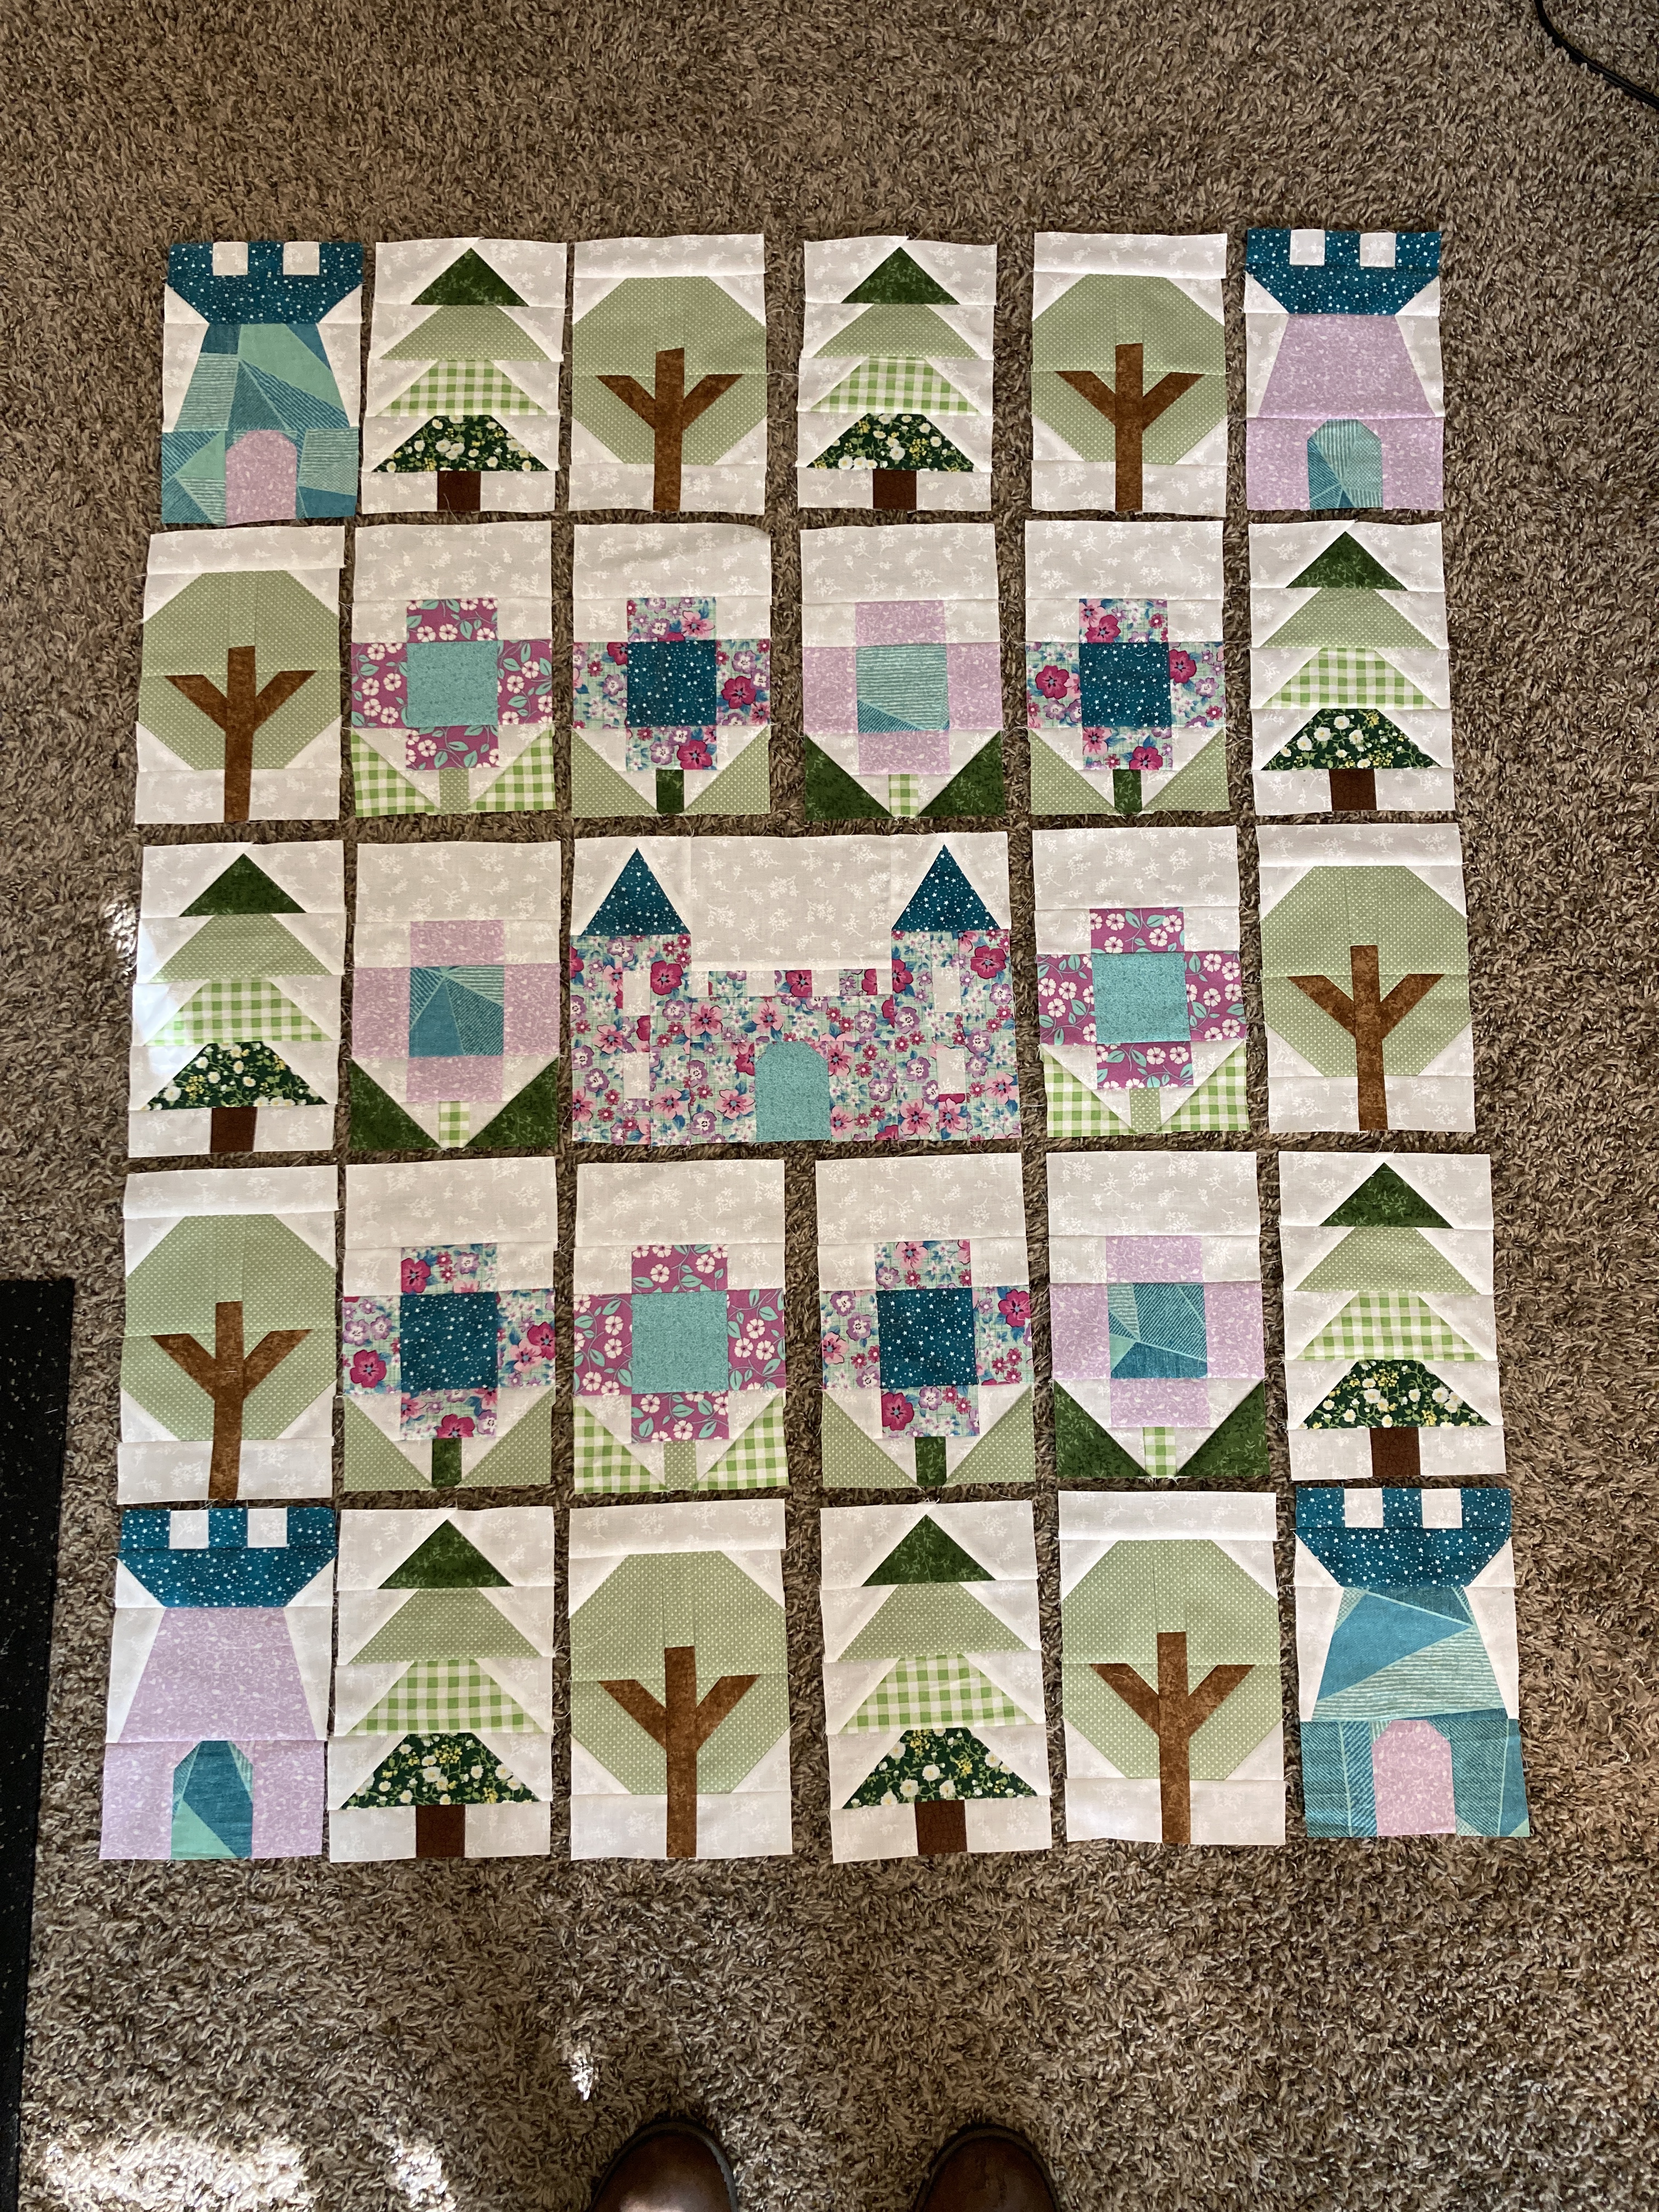
This quilt proved an interesting challenge. I had baby Ava’s mom pick out the fabric for the quilt before I planned out the whole quilt colors. Incorporating all the fabric she picked into the quilt was a balancing act between colors, symmetry, and contrasts. When she was picking out the colors, I told her not to worry if she thought two fabrics did not work perfectly together. I personally do not like the two floral fabrics together; however, separating them into different flowers worked beautifully!
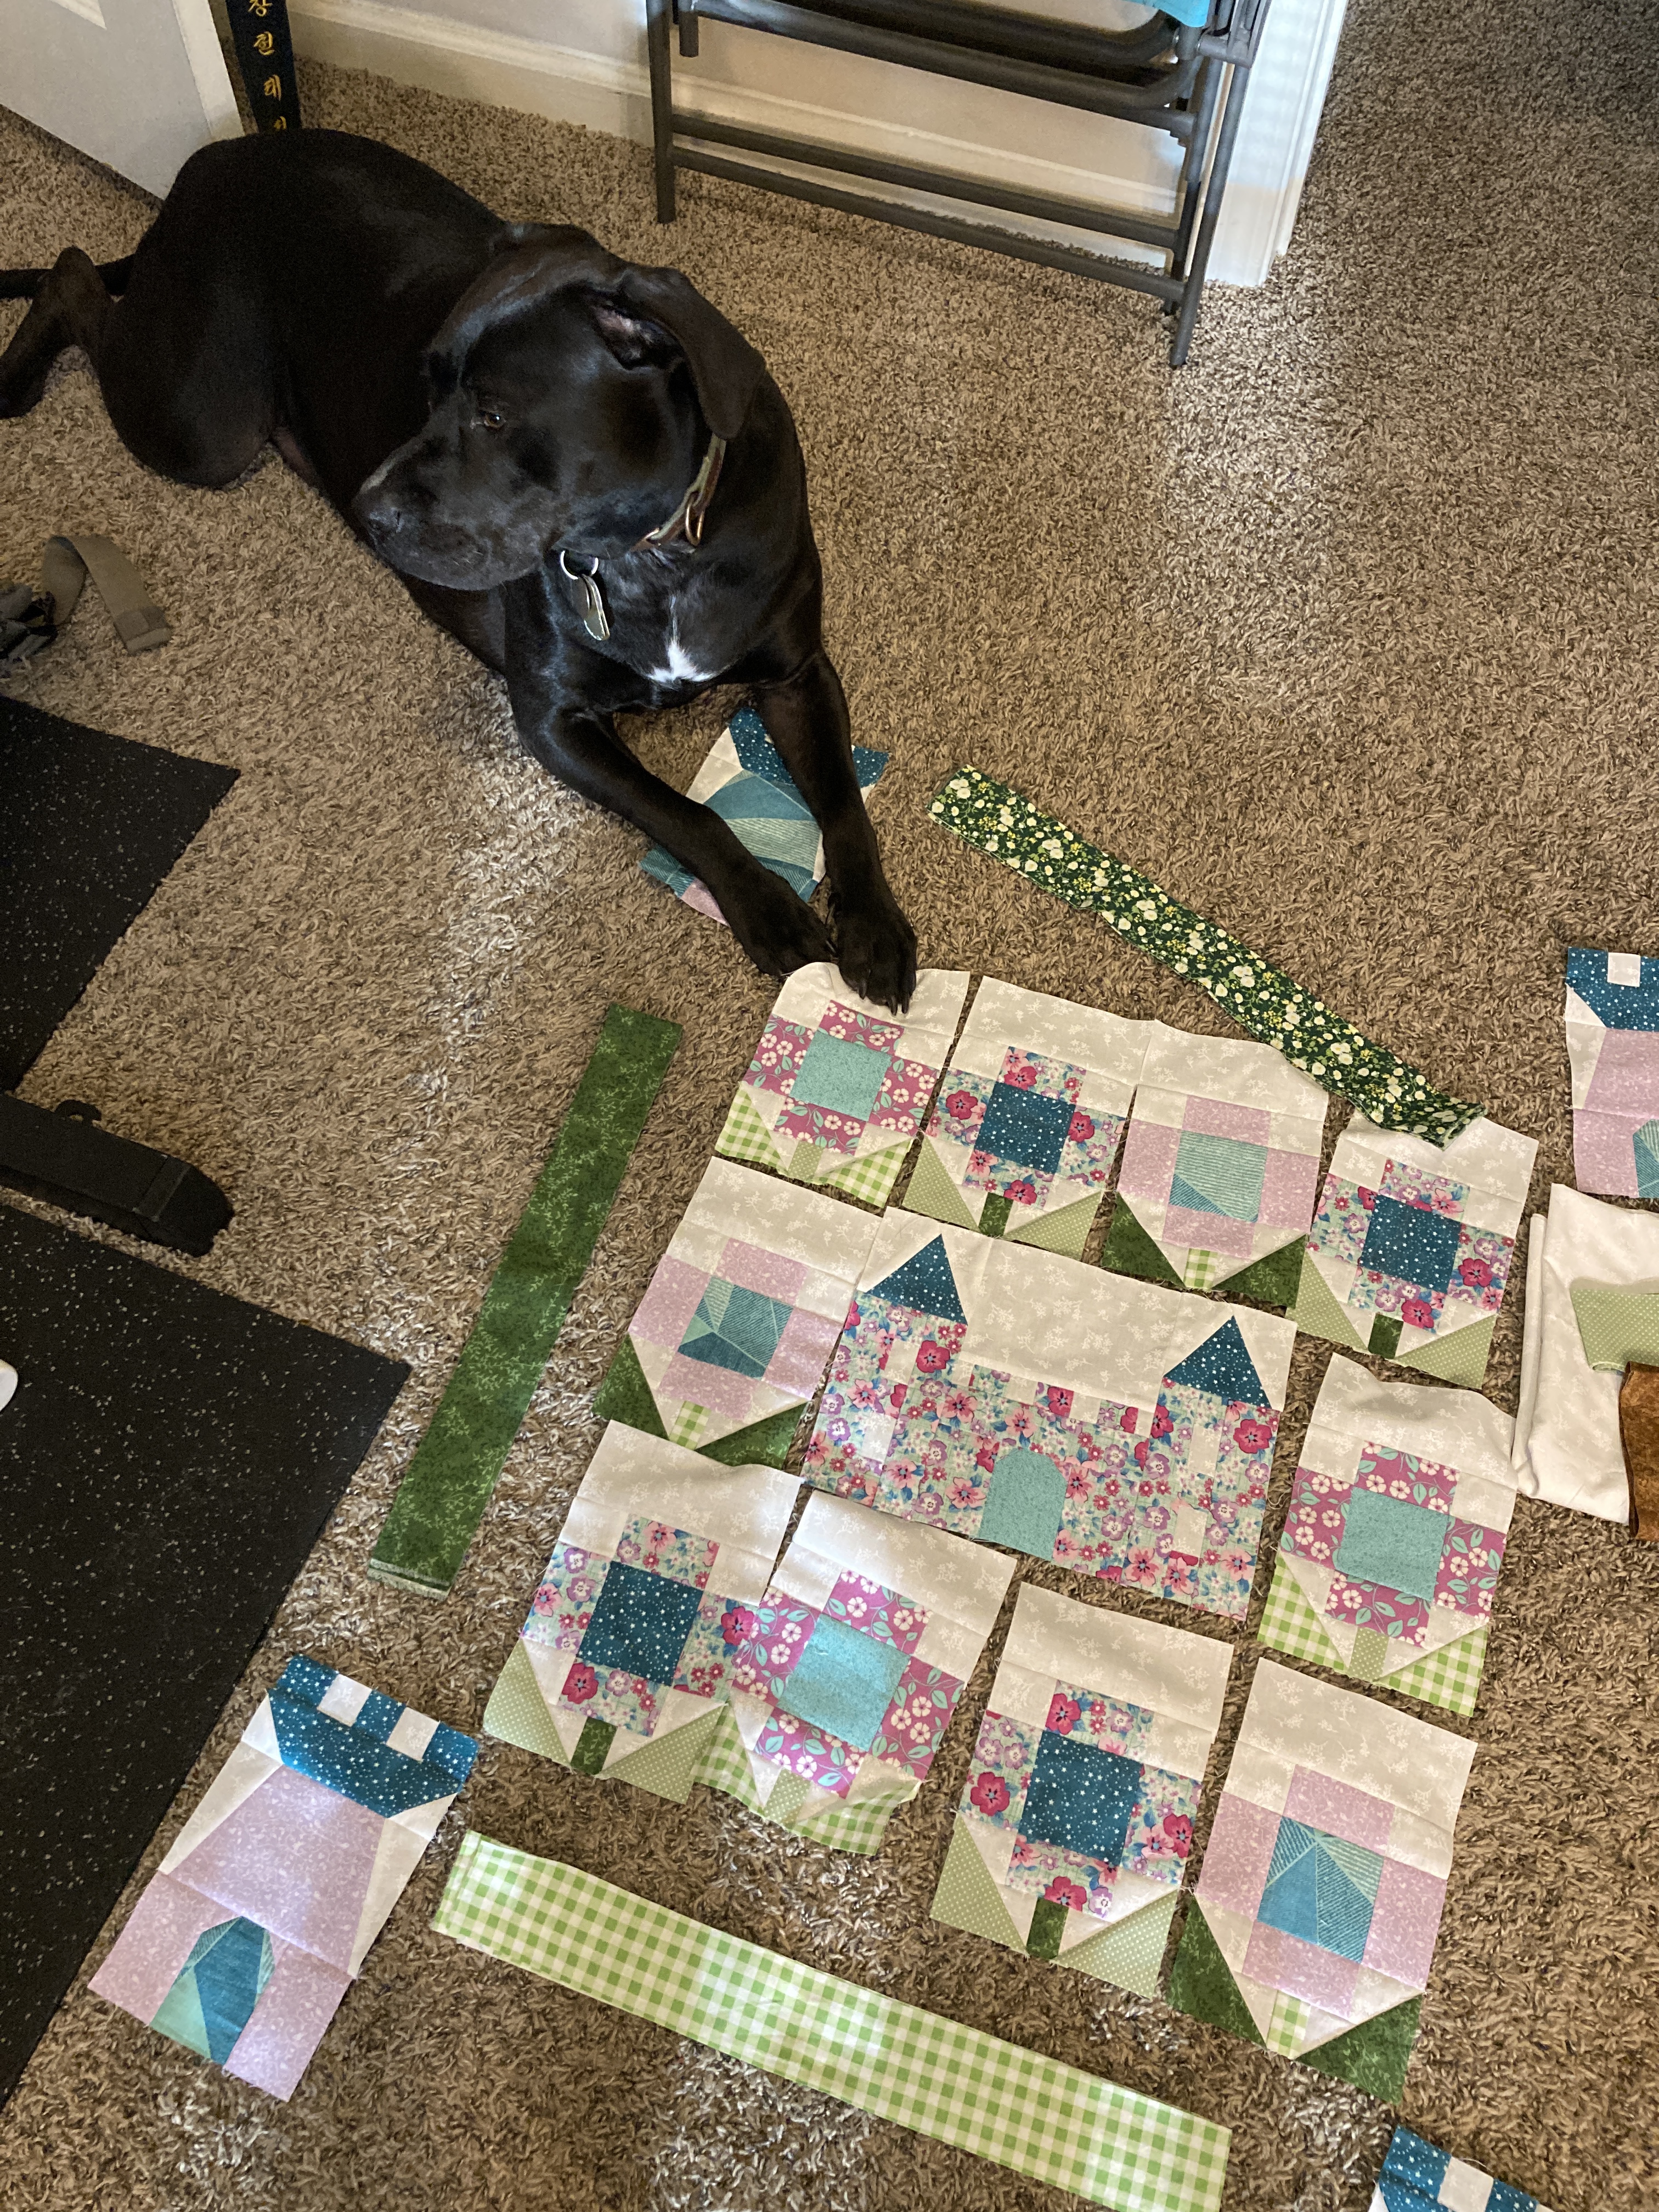
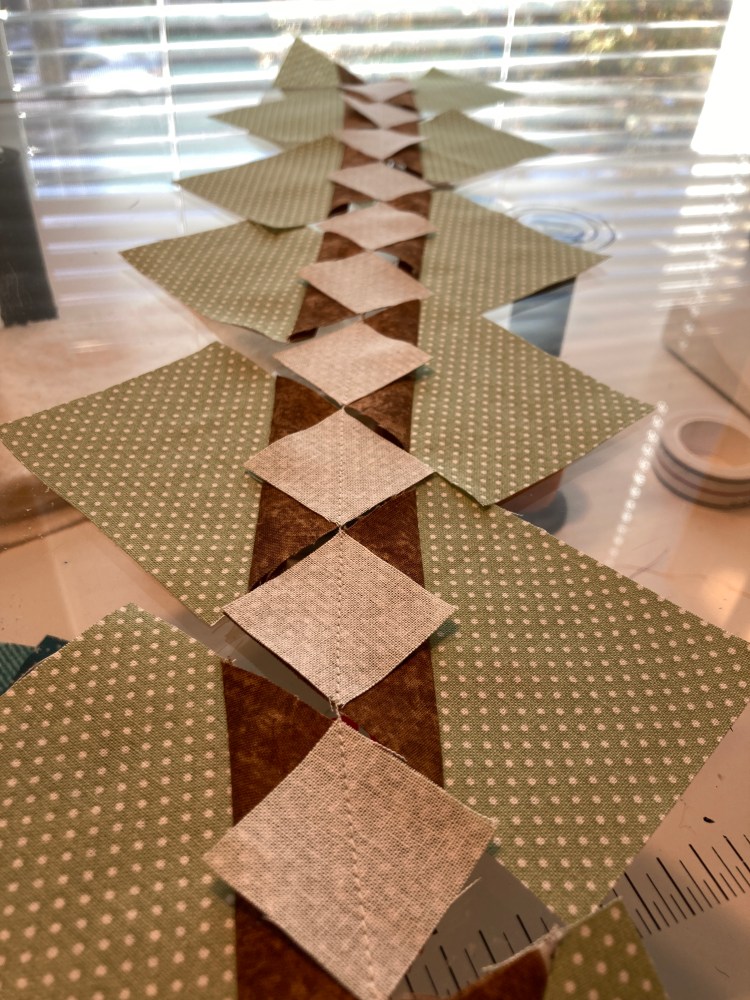
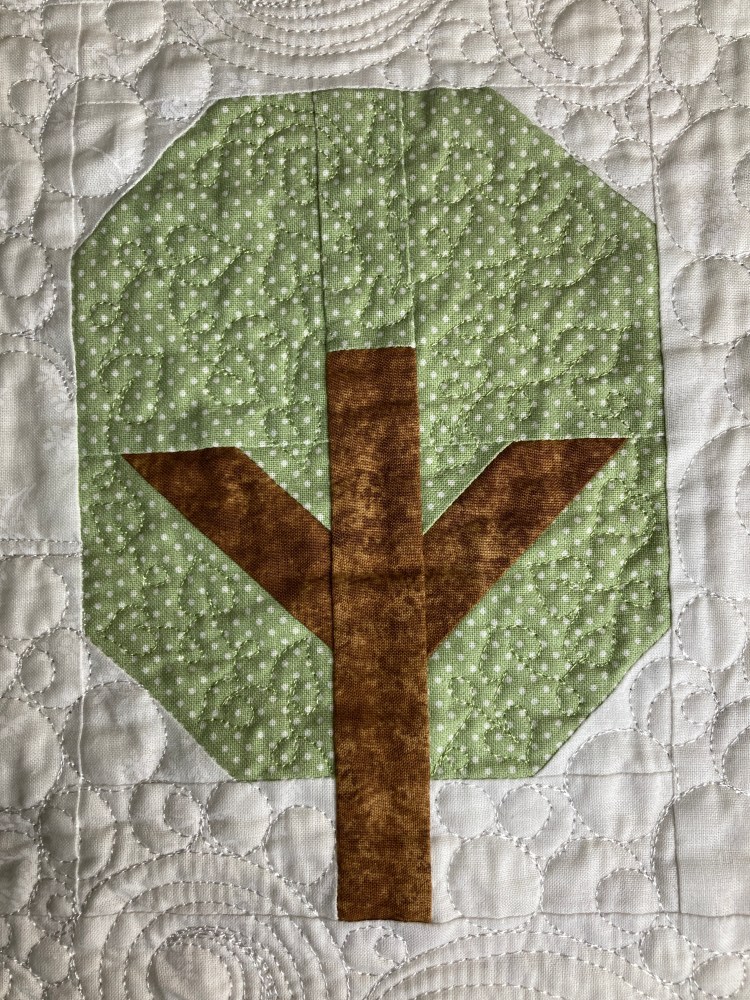
Next came the trees.
Rebel (my dog, above) tried to help pick out the oak tree color, but he was not all that helpful:) My mom and sister ended up helping me make my decision to go with a unified color for all the oak trees. Yet another trip to the store for more fabric, because I didn’t buy enough the first time! I also did not vary the color combination for the pine trees. Sometimes simplicity is better. There is such a thing as too busy a quilt, and I hope I struck the balance between bright and playful, but not too many colors. I chain pieced a lot when making multiple of the same block. I thought the picture on the left was just a pleasing pattern!
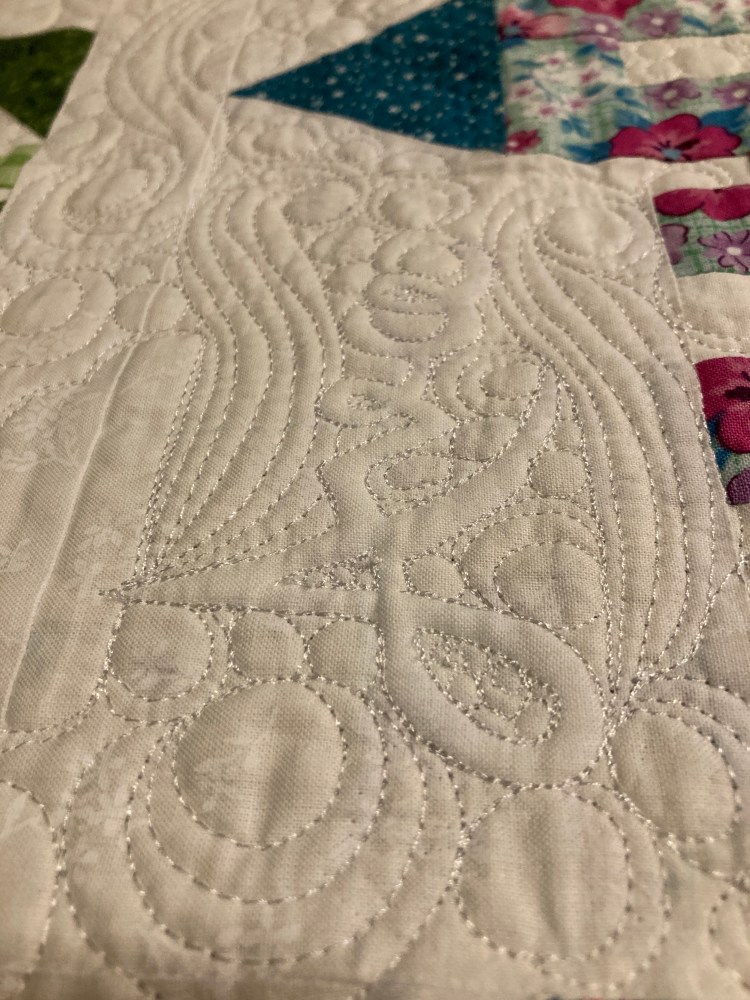
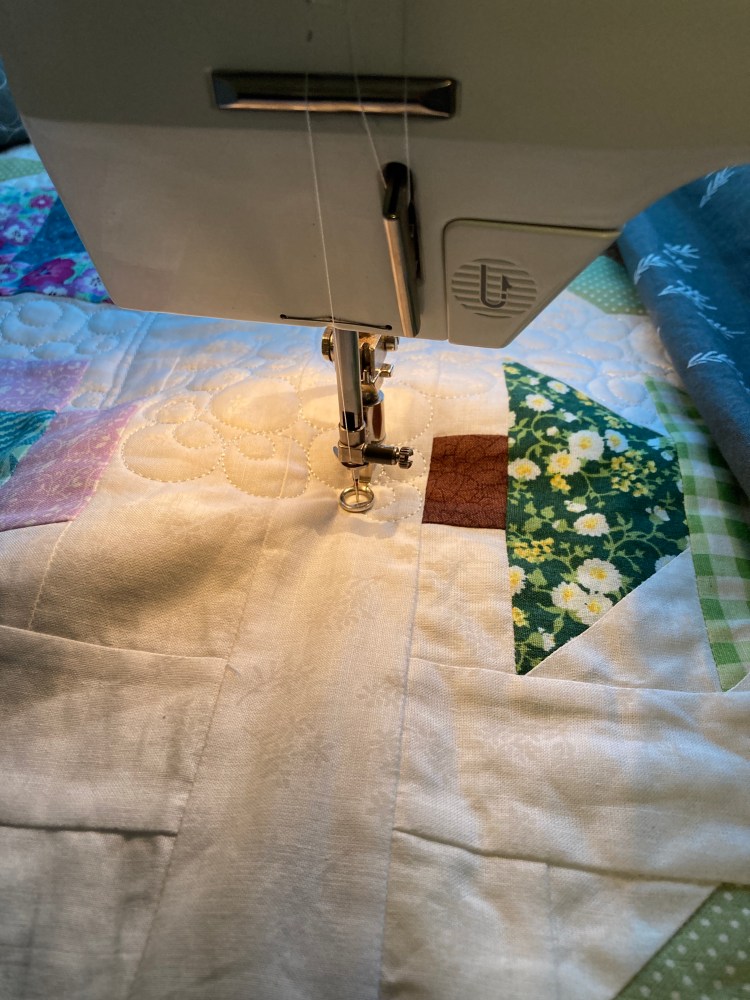
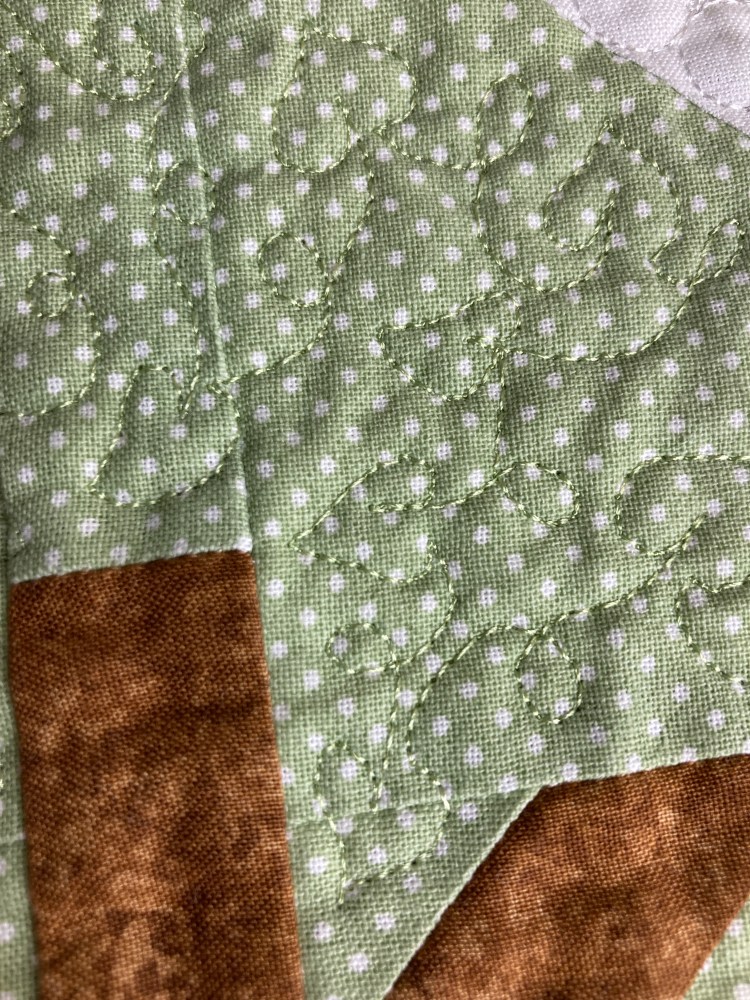
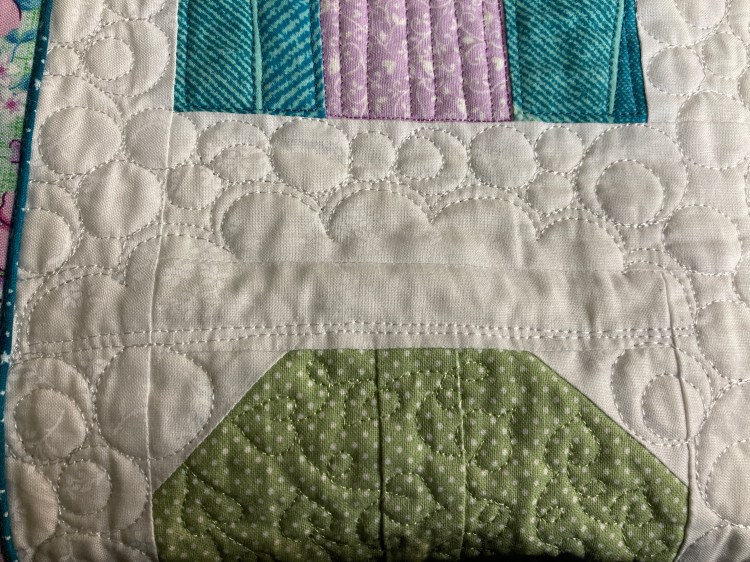
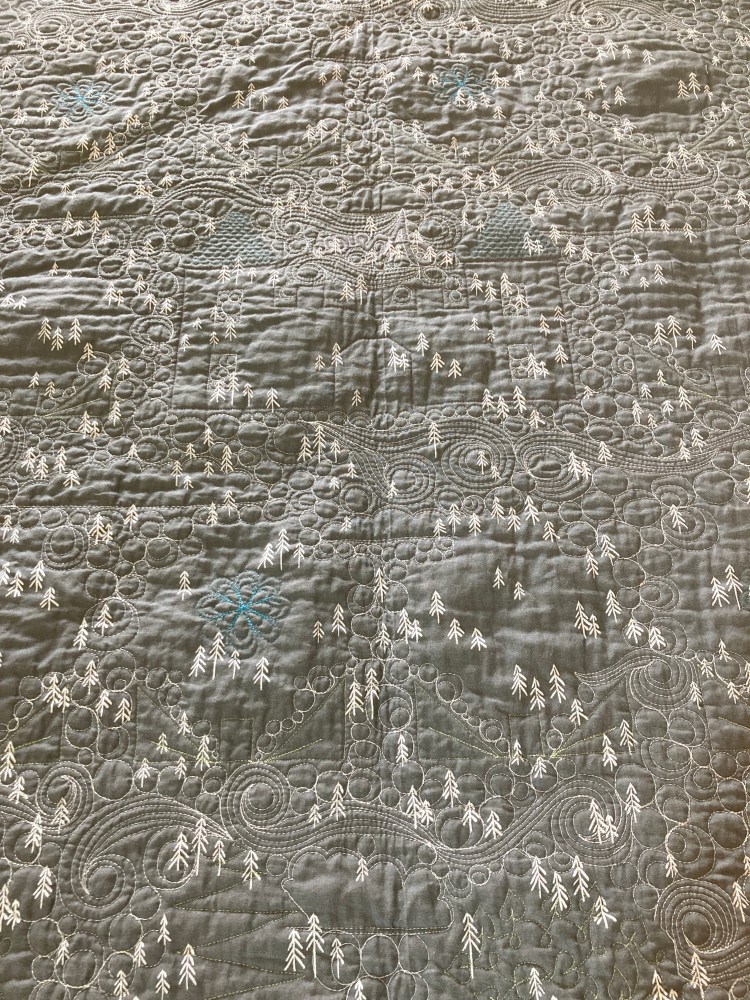
Finally it was time to quilt!
If you have been following this blog for any amount of time, you know this is my favorite part about the quilting process! I love free motion quilting, and would always love feedback about what you think of my quilting! Below is a slideshow of different parts of the quilt after or during the quilting process. I decided to make the quilting look like the sky with clouds, circles, and wind. I am not sure how many circles I did on this quilt, but I improved tremendously at my circle skills in the process!


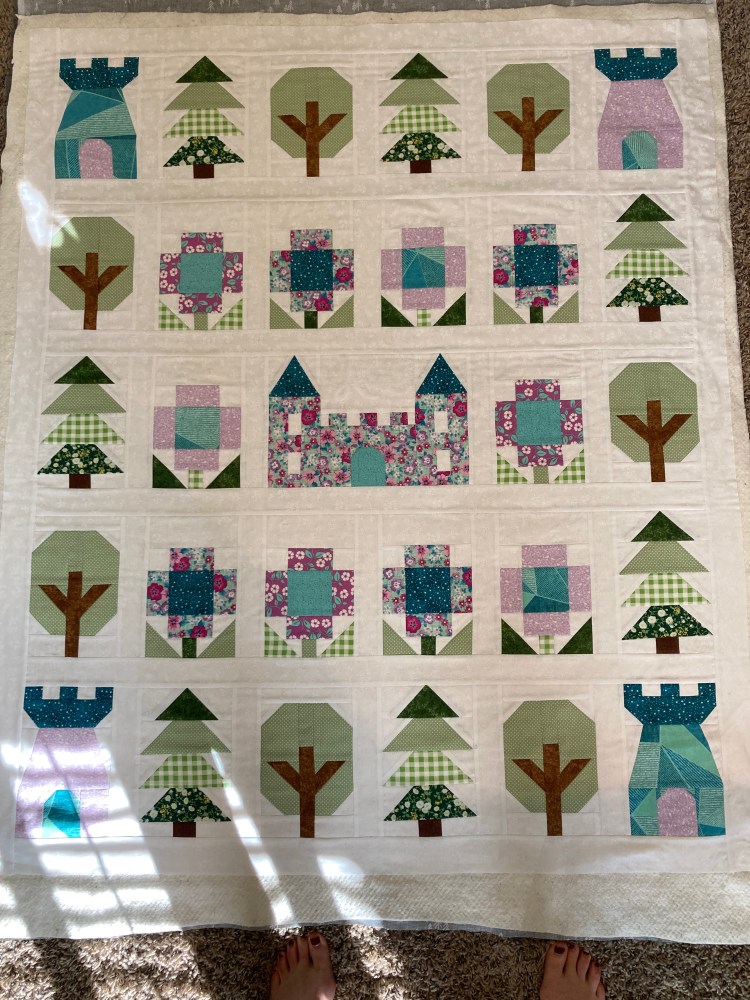
Finally finished!
A label and binding finished this quilt just a week and a half late! Ava was born on the Friday after Thanksgiving, and I dropped off the quilt in the beginning of December. If you are interested in this binding technique, I mentioned flange binding in the last post, Birds and Lilies.
I have some other projects that I hope to share with you all sooner rather than later!
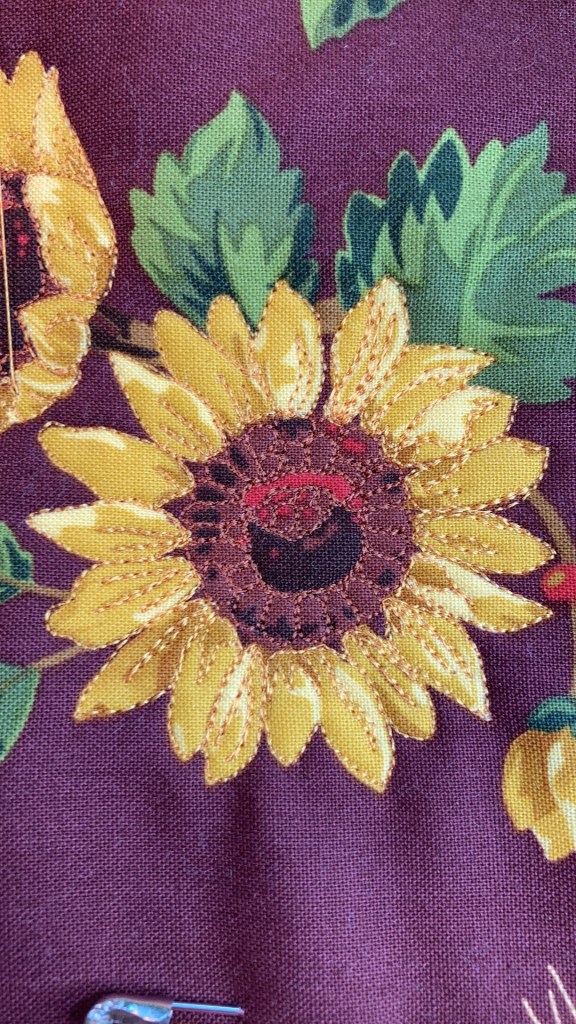
This sunflower is part of a table runner I started before Thanksgiving, and decided to put it on hold to finish the baby quilt. I also have a goal to finish the star chain quilt from The Blessings of an Ordinary Day; however, I am having some tension problems with my sewing machine right now. I am very excited about the free motion on this quilt, but I will keep it a secret for a future blog post!
On another note, I will be moving soon and starting my job in the submarine force rather than being a student. Although I love quilting and will be bringing my sewing machine with me to my next place, I will not have as much time as before to quilt or keep up with the blog. I hope to keep you all up to date with the blog when I am free. However, if I can’t, I pray that this blog can still get your creative mind turning and bring you closer to God. Thank you to everyone who has supported my quilting and the blog, and big thanks to you for reading! Happy Quilting!
