It has been a long time since I have posted! Work has been keeping me pretty busy recently, but has not stopped me from finishing some projects. In this post, I want to share how I made a quilt for a family that has two sweet little boys who love cars. This is an original quilt that used no pattern except my vision for what I wanted. If you want to make this quilt and have any questions, please reach out and I would be happy to share more specifics! This quilt was freeing because I did not have to focus on being super precise with my measurements or cuts. I had that liberty because I wasn’t following a pattern nor was I using super complicated techniques, so if this quilt causes you quilting anxiety, I don’t apologize because I’m super happy with the outcome!

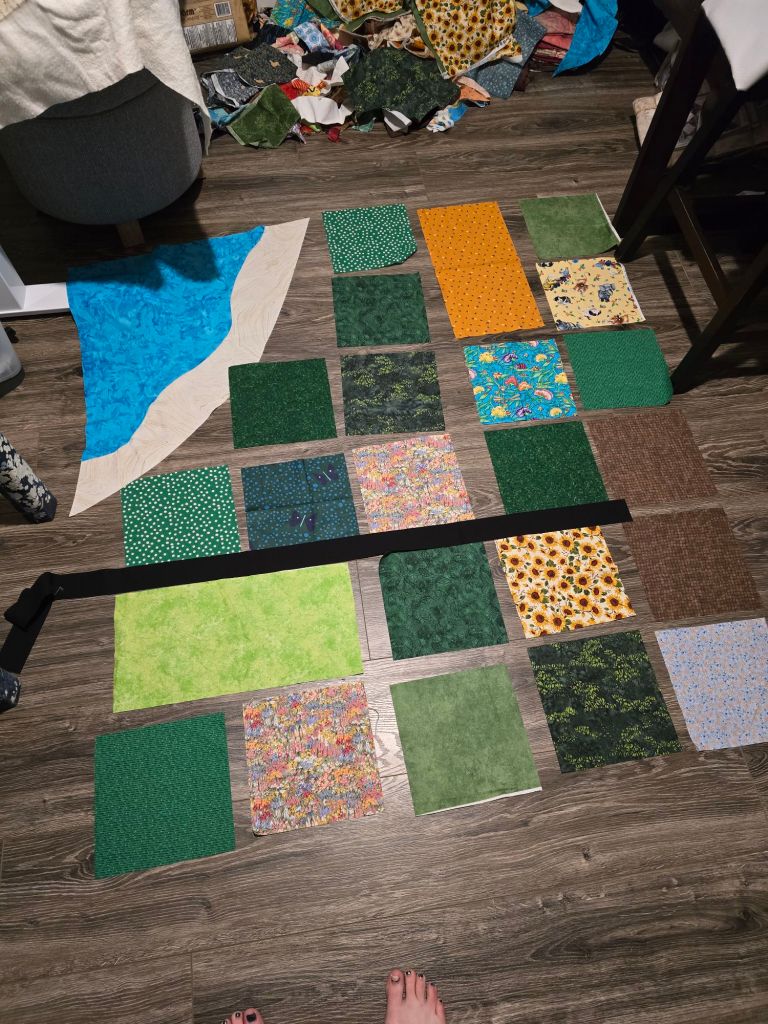
I had been dreaming of this quilt for a few weeks before I actually put anything down on paper. I wanted to give this family a gift that told them how much I cared for them (which most quilts do on their own!), and also, be something they could play with together. This family is a fellow submarine family, so I knew I wanted an ocean with a submarine. All the fabric came from my stash. I cut a large triangle from a light blue and made a wavy edge on the hypotenuse with my rotary cuter. Then attached the cream color to make the beach. If you have never sewn waves, this is a short video that demonstrates how to do that.
Once I had made the beach scene, shown in the pictures below, I cut out squares and rectangles with random fabrics using my 8 1/2 x 8 1/2 inch ruler. Some of the blocks I cut on the fold to make a longer section of the same fabric, as seen below with the grey block, lime green block, and the gold block.
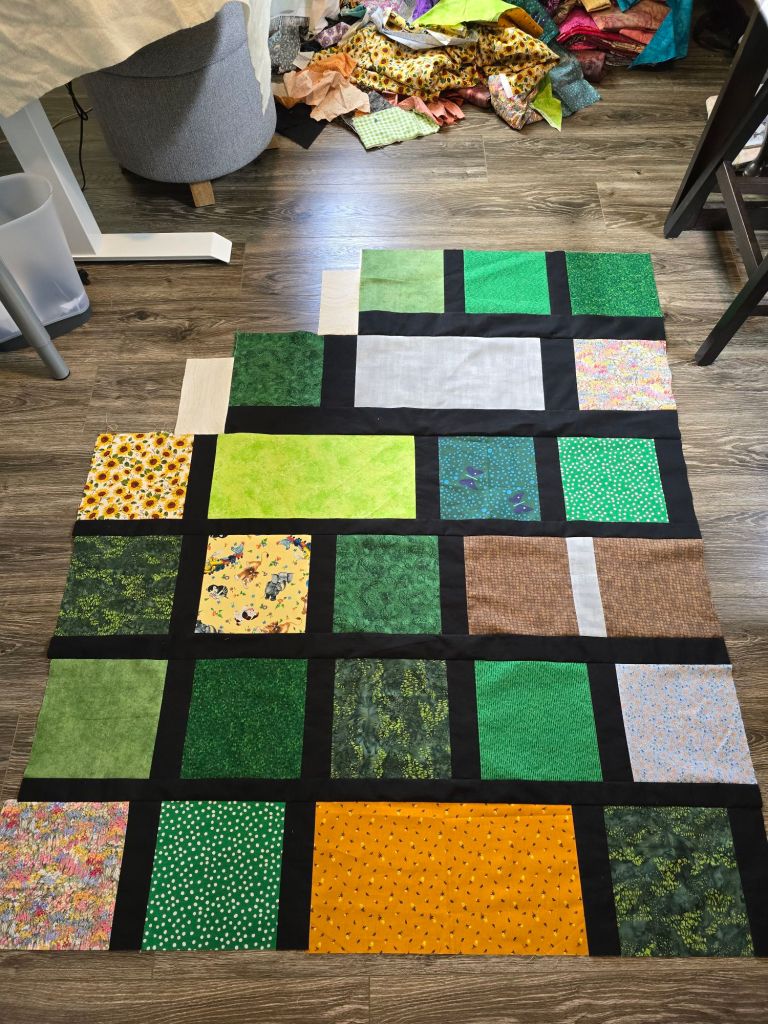
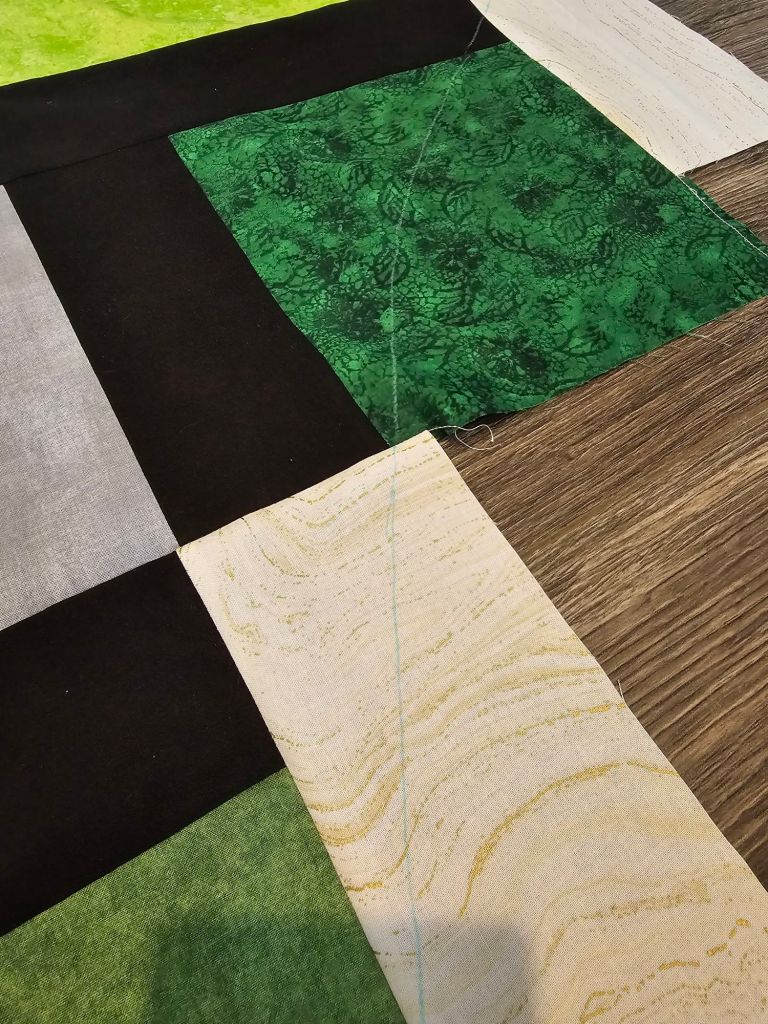
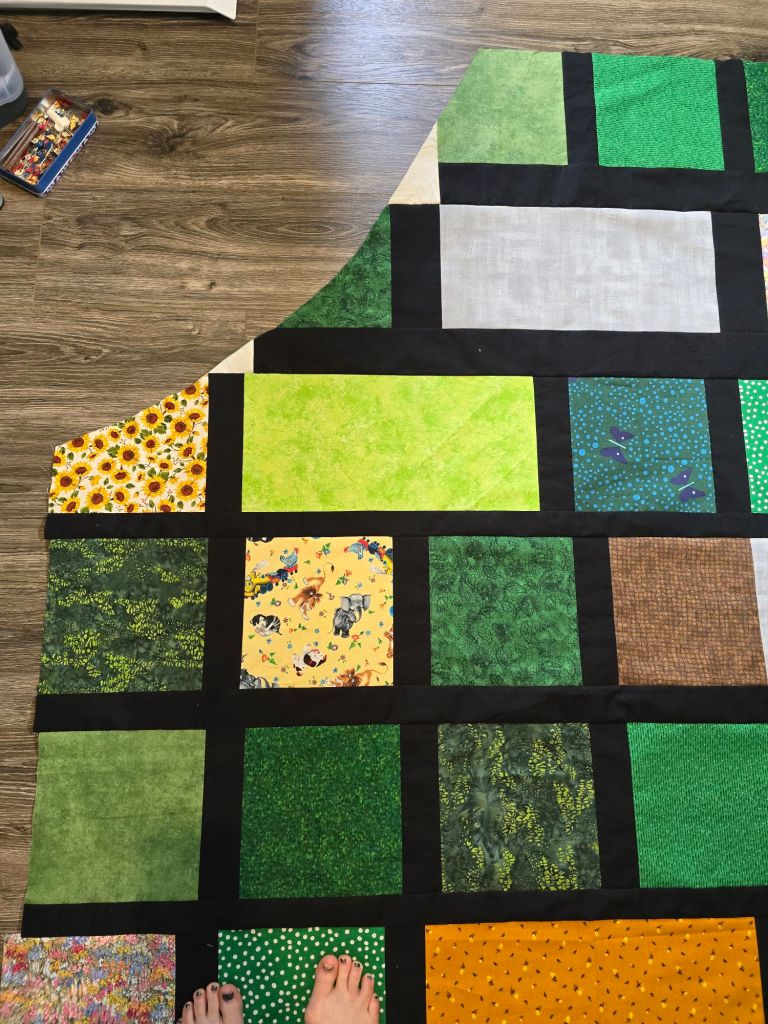

After the blocks were cut, the next step was to cut strips for the roads. I cut strips from a solid black ranging from widths of 1 1/2 inches to 3 inches to add variety of street sizes. You can see on the left side of the quilt that some of the rows were longer than the others, but I was okay with that because I was going to square off the quilt after it was sewn together.
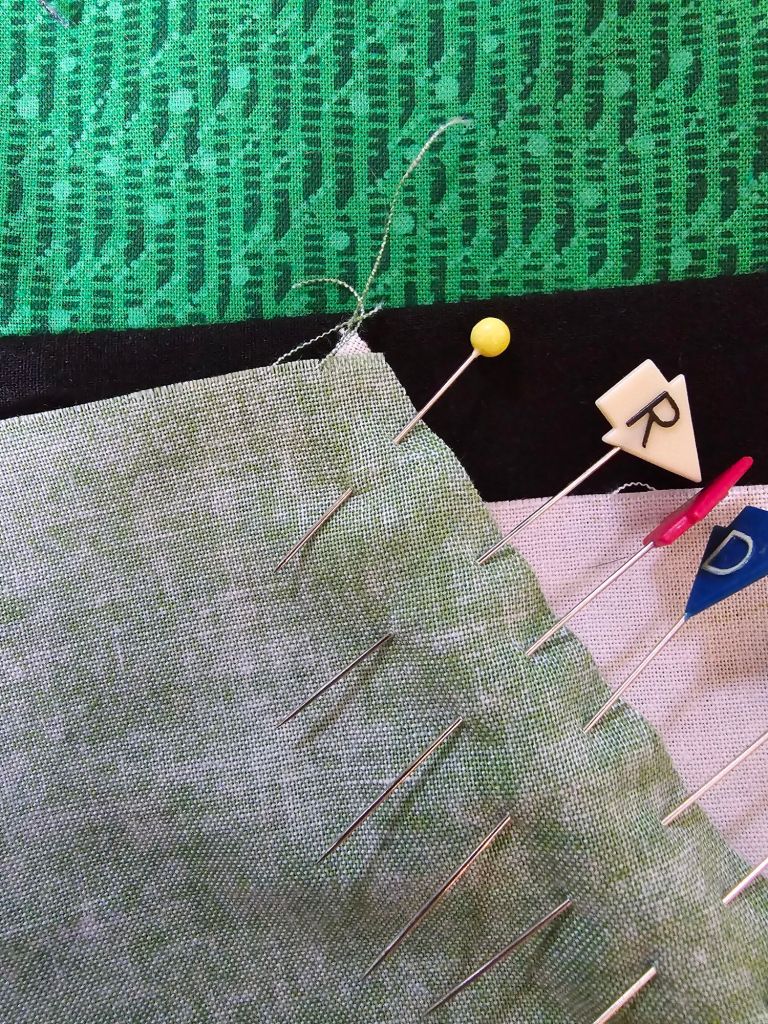
Once the rows were together, I traced the edge of the beach and used a similar technique to the wave. Note: The edges need to overlap by your seam allowance (1/4”) in order to fit properly. See picture above.

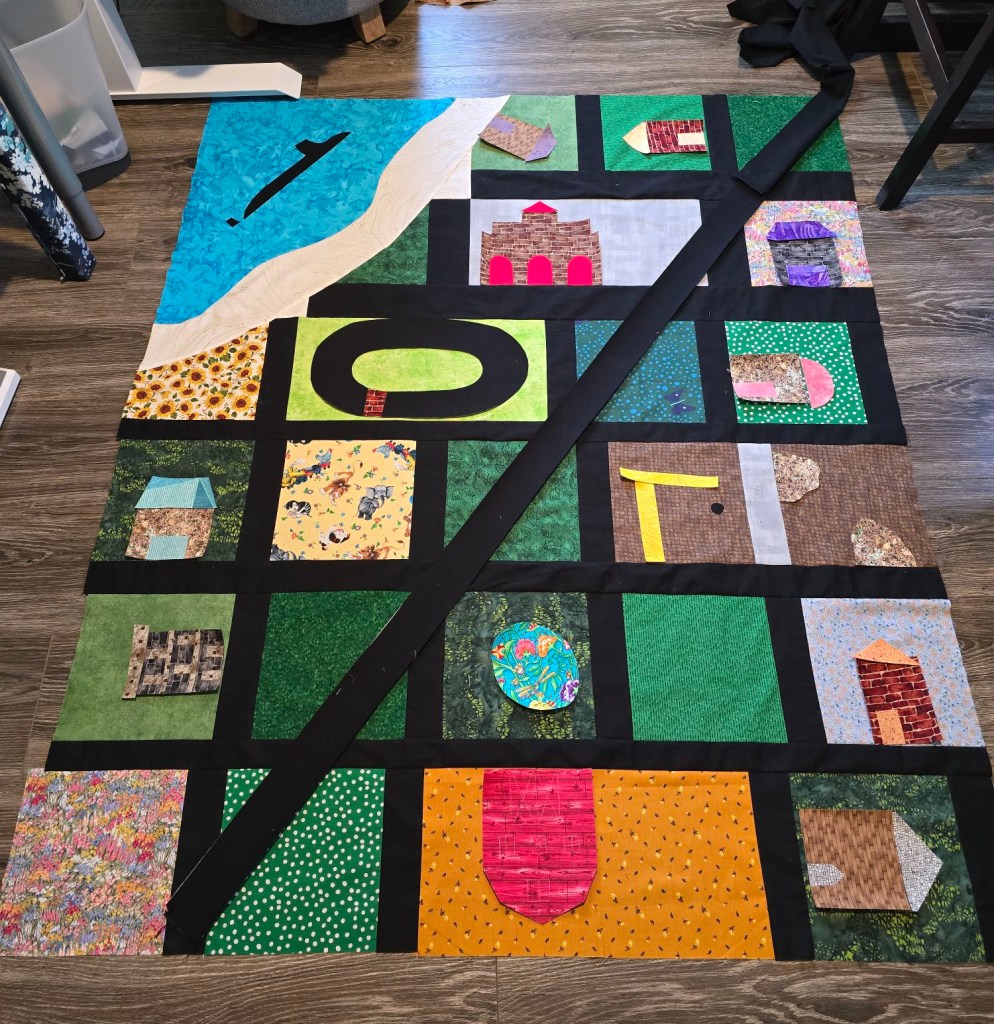
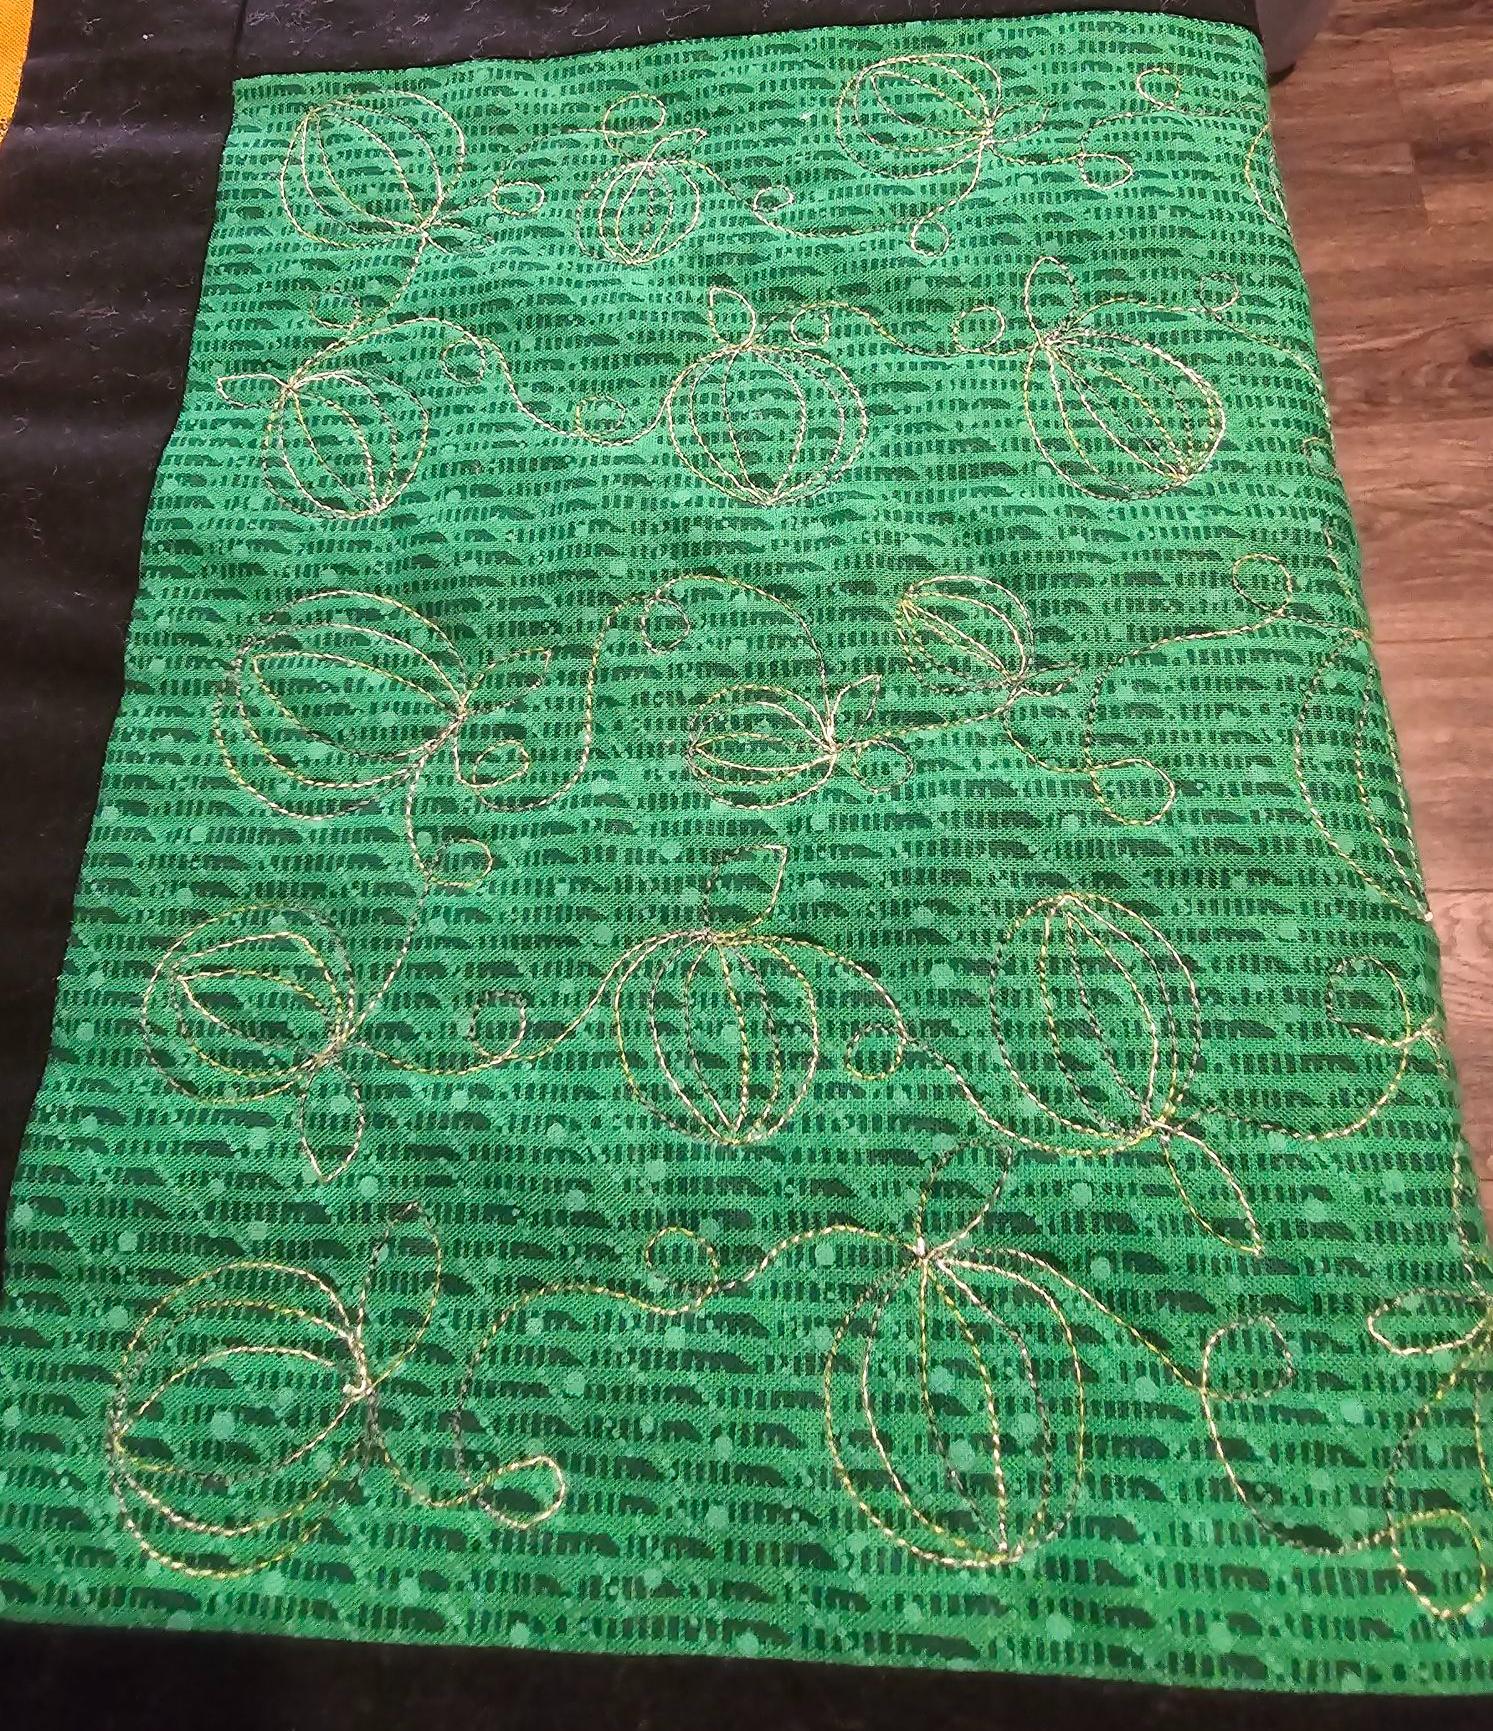
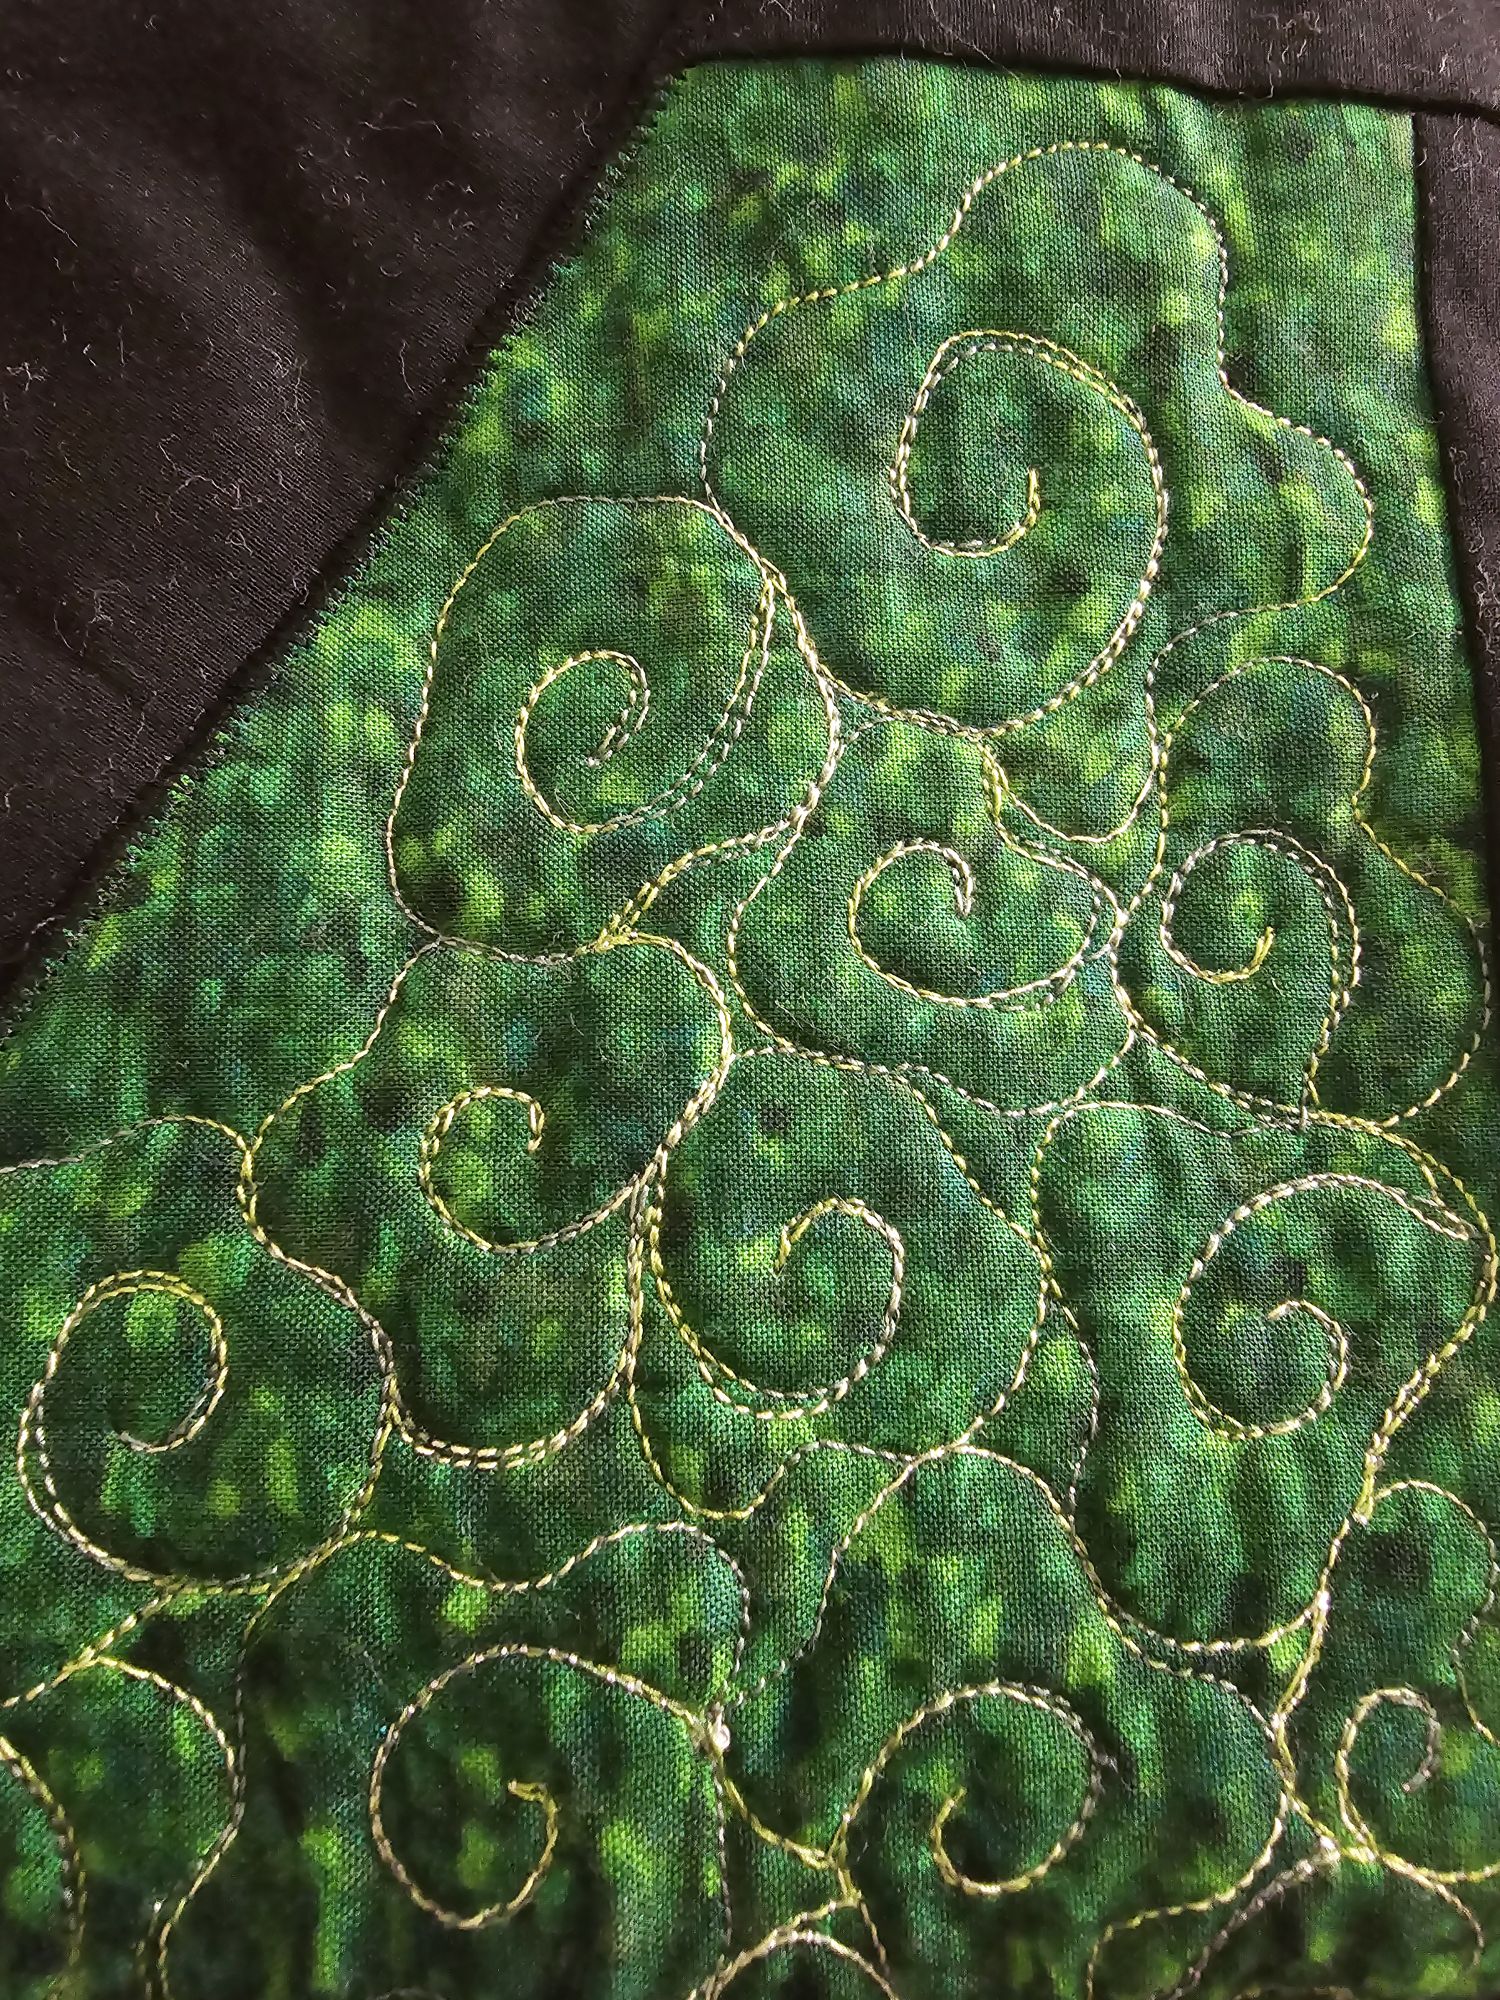
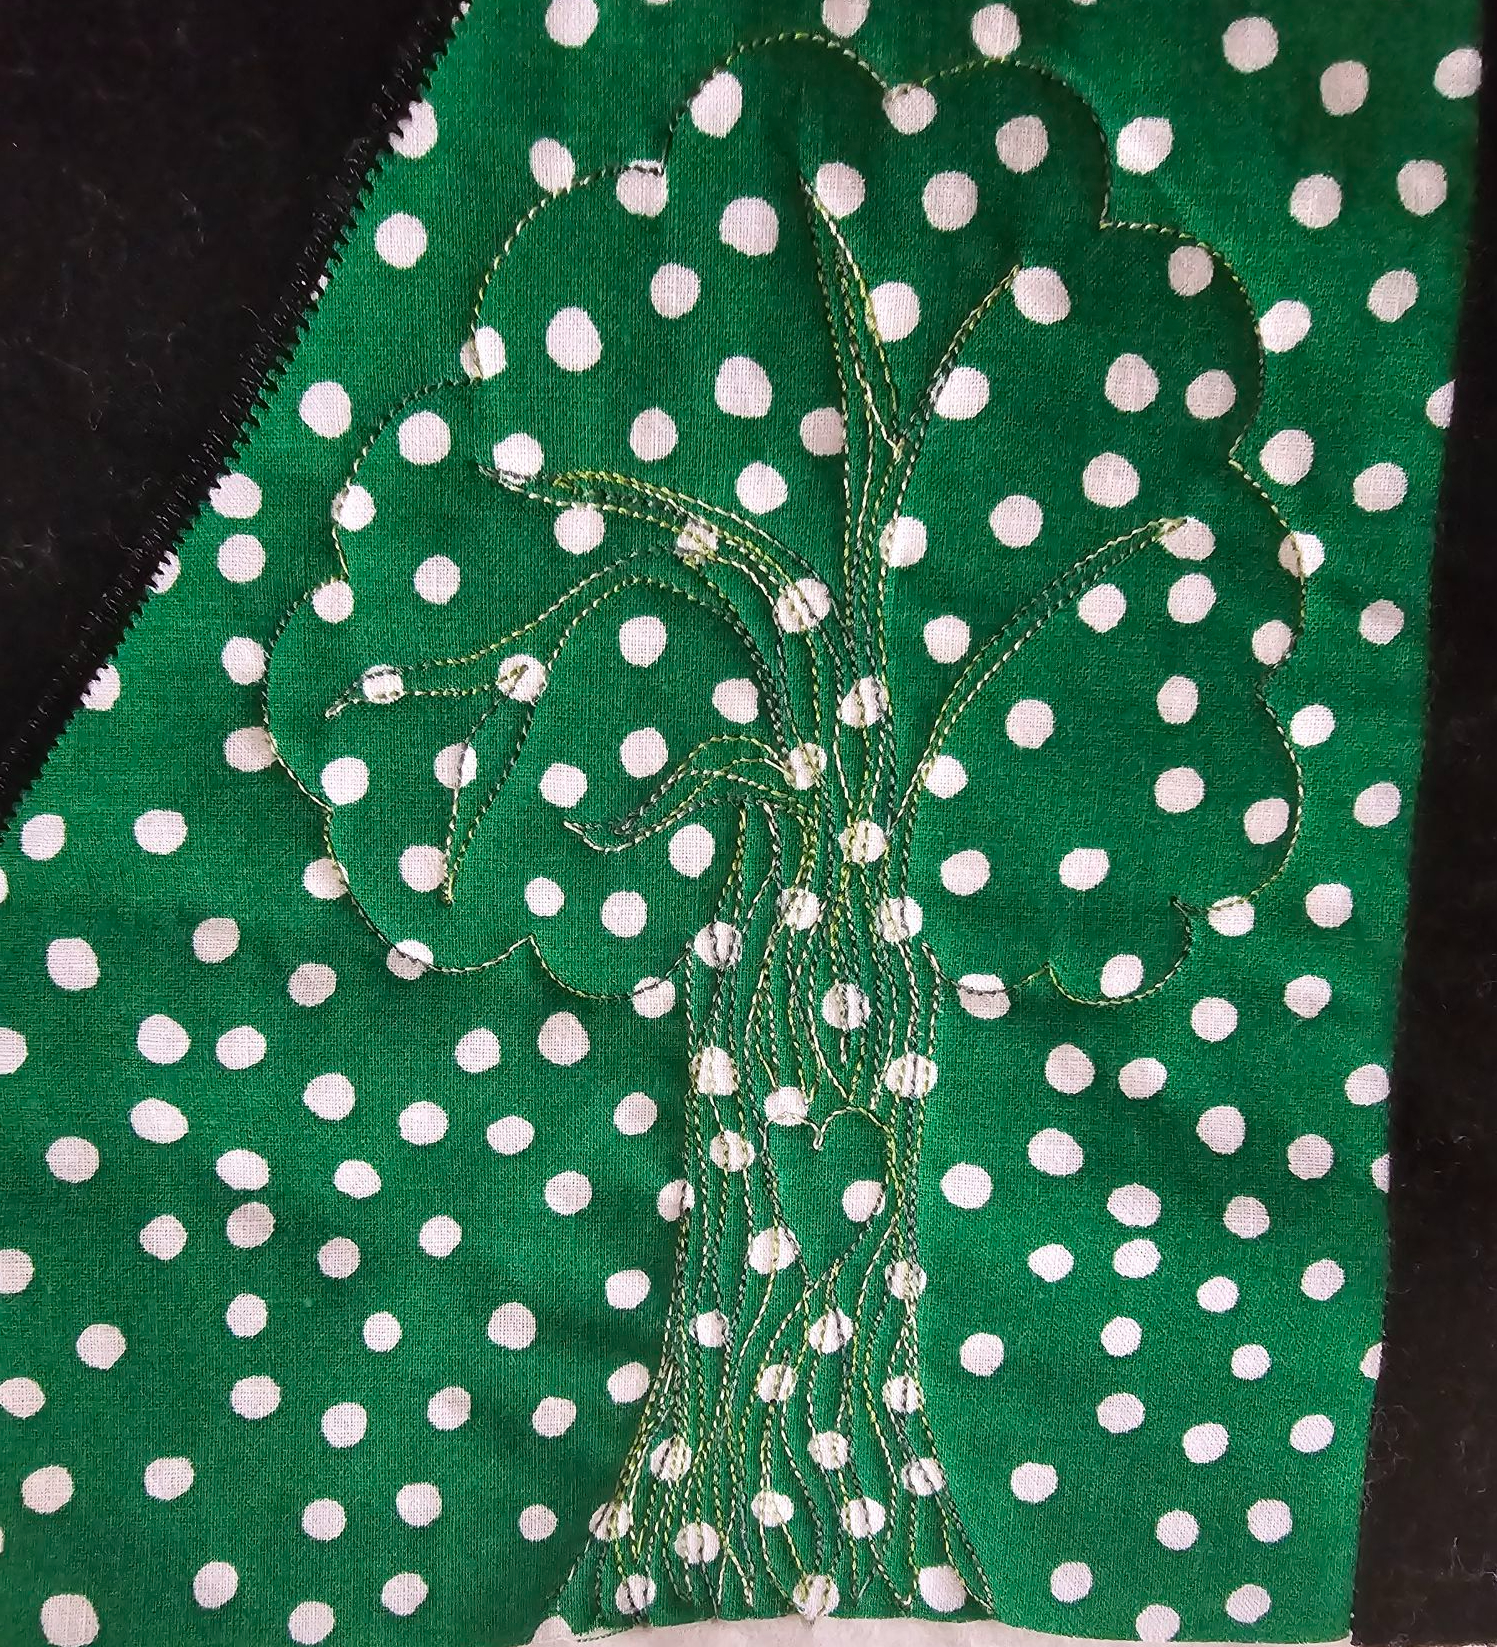
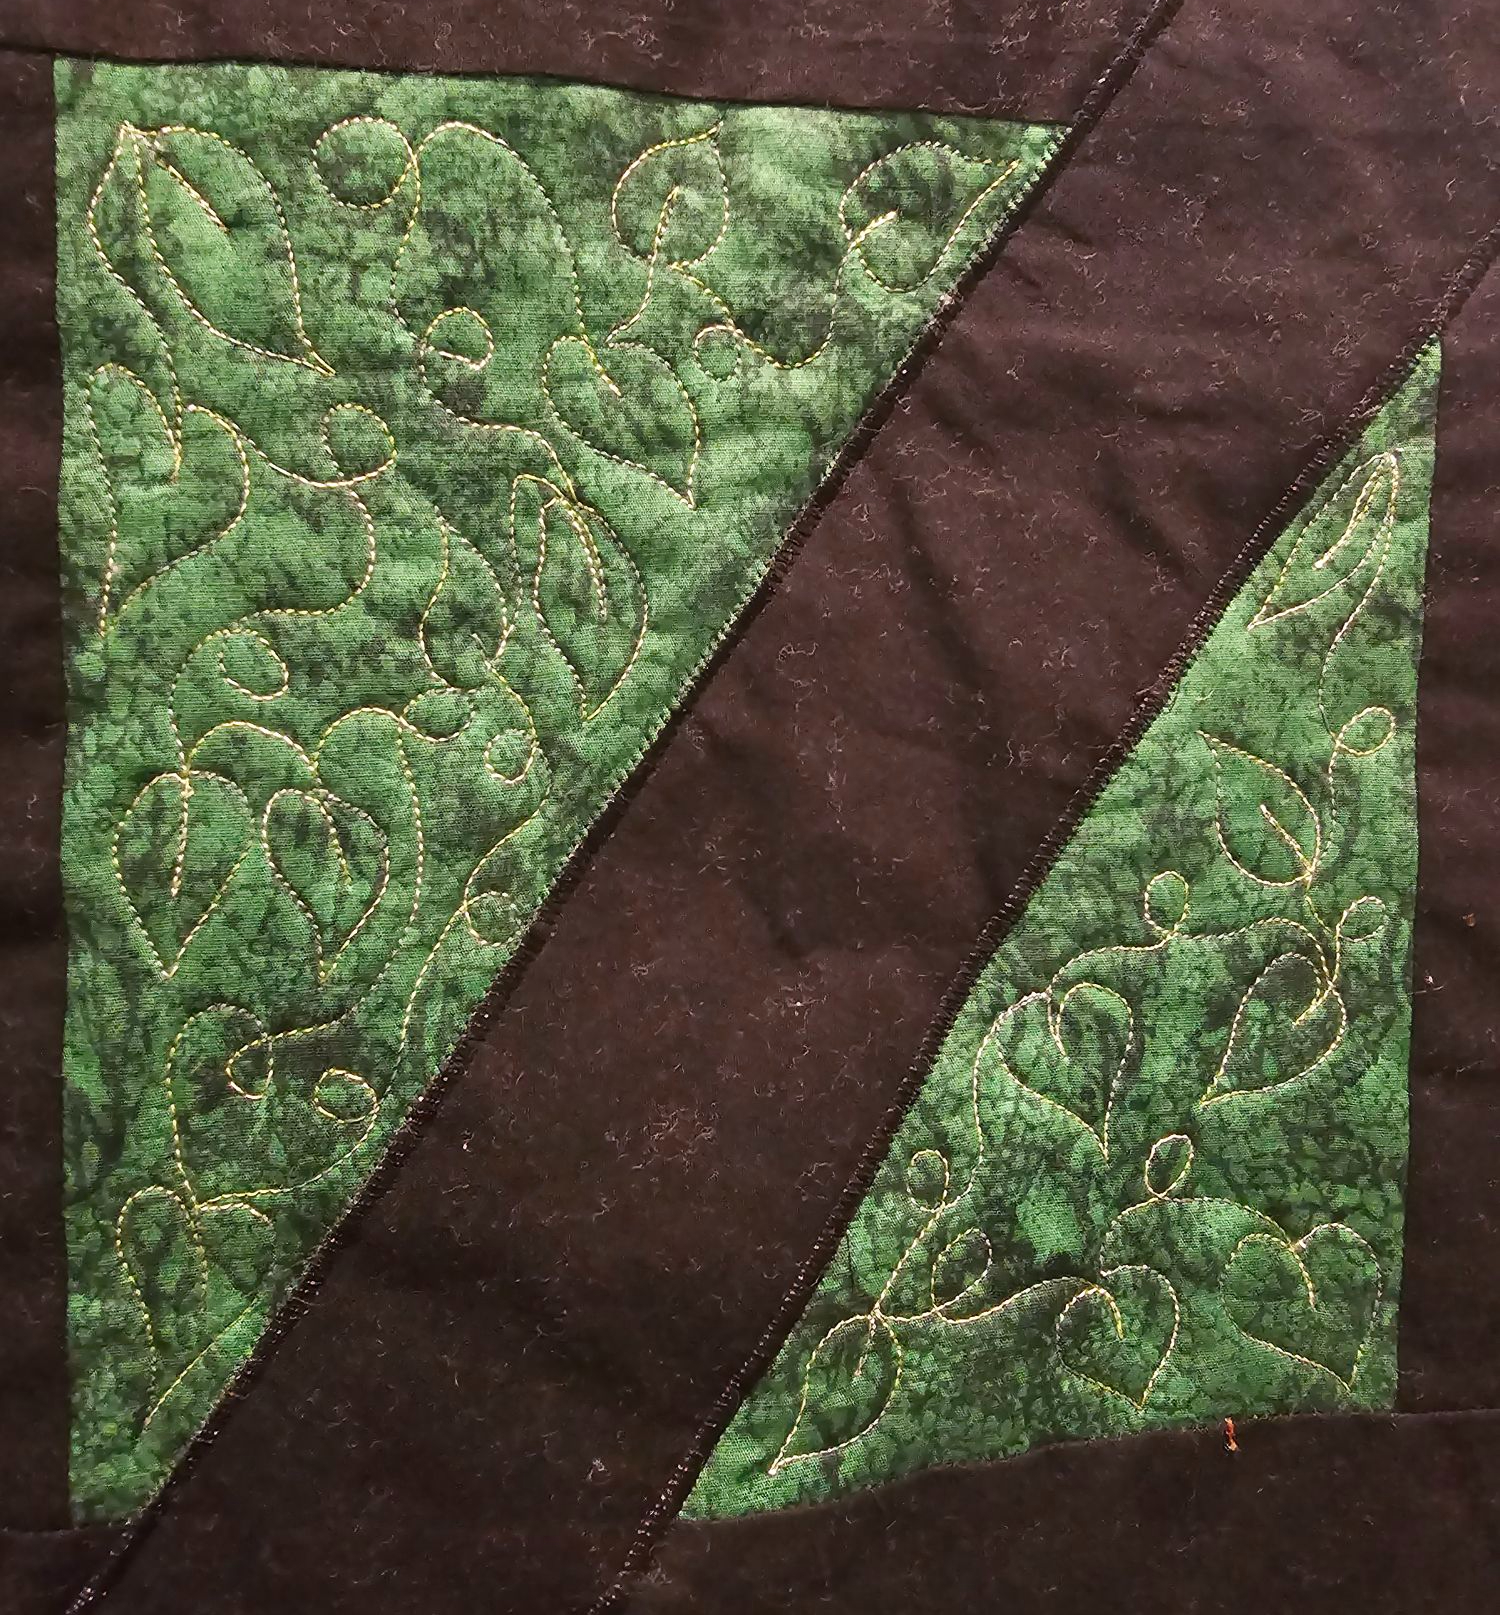
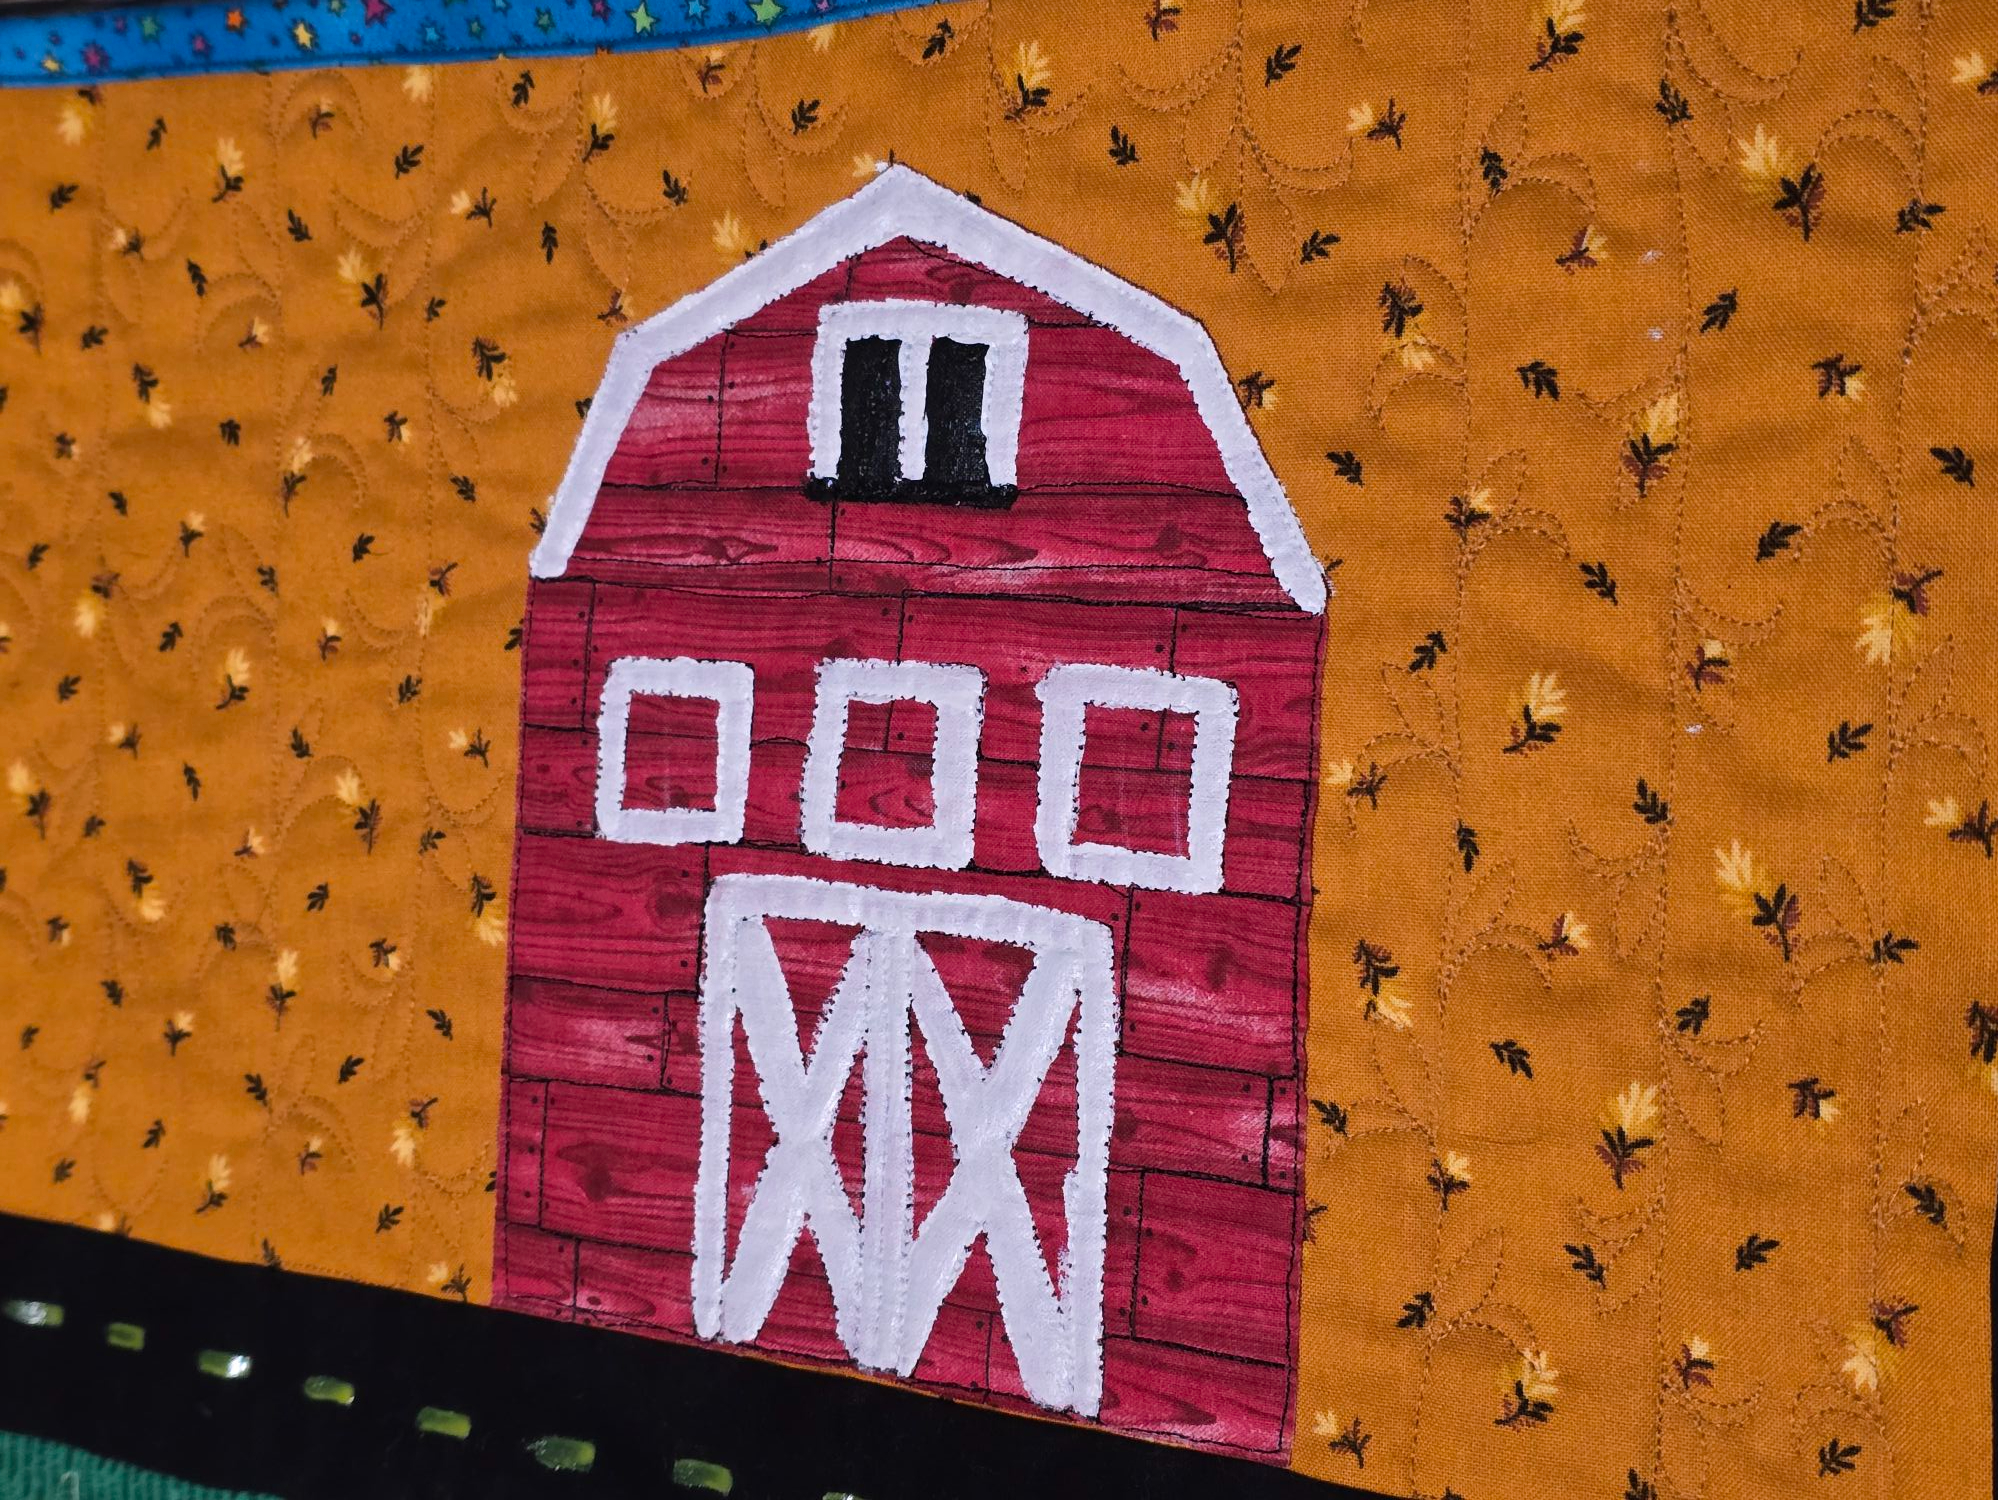
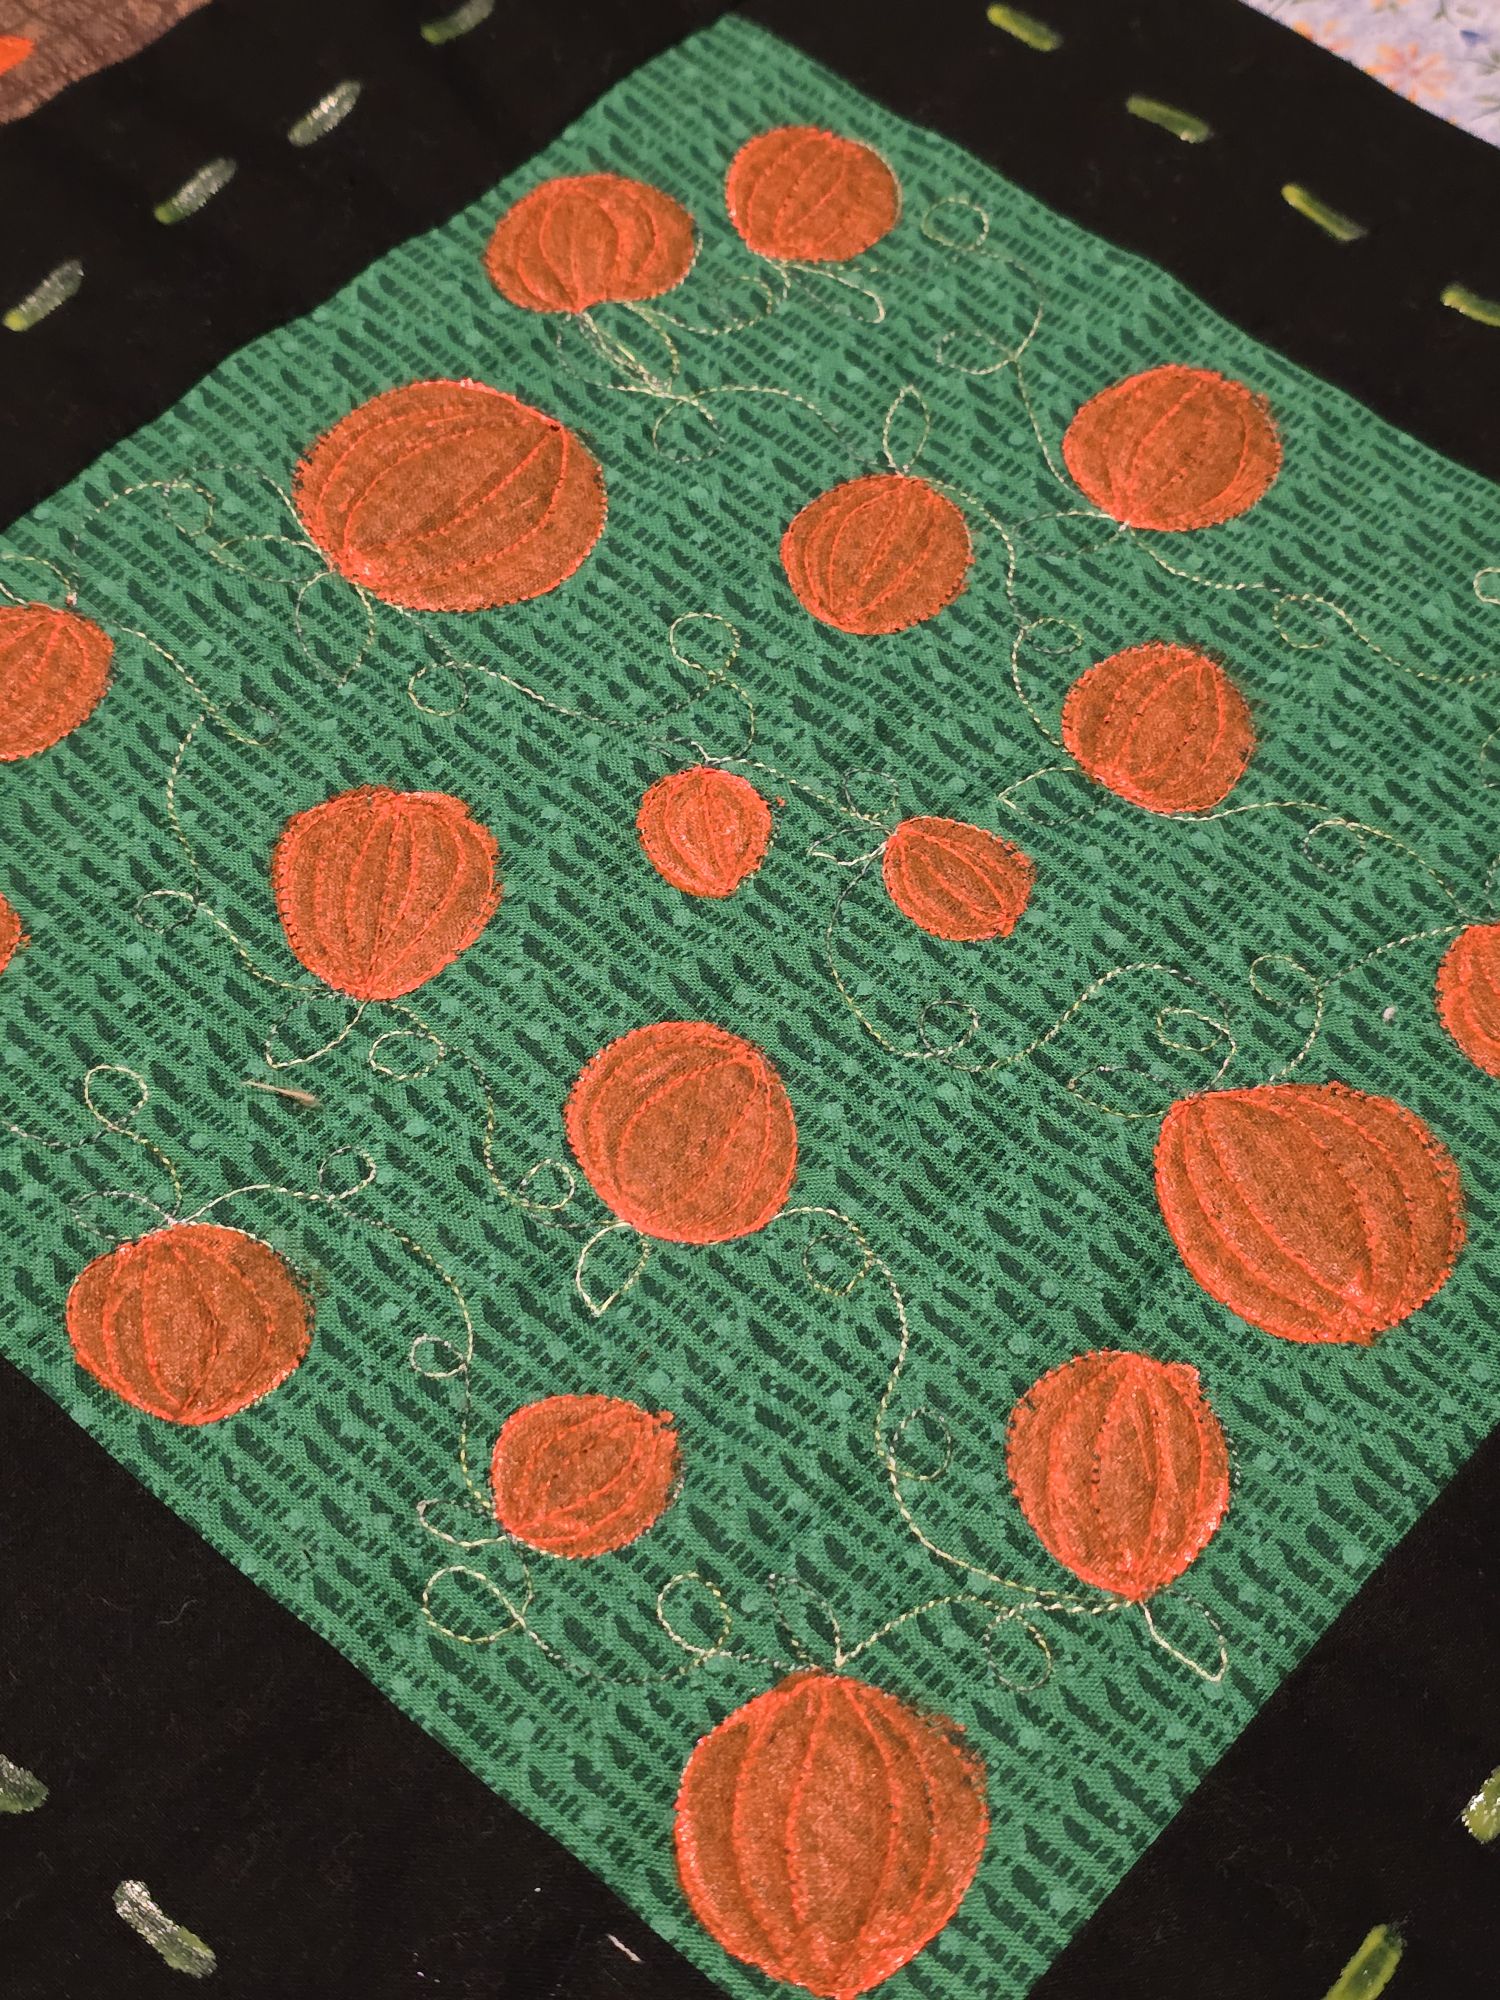
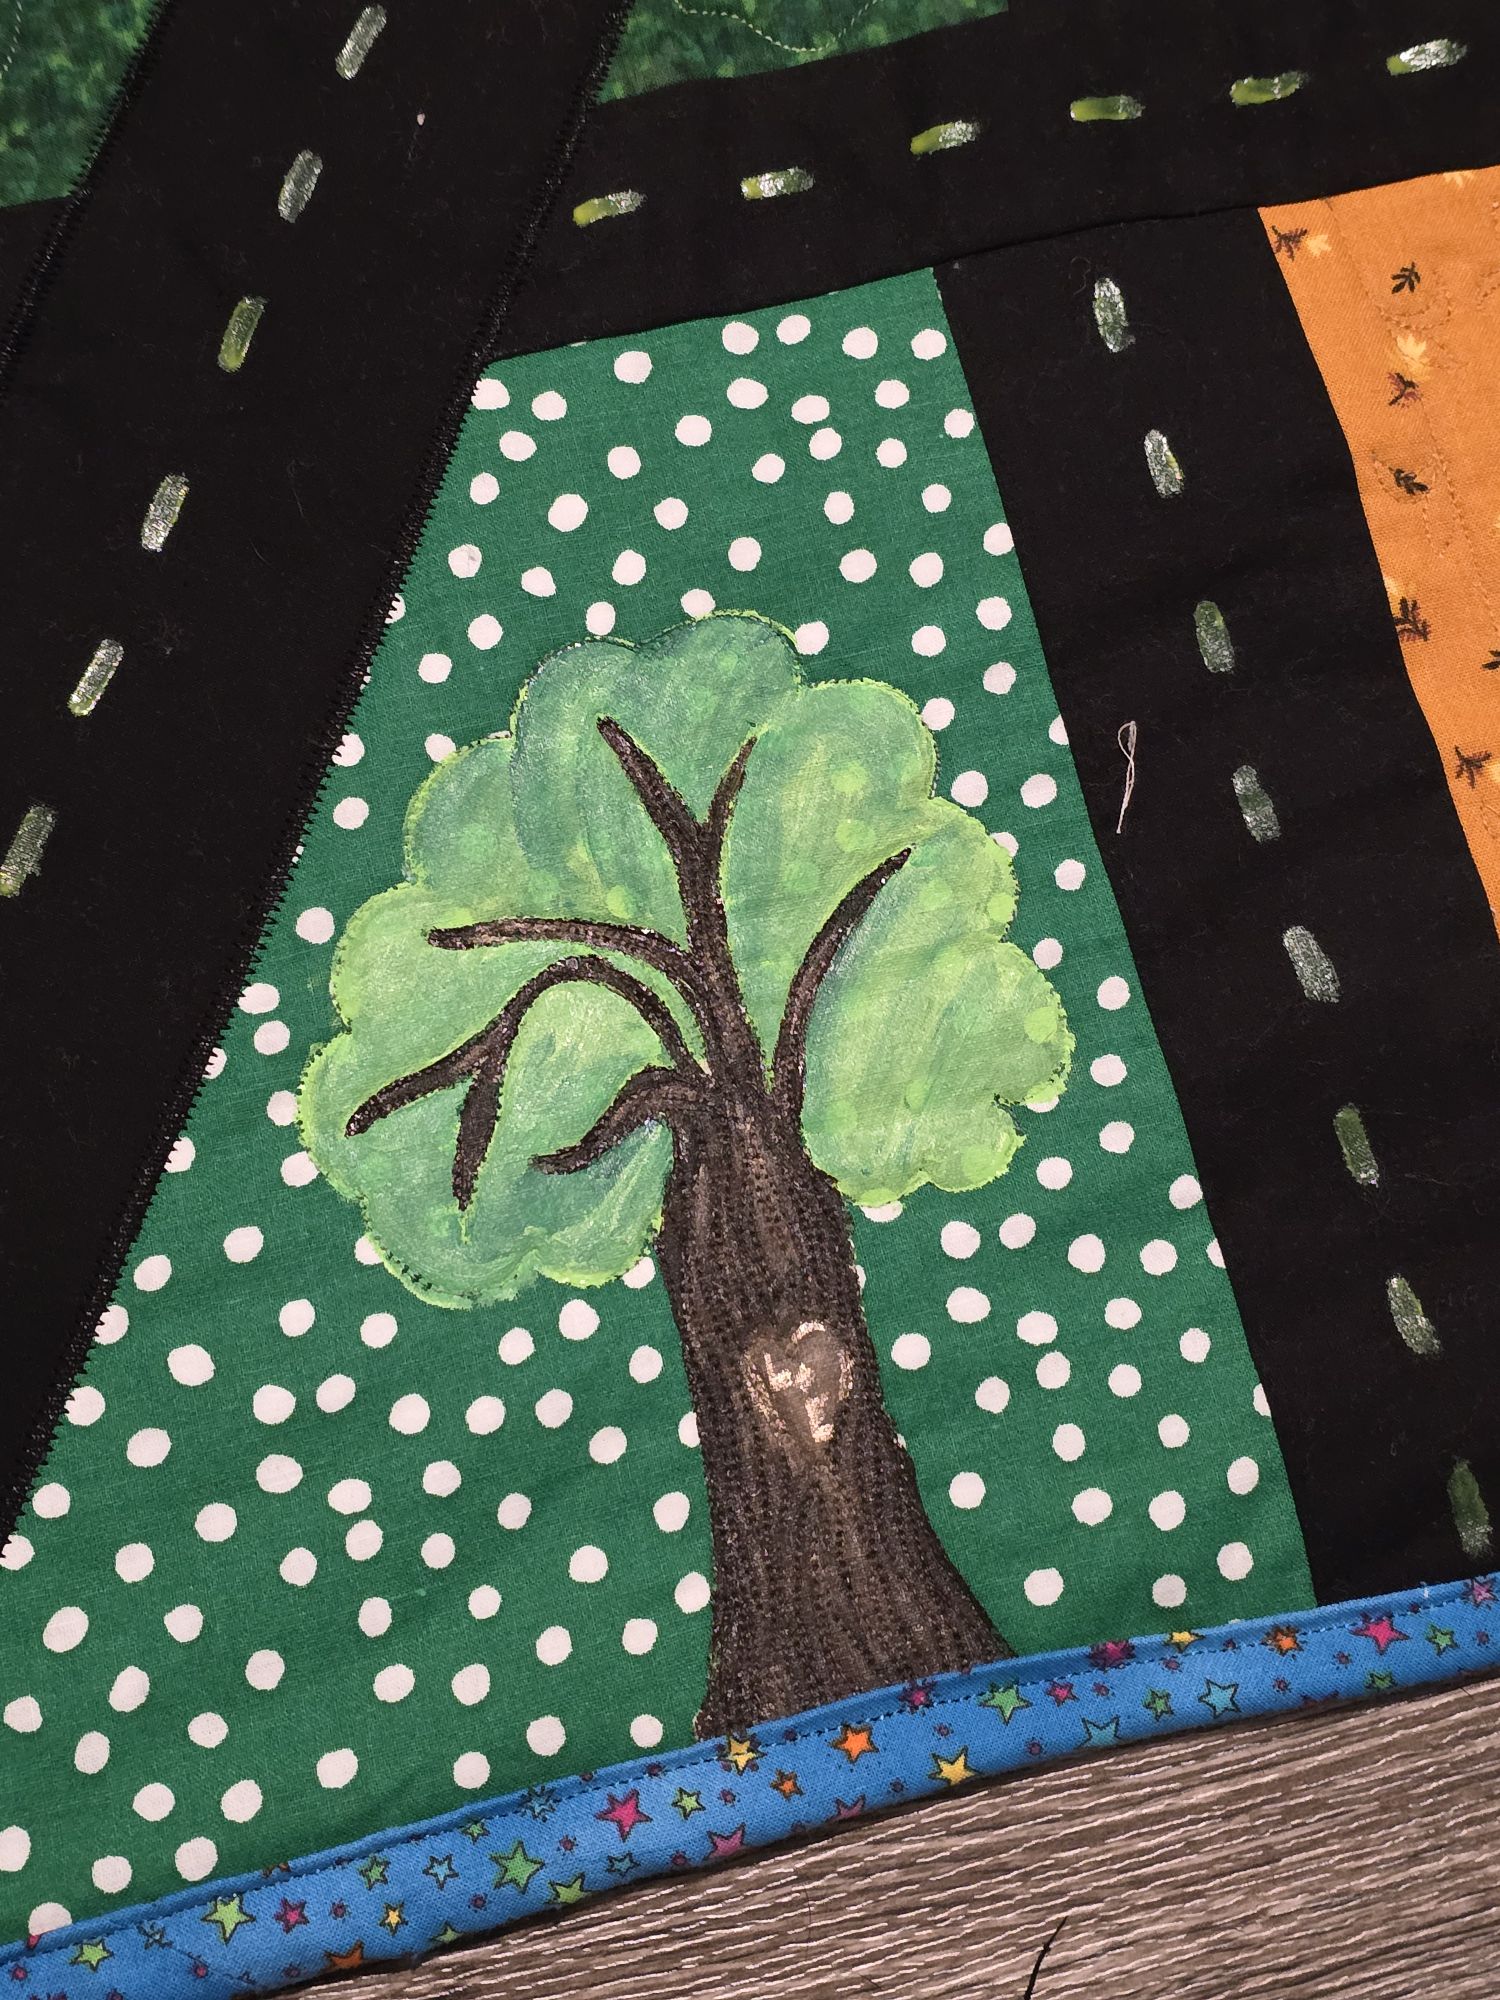
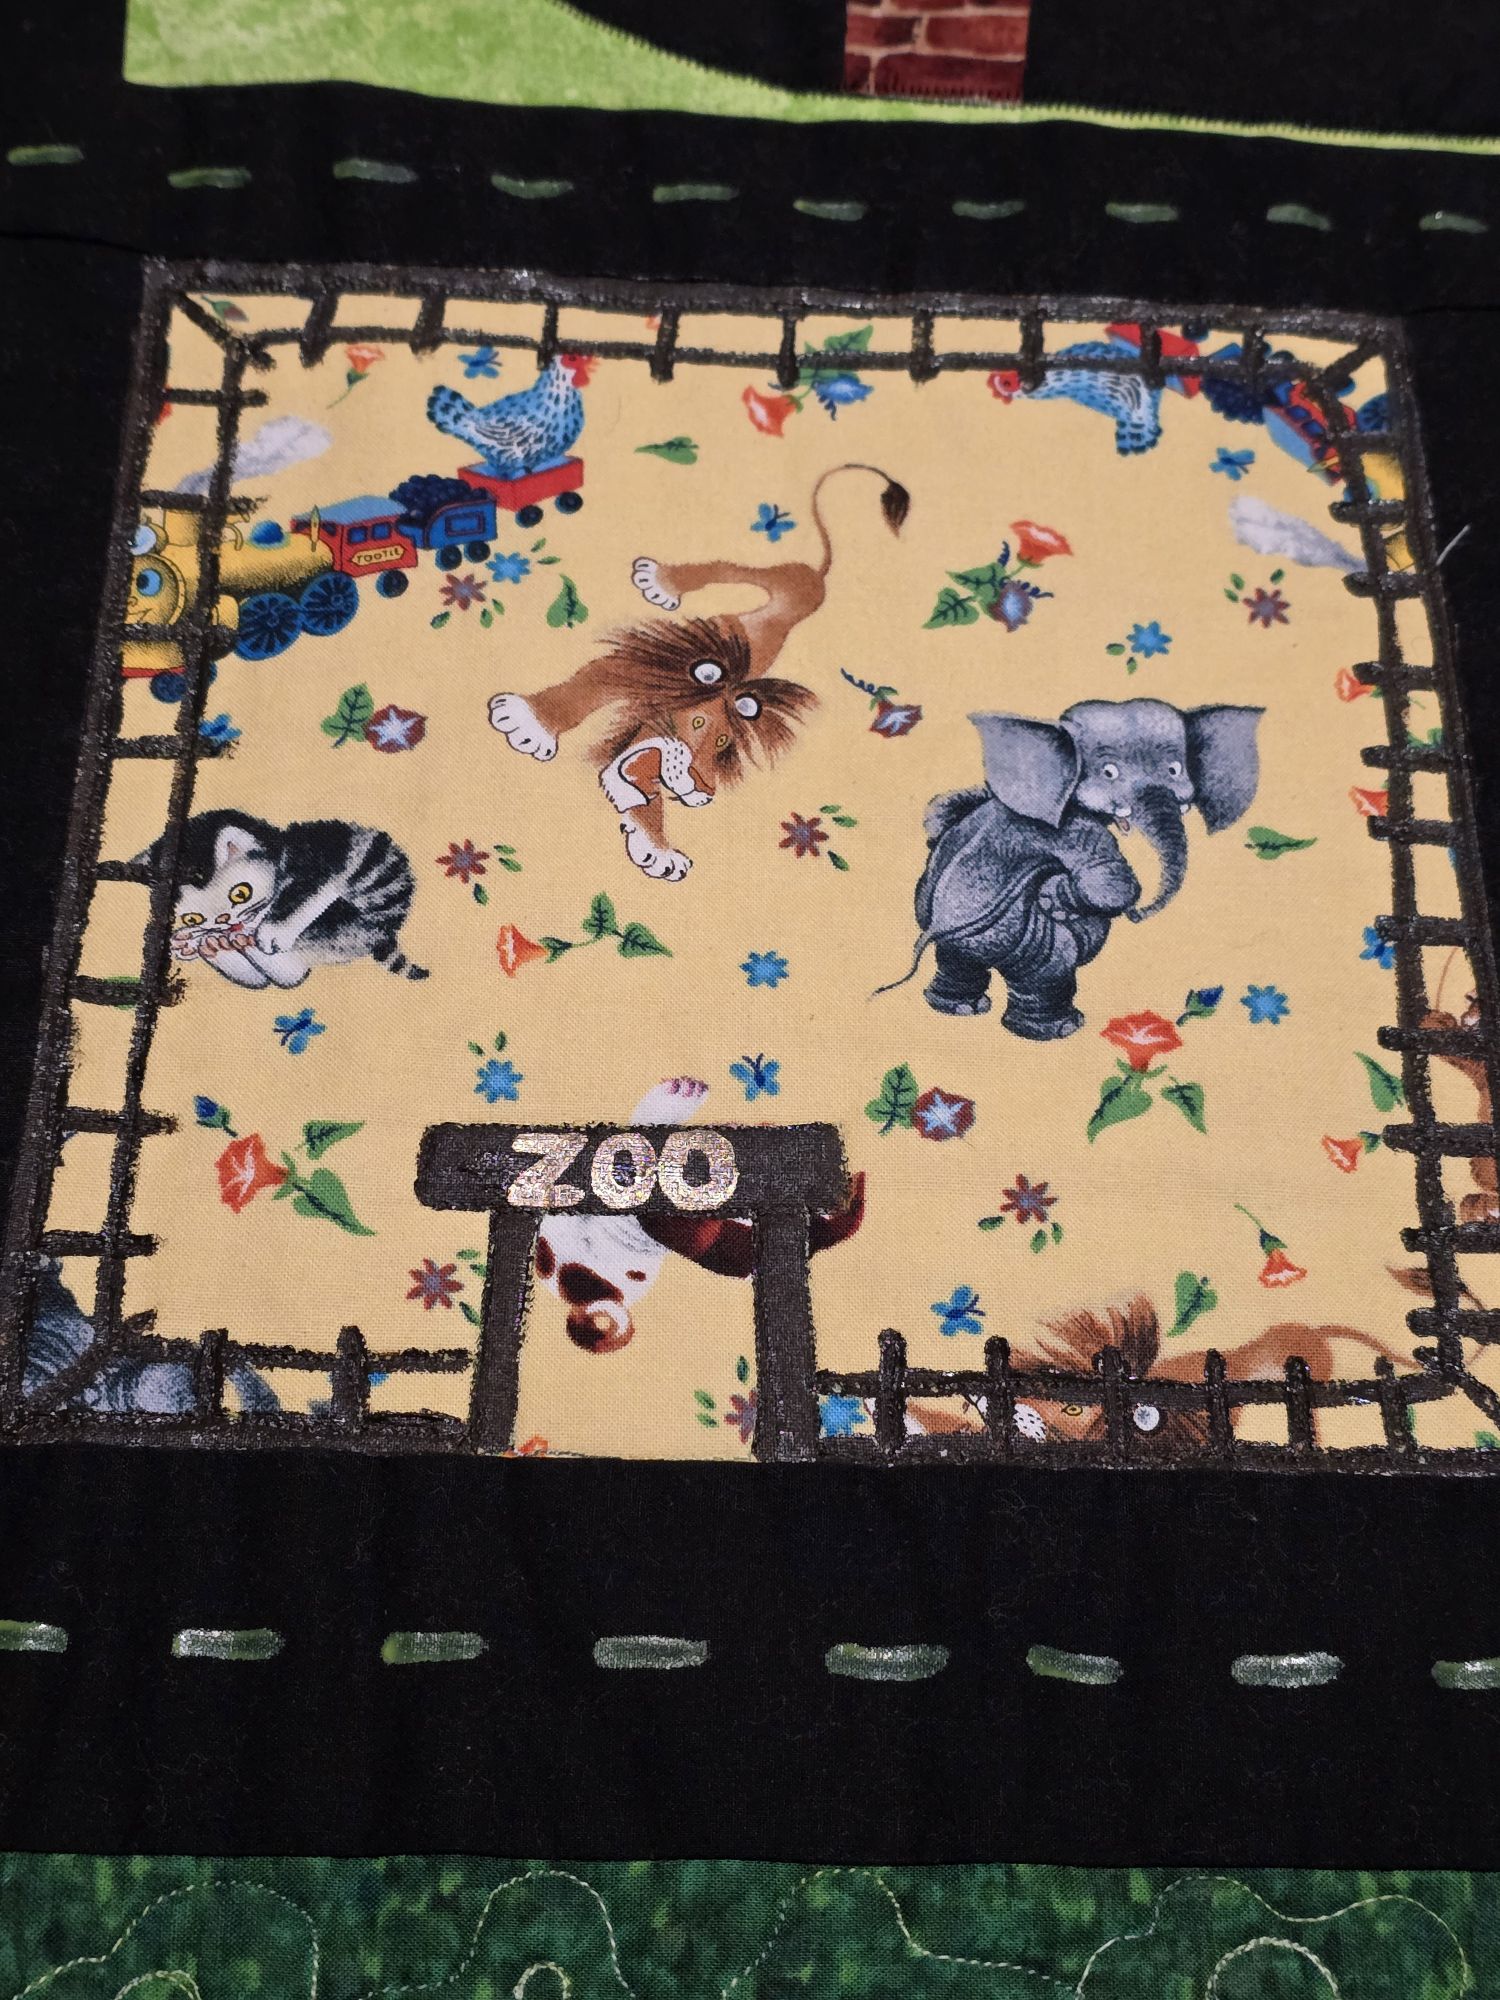
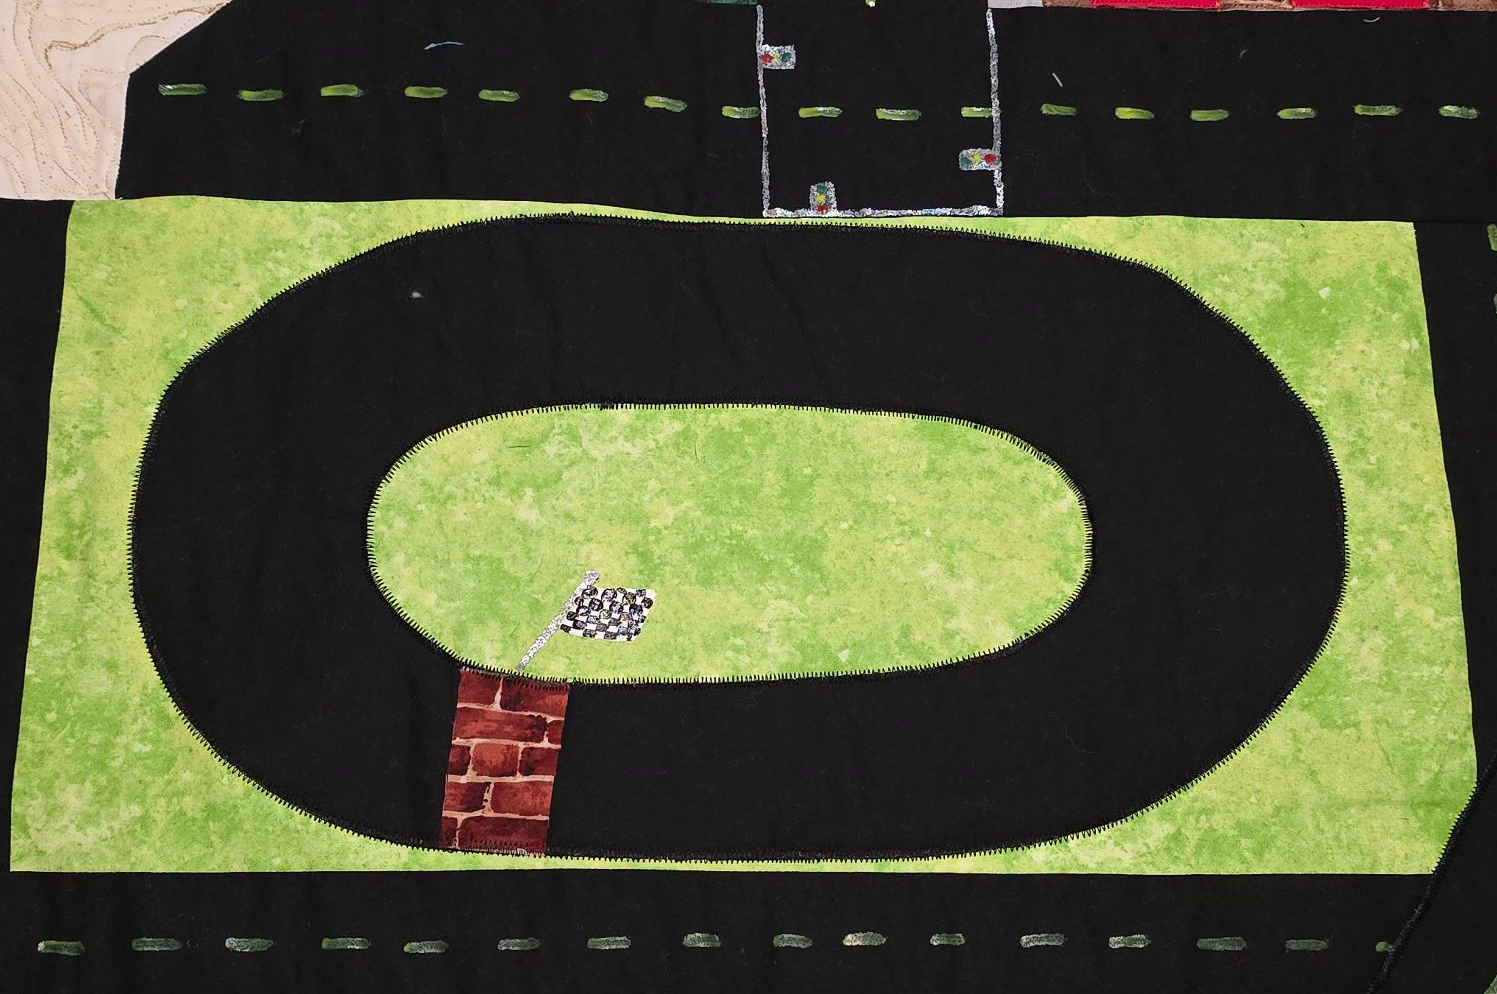
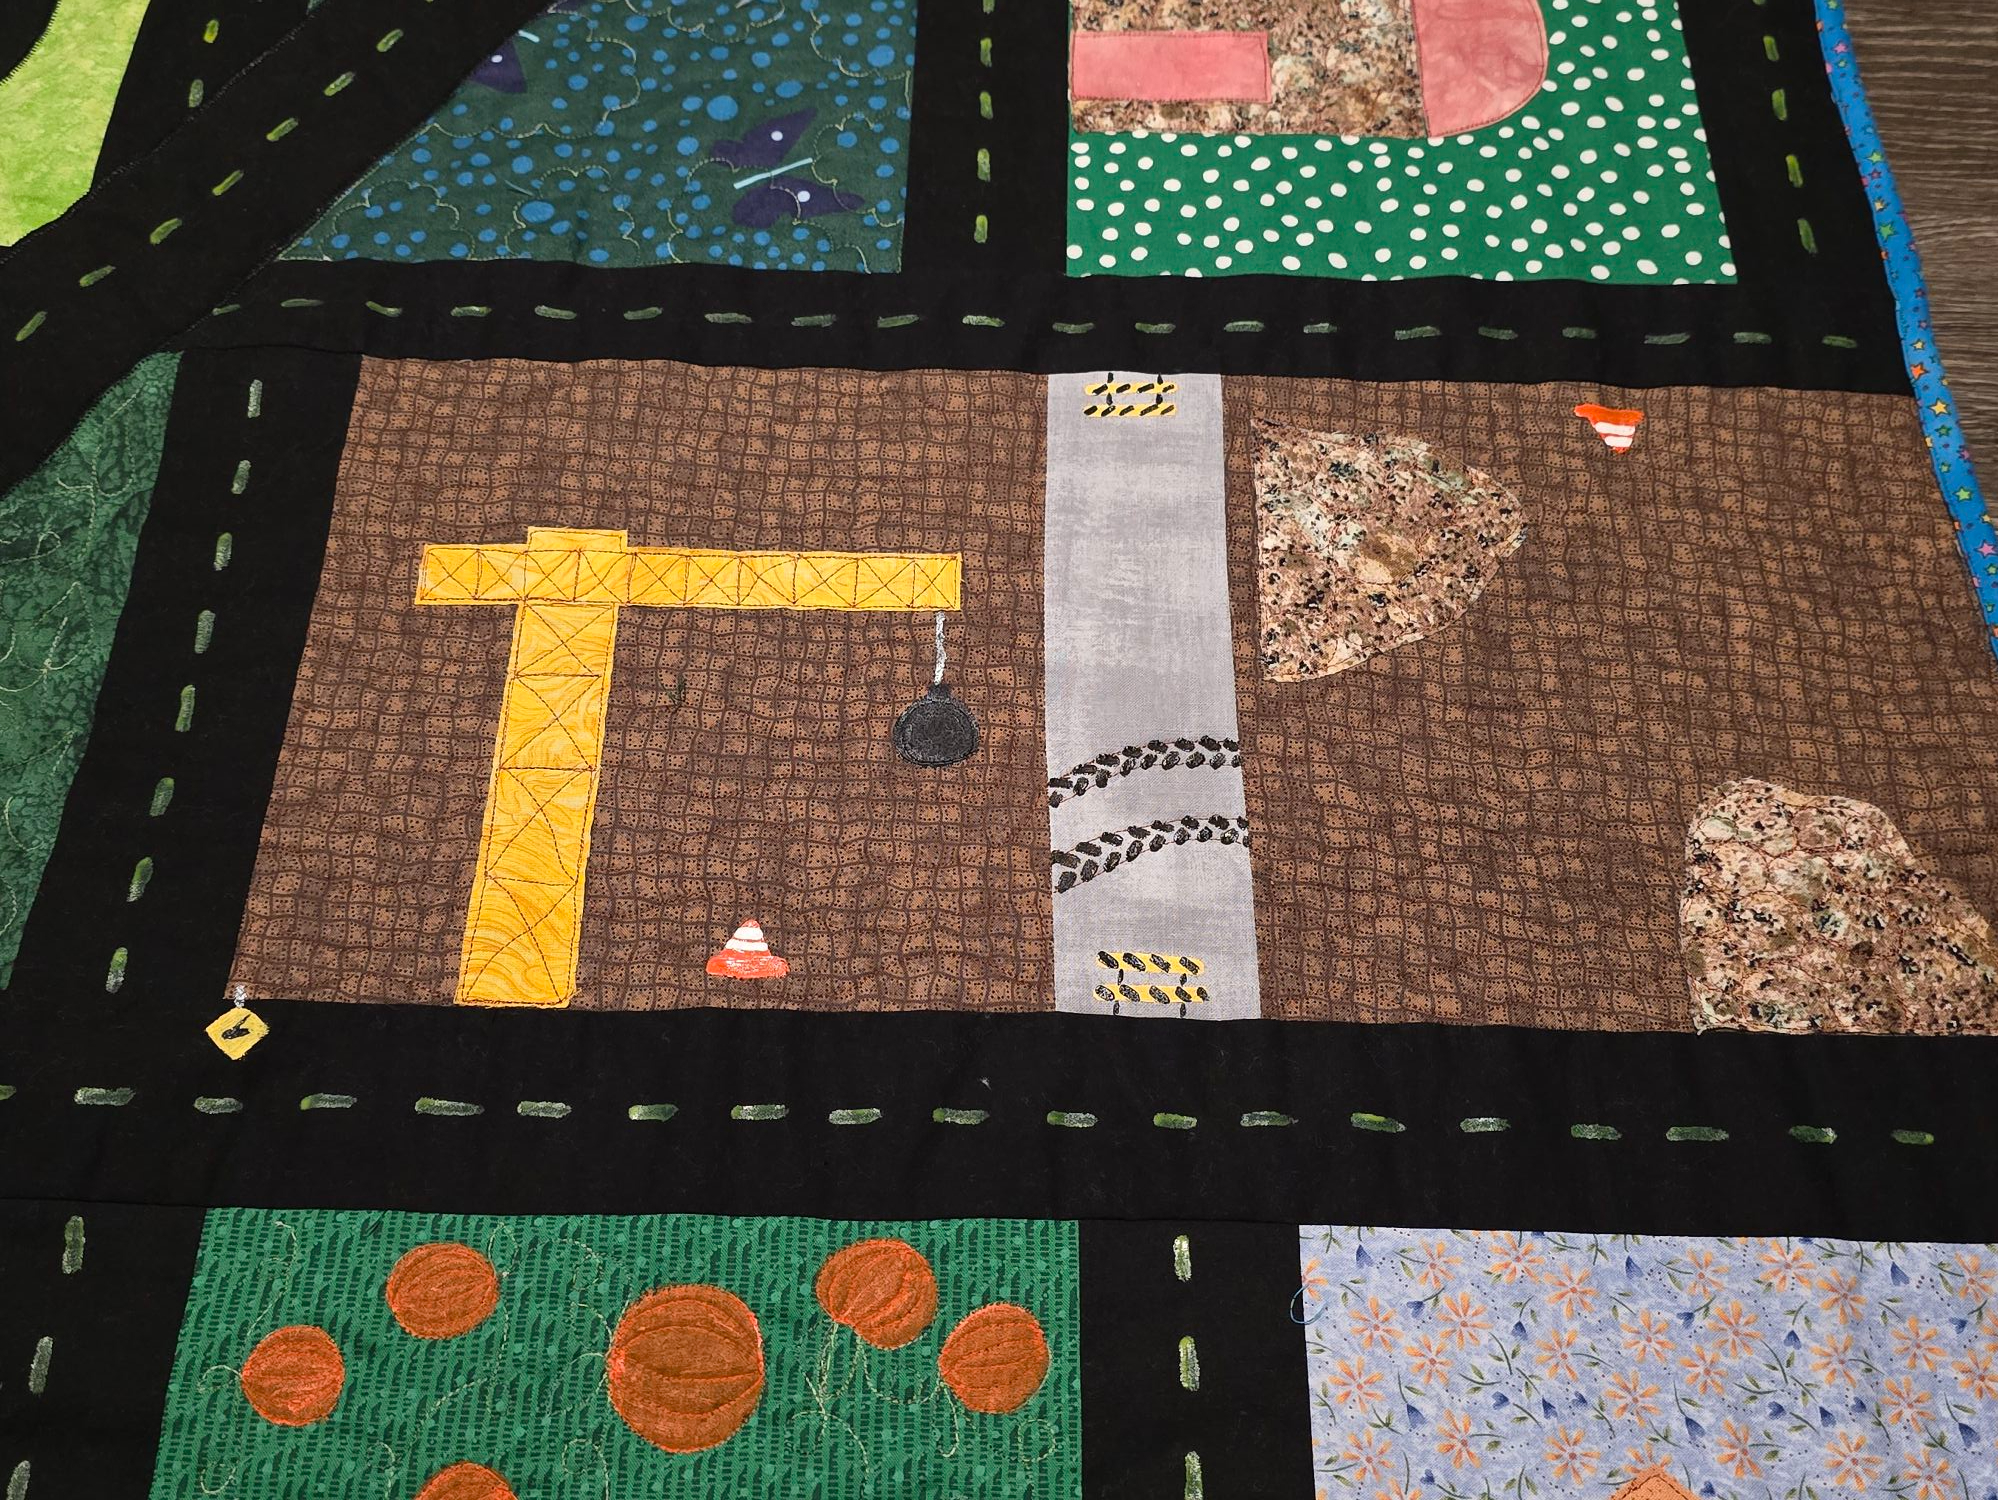
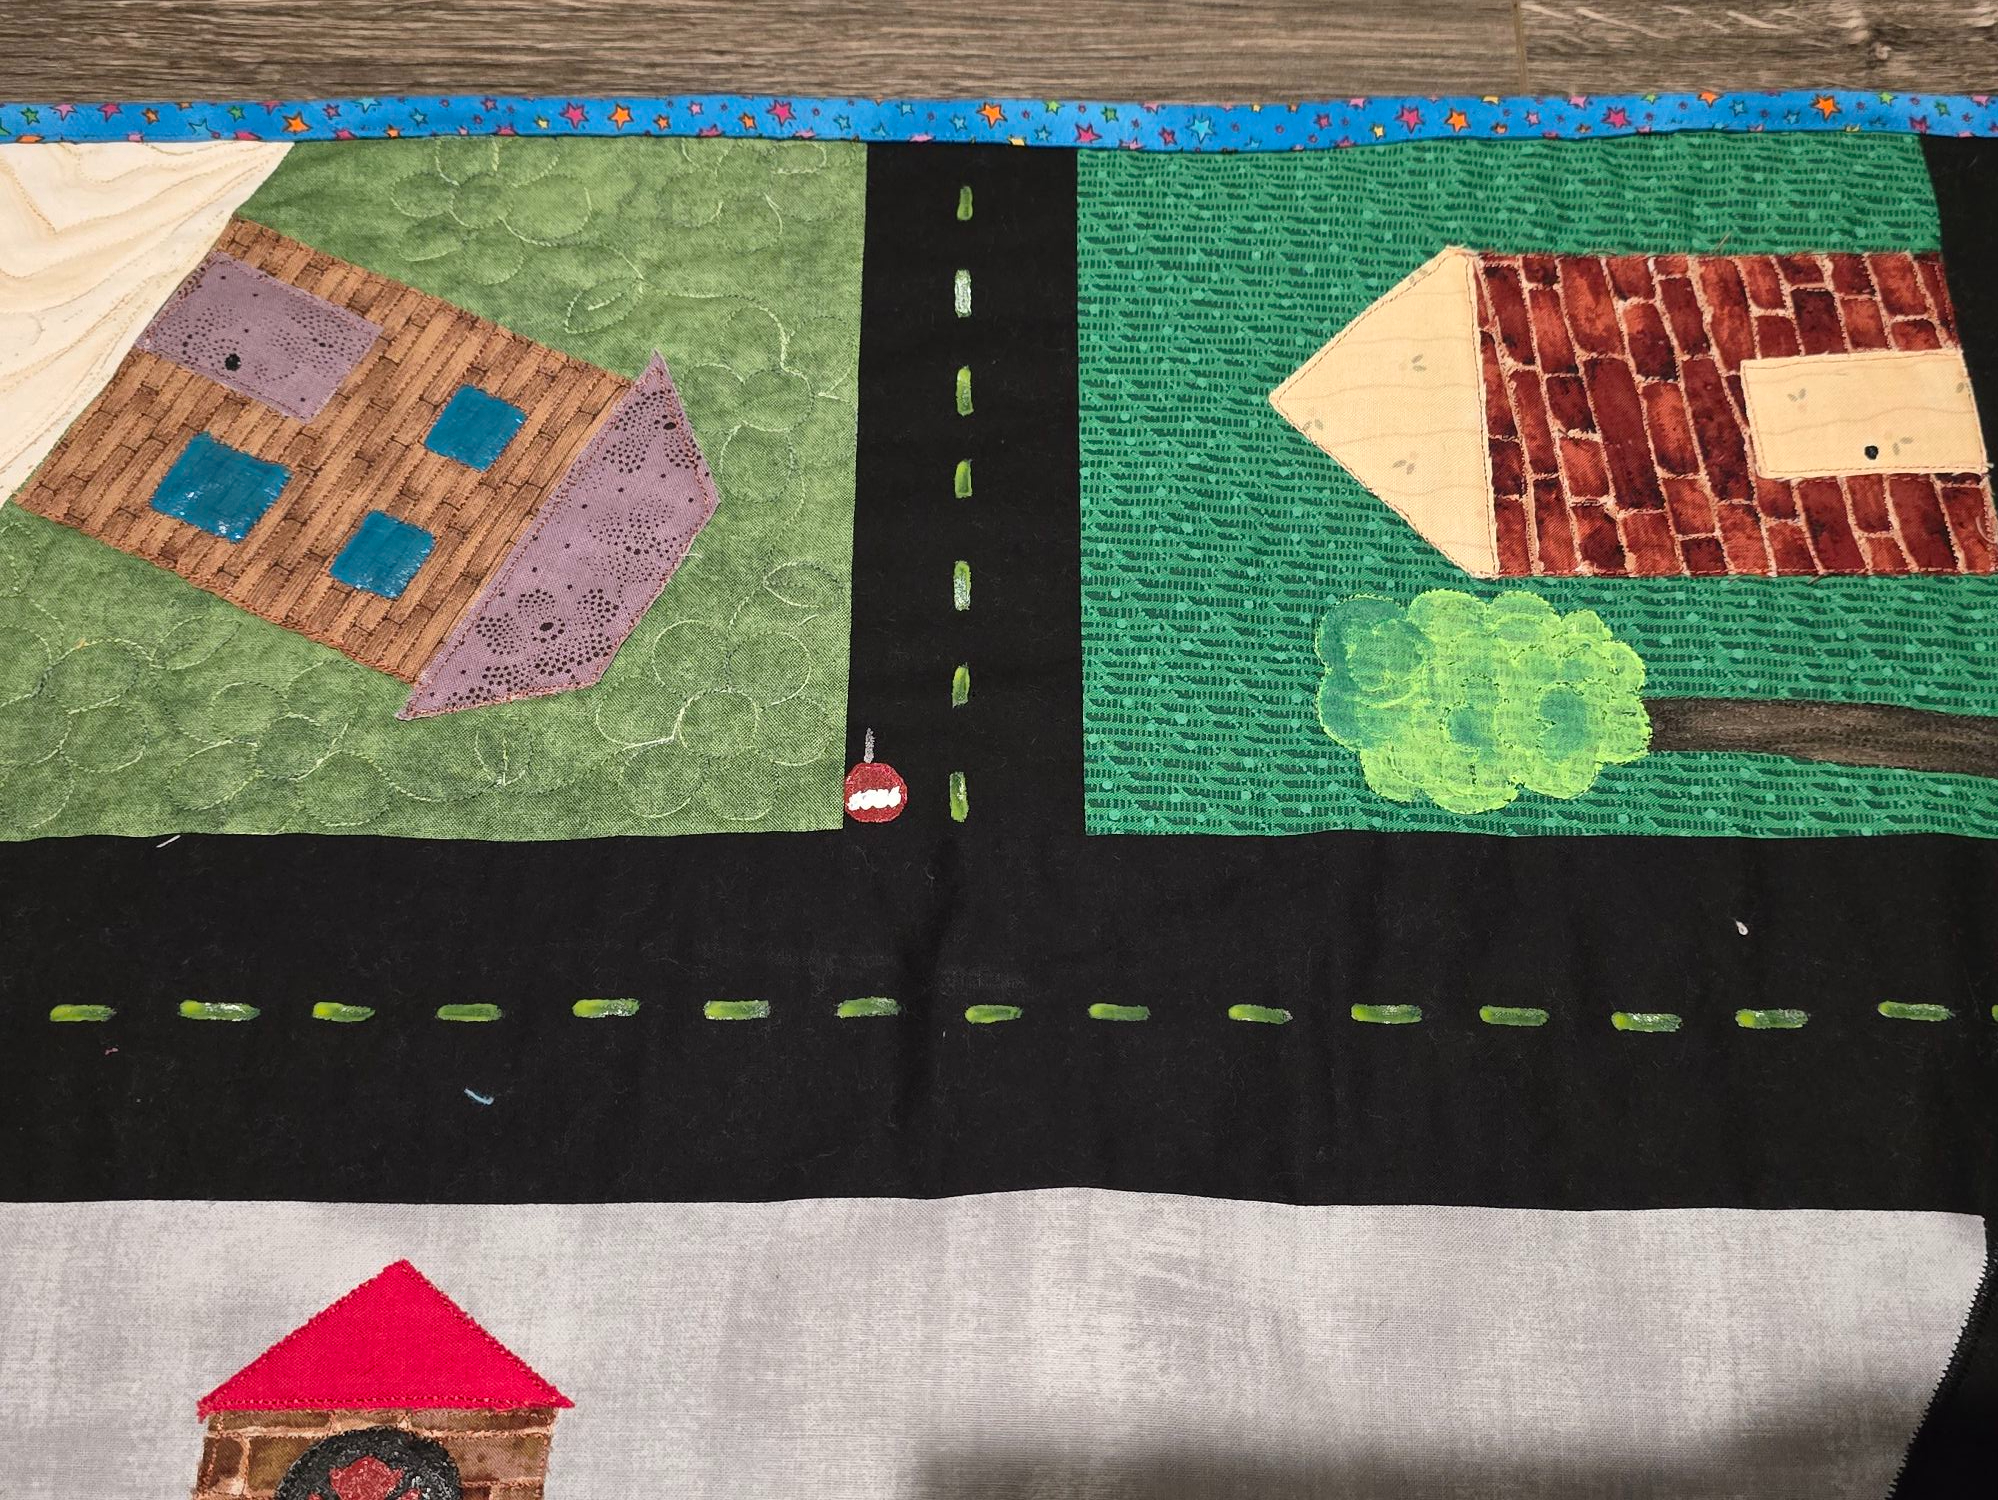
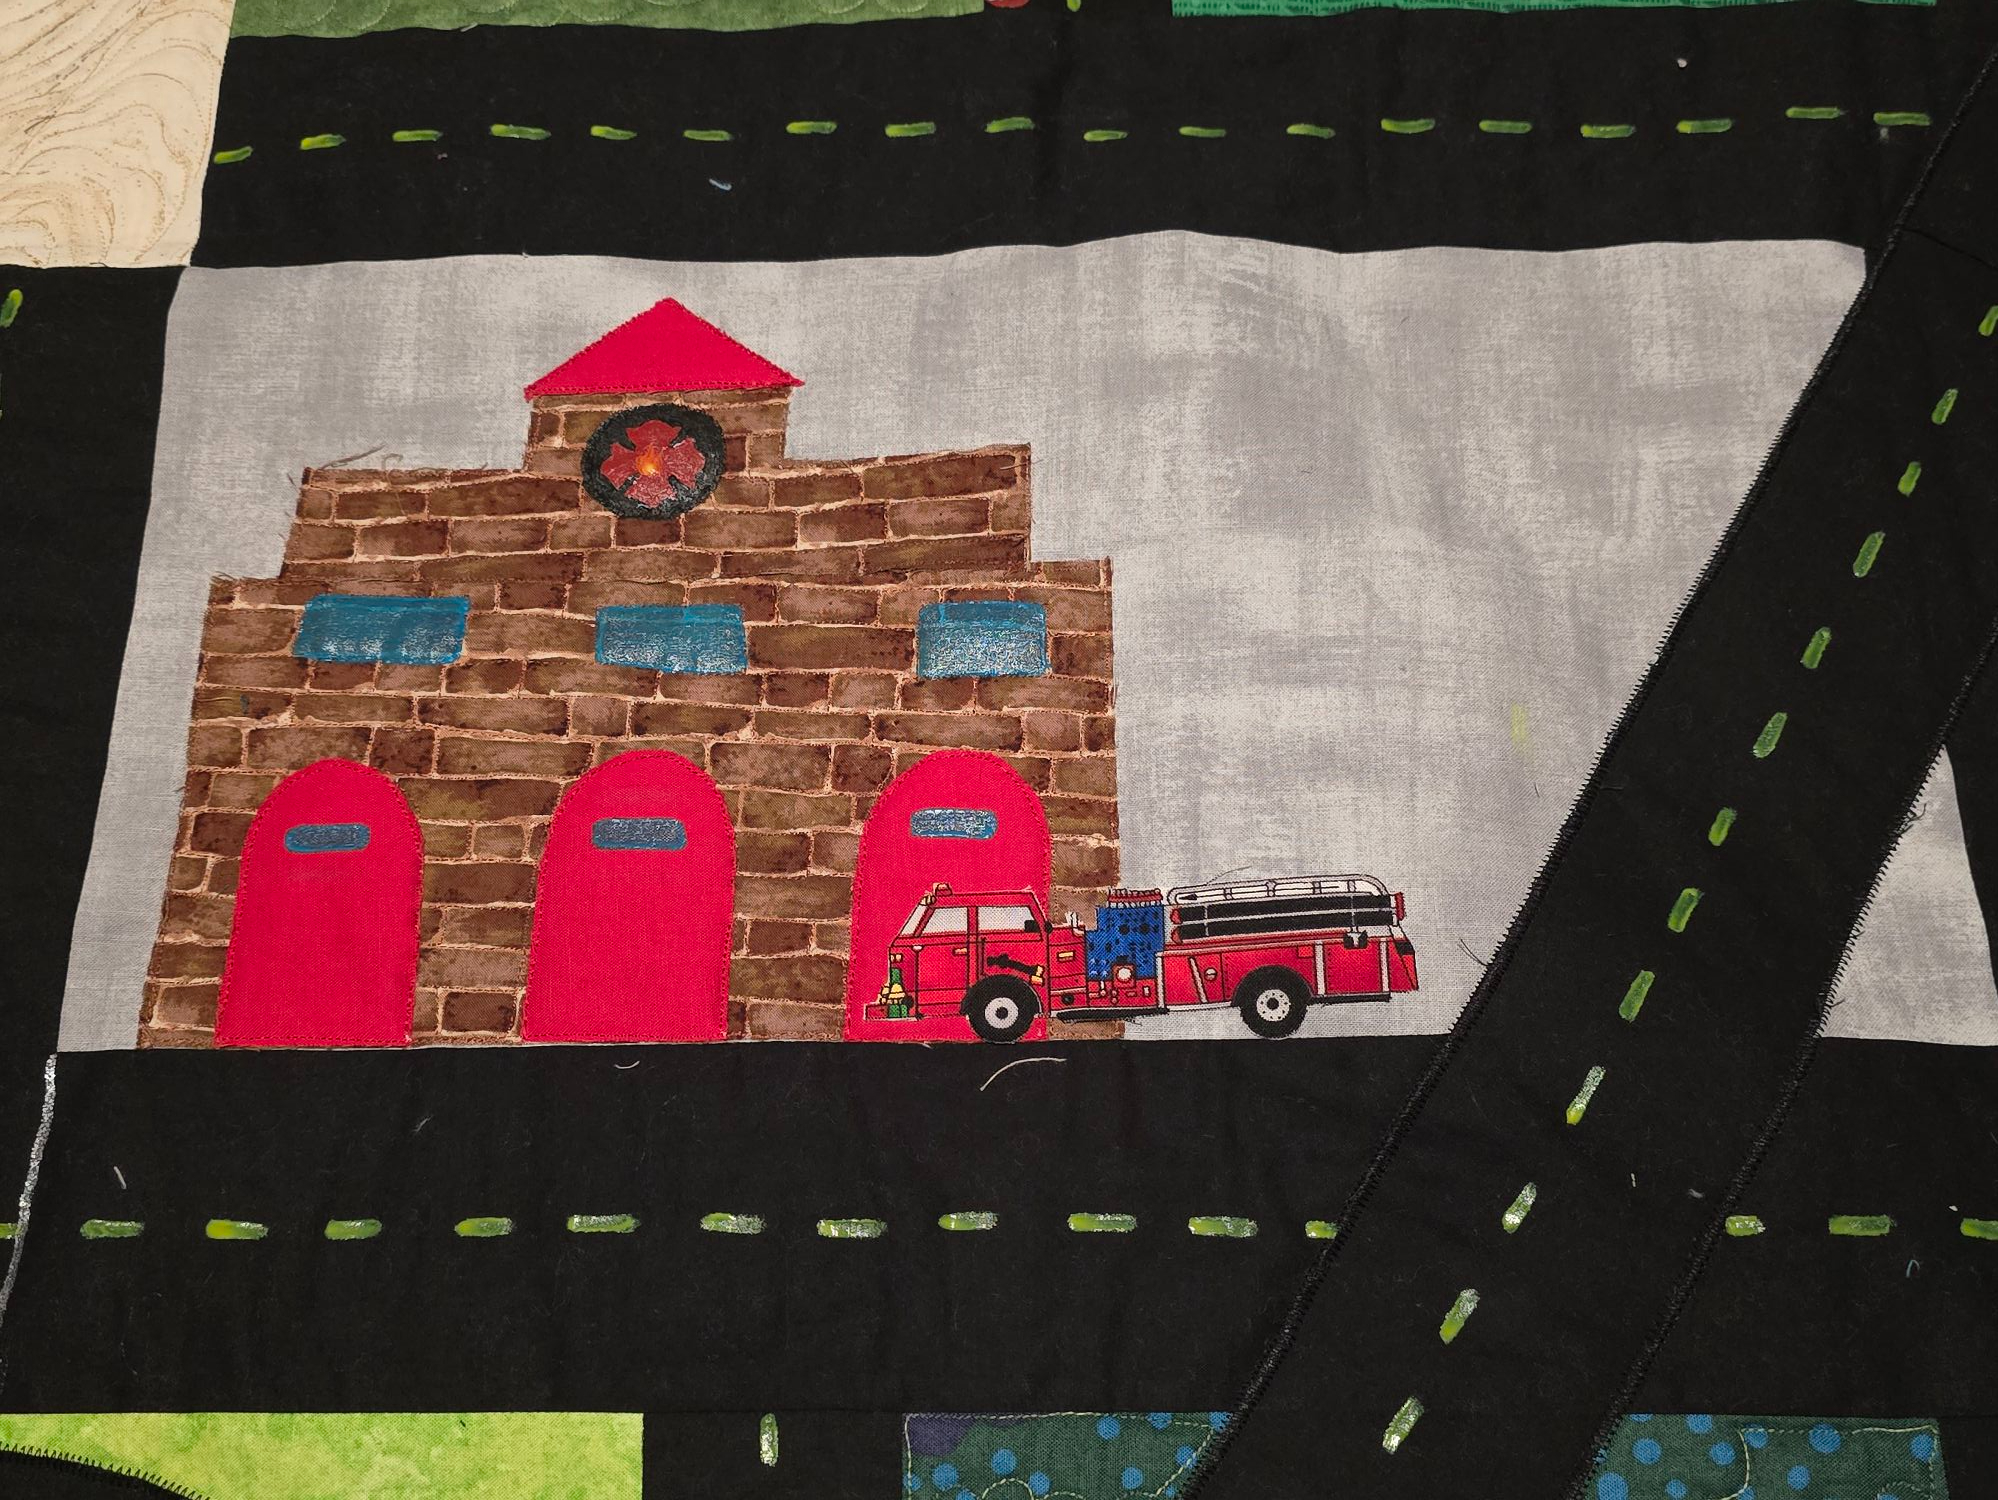
The next step was to applique! I cut out houses, a submarine, a firehouse, a racetrack, a pond, a construction site, and a barn! Using steam-a-seam, I ironed these details to their blocks. I also ironed on a highway cutting through the quilt. Once they were ironed on, I went to free motion quilting the quilt. I chose to leave some blocks alone and others to quilt in more intricate detail as seen below. Overall, I free motion quilted all of the applique on with the exception of the submarine and the highway used a zig-zag stitch.
This is an easy, but effective wave technique. This video is in X3 speed, so I do quilt slower than this. You may be wondering why one glove. Is it a technique? No, I just misplaced the other one! Gloves do help with grip, so I highly recommend you get your own.


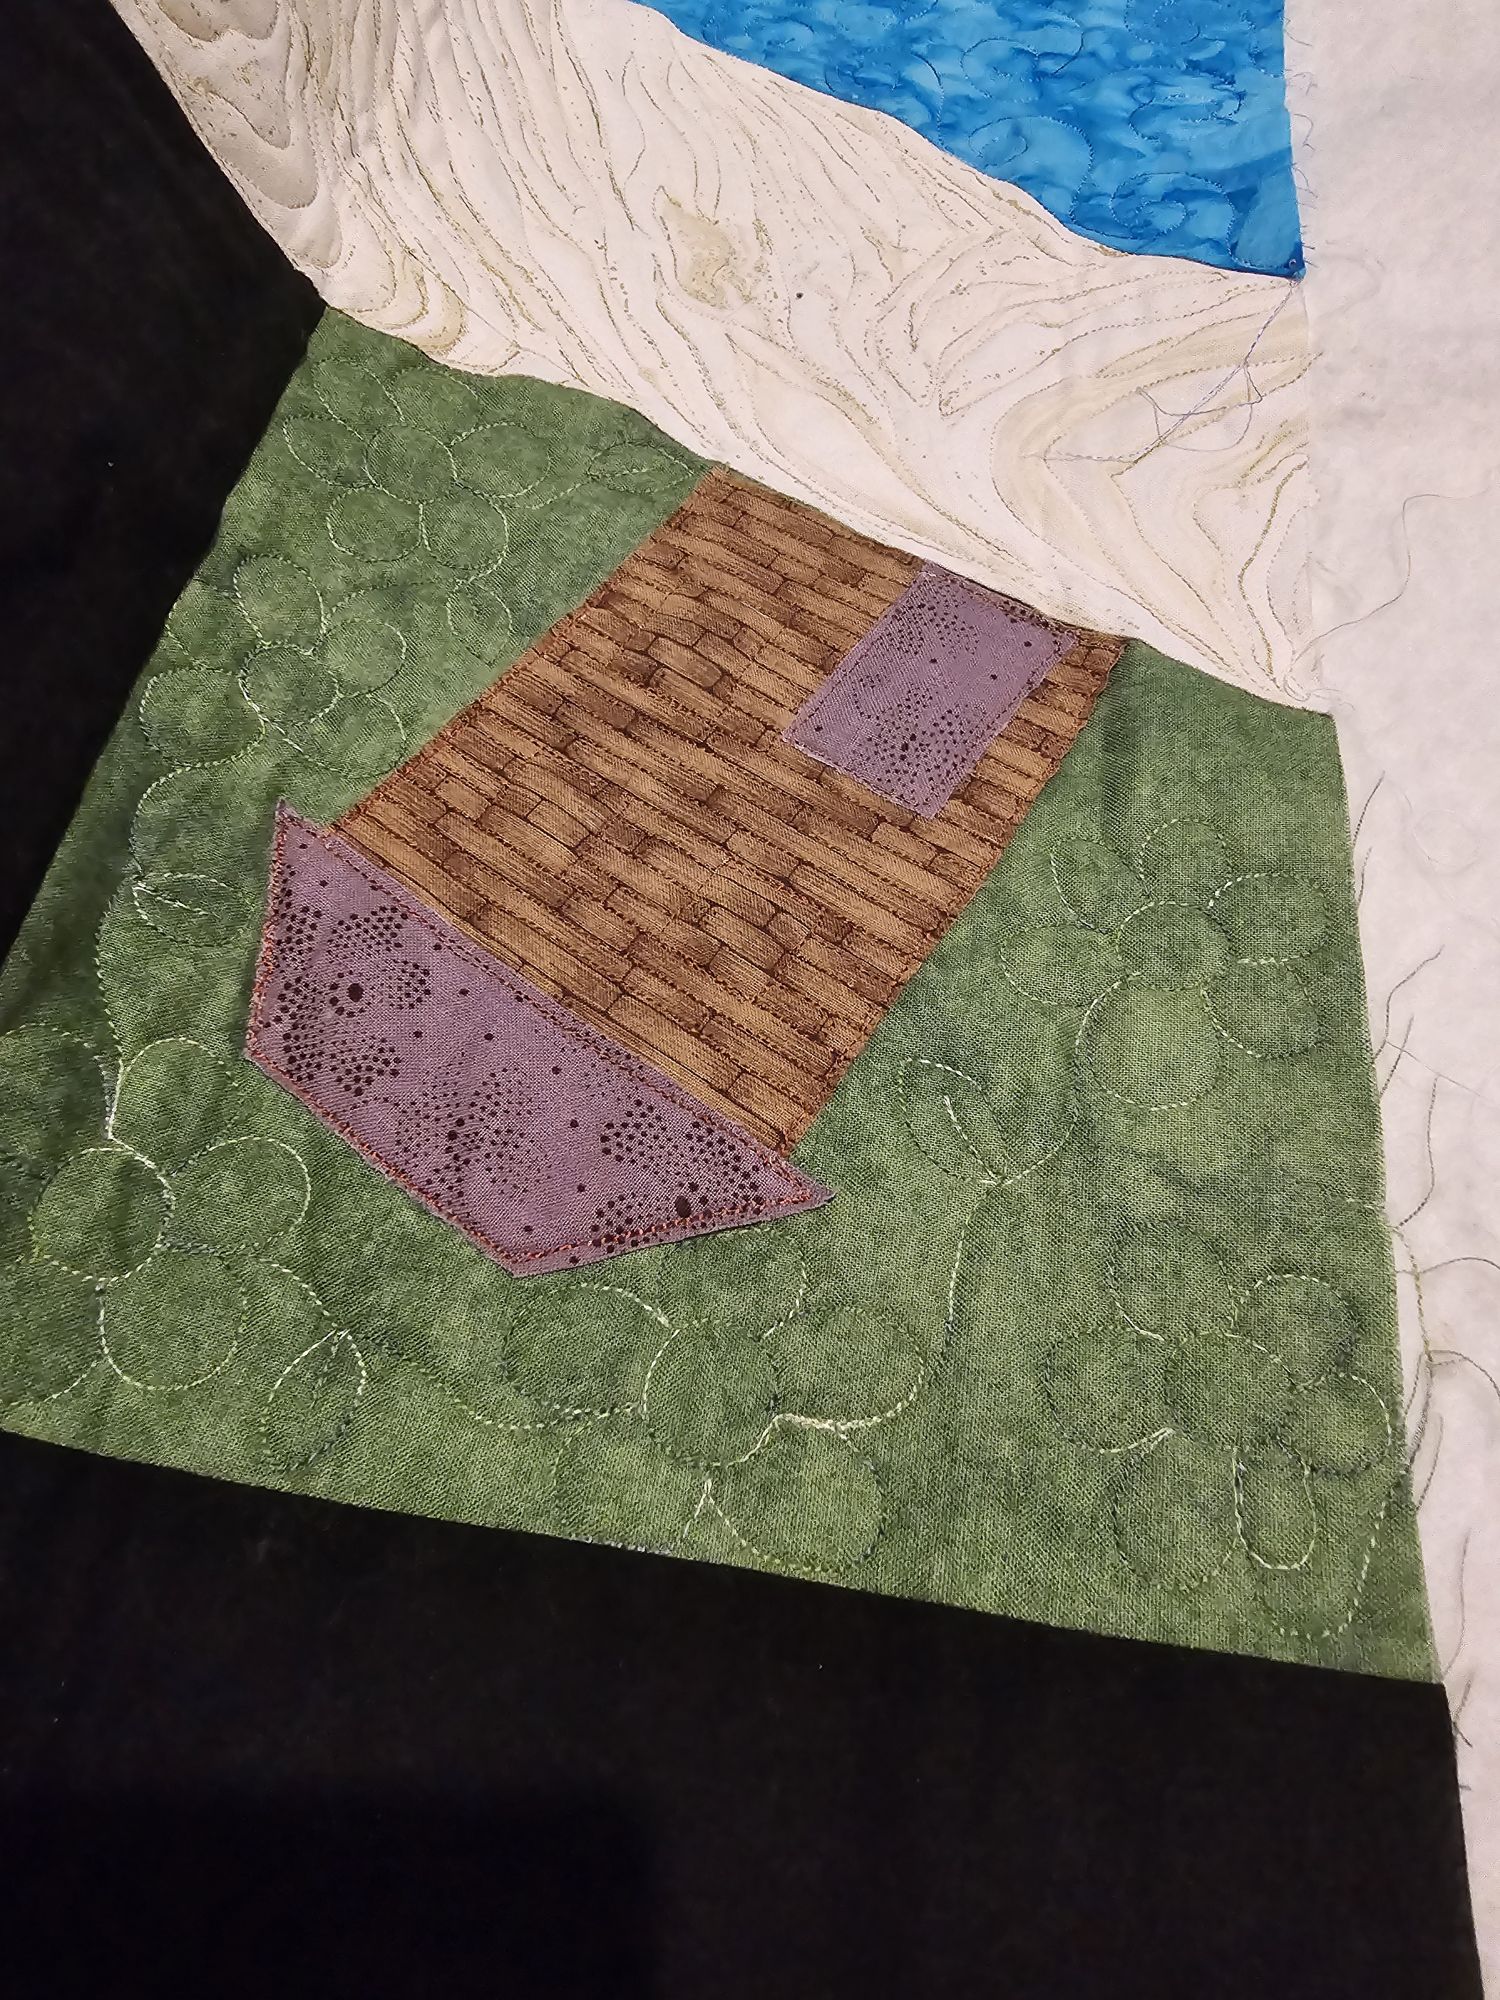
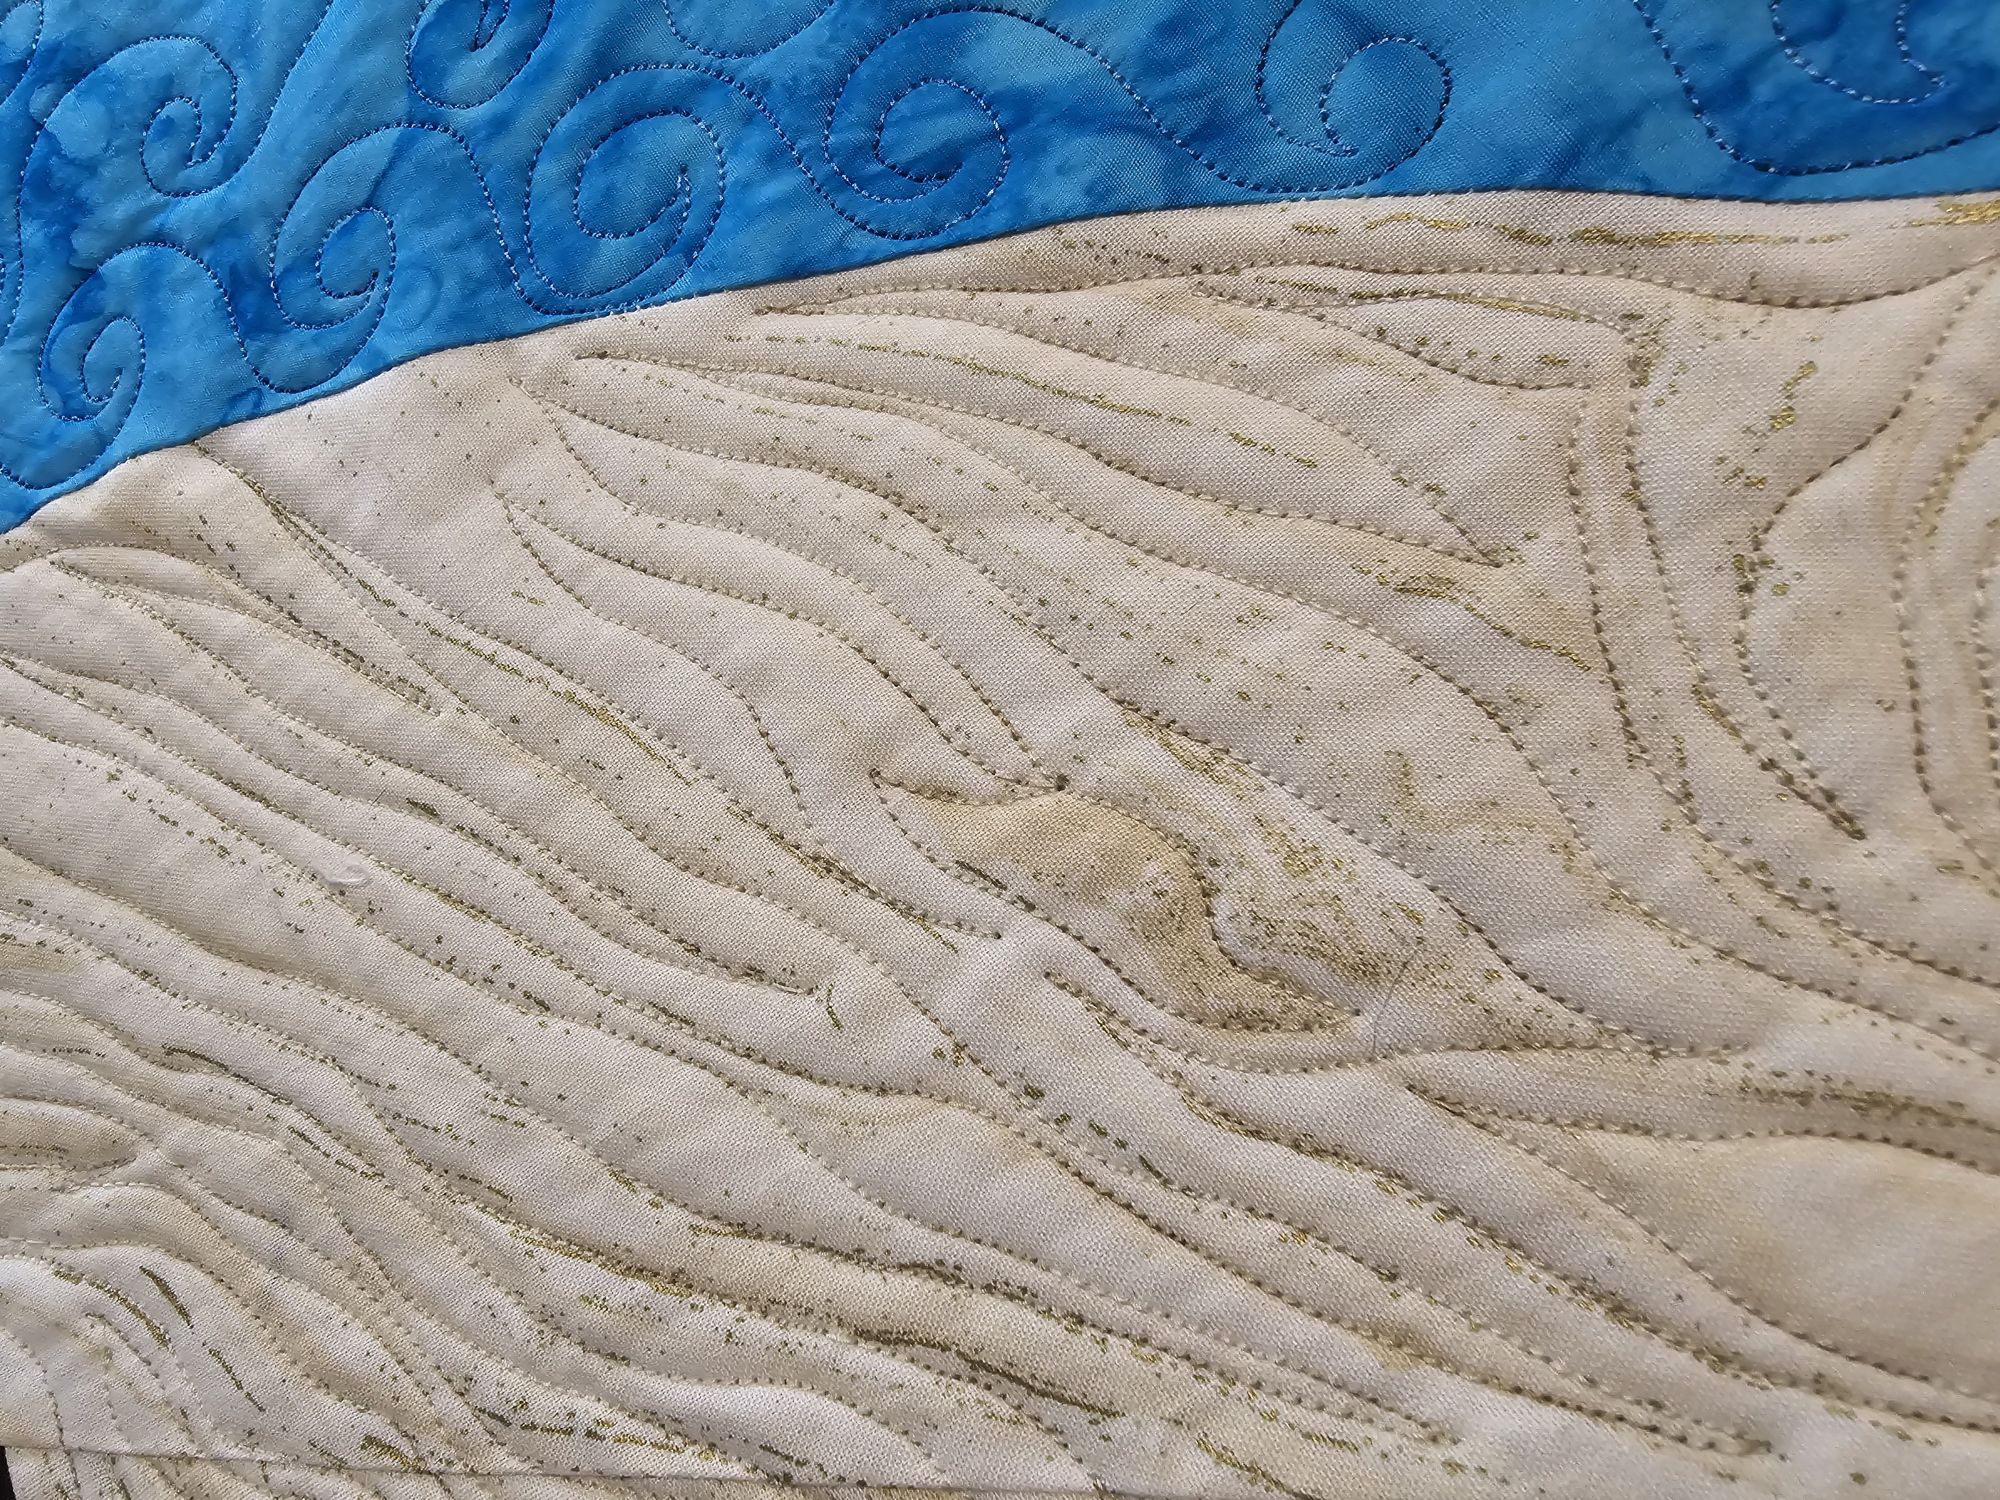
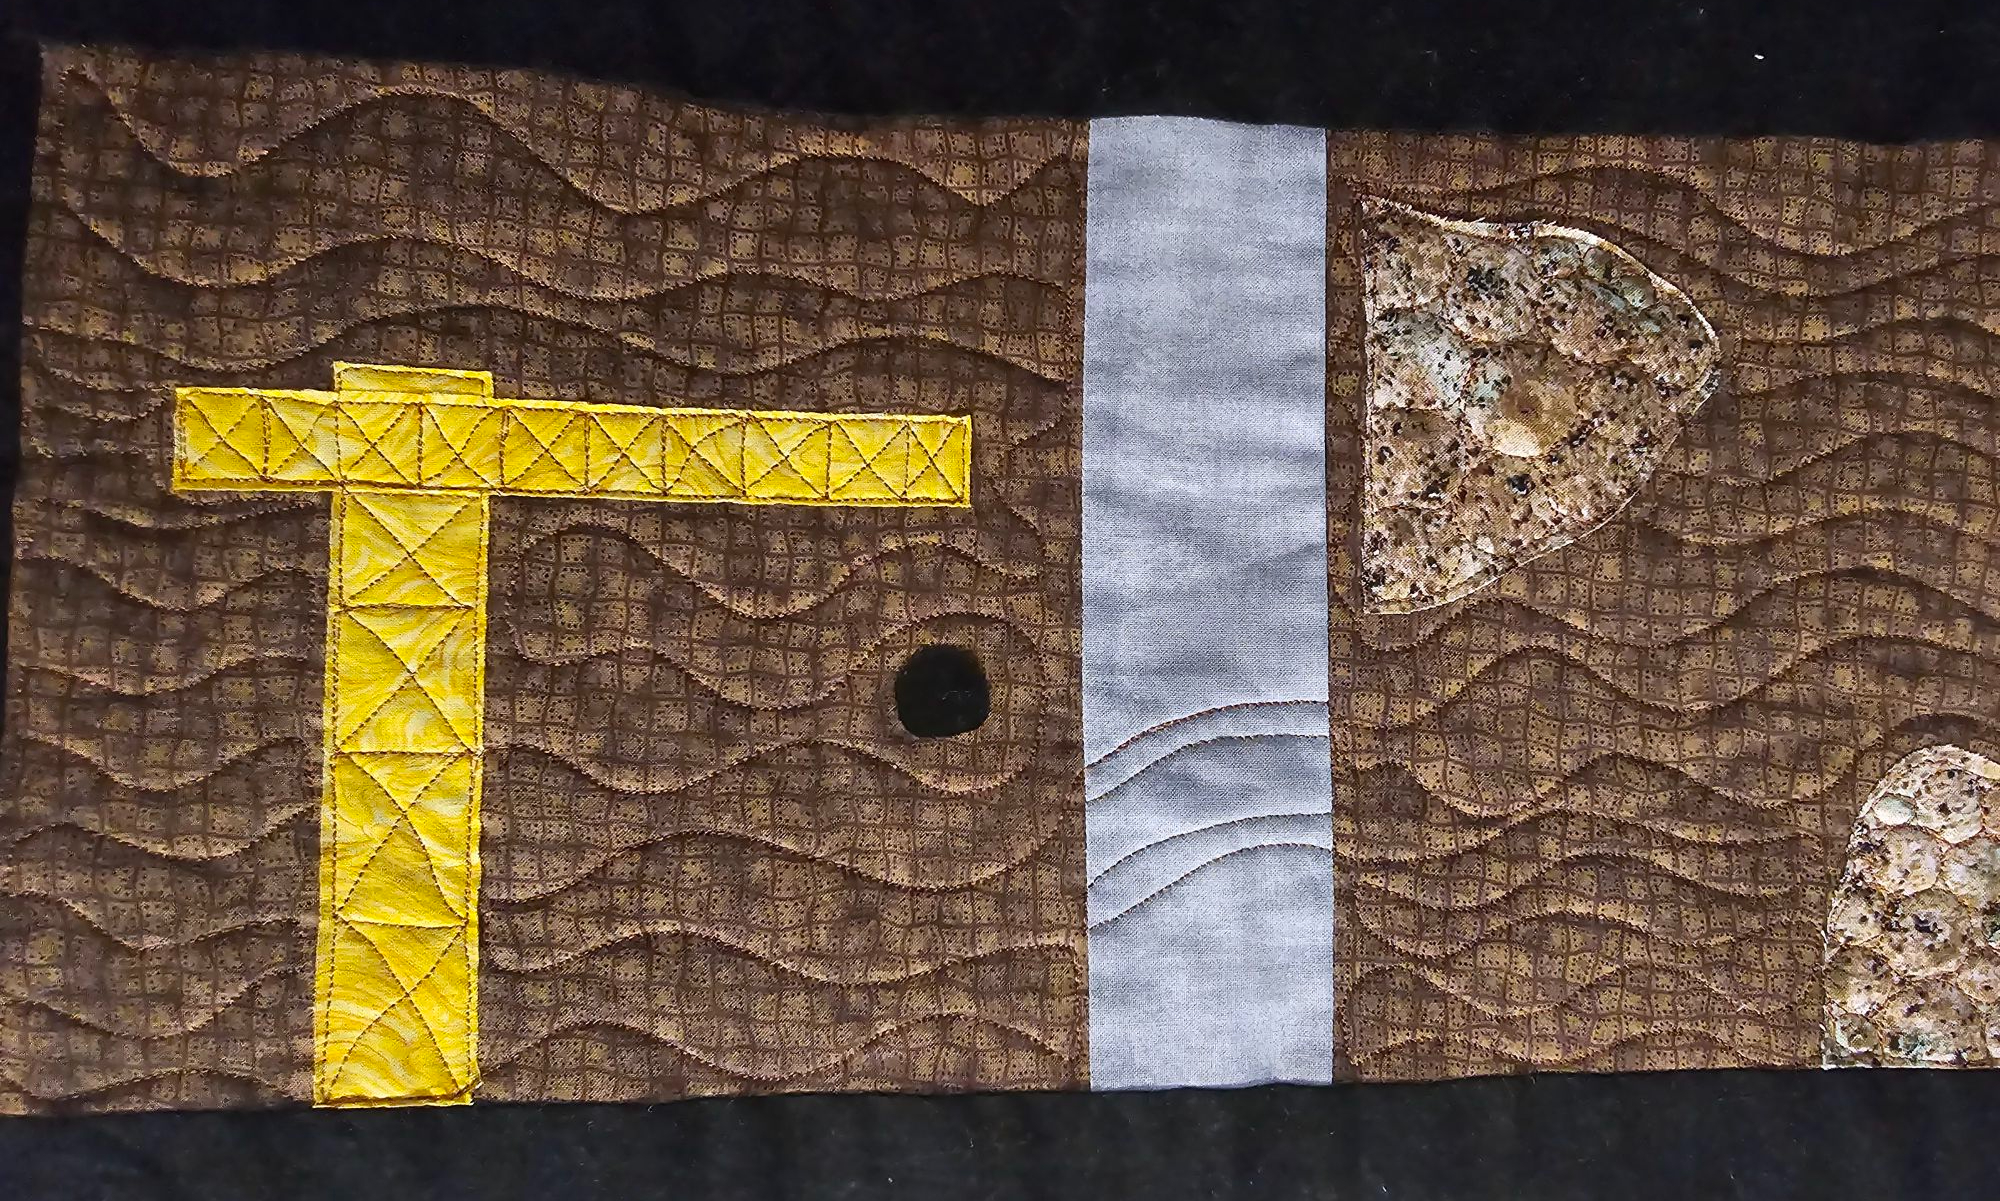
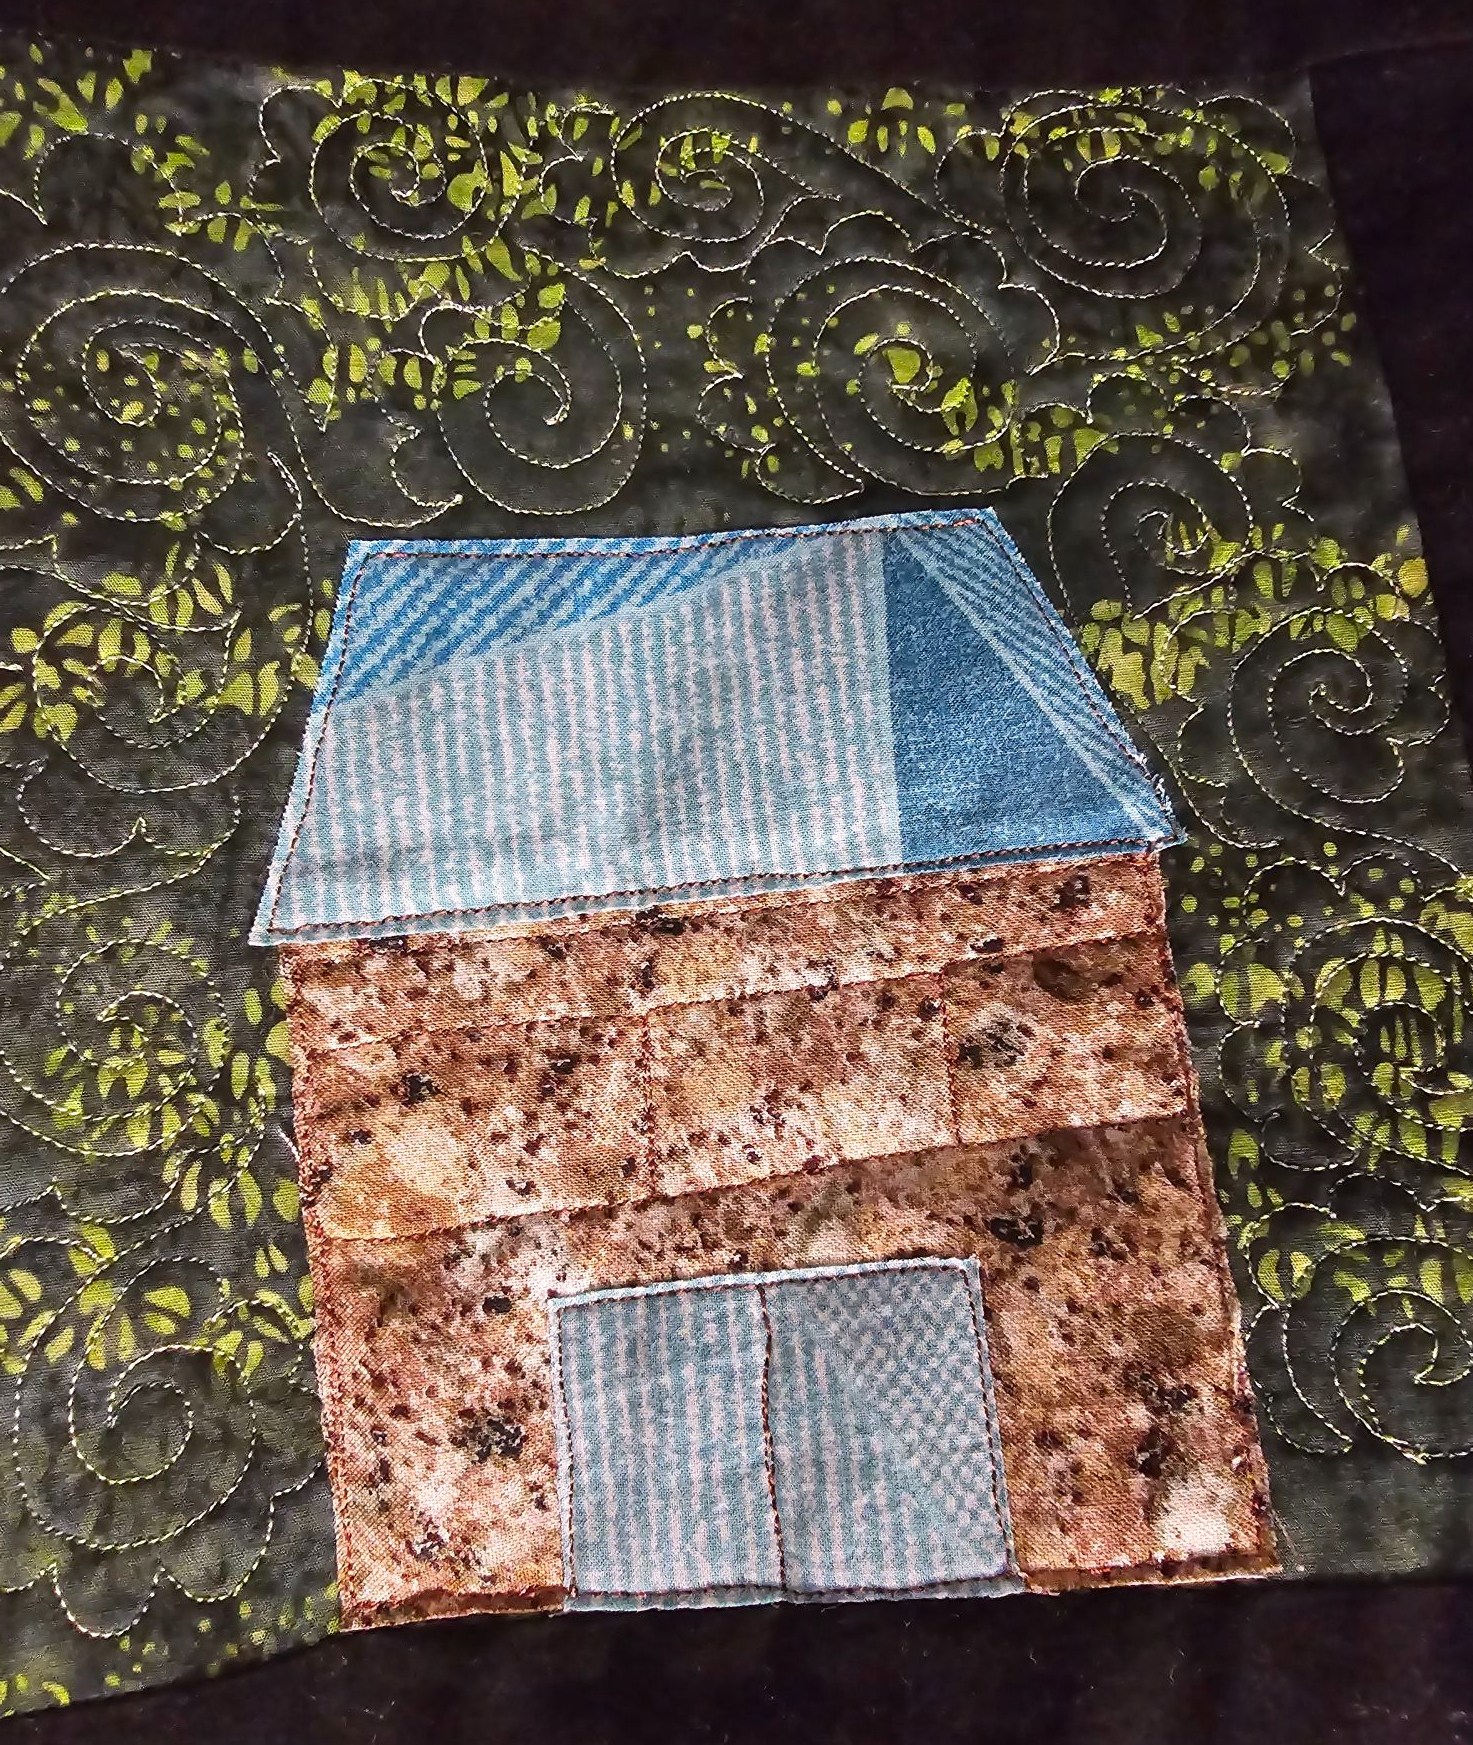
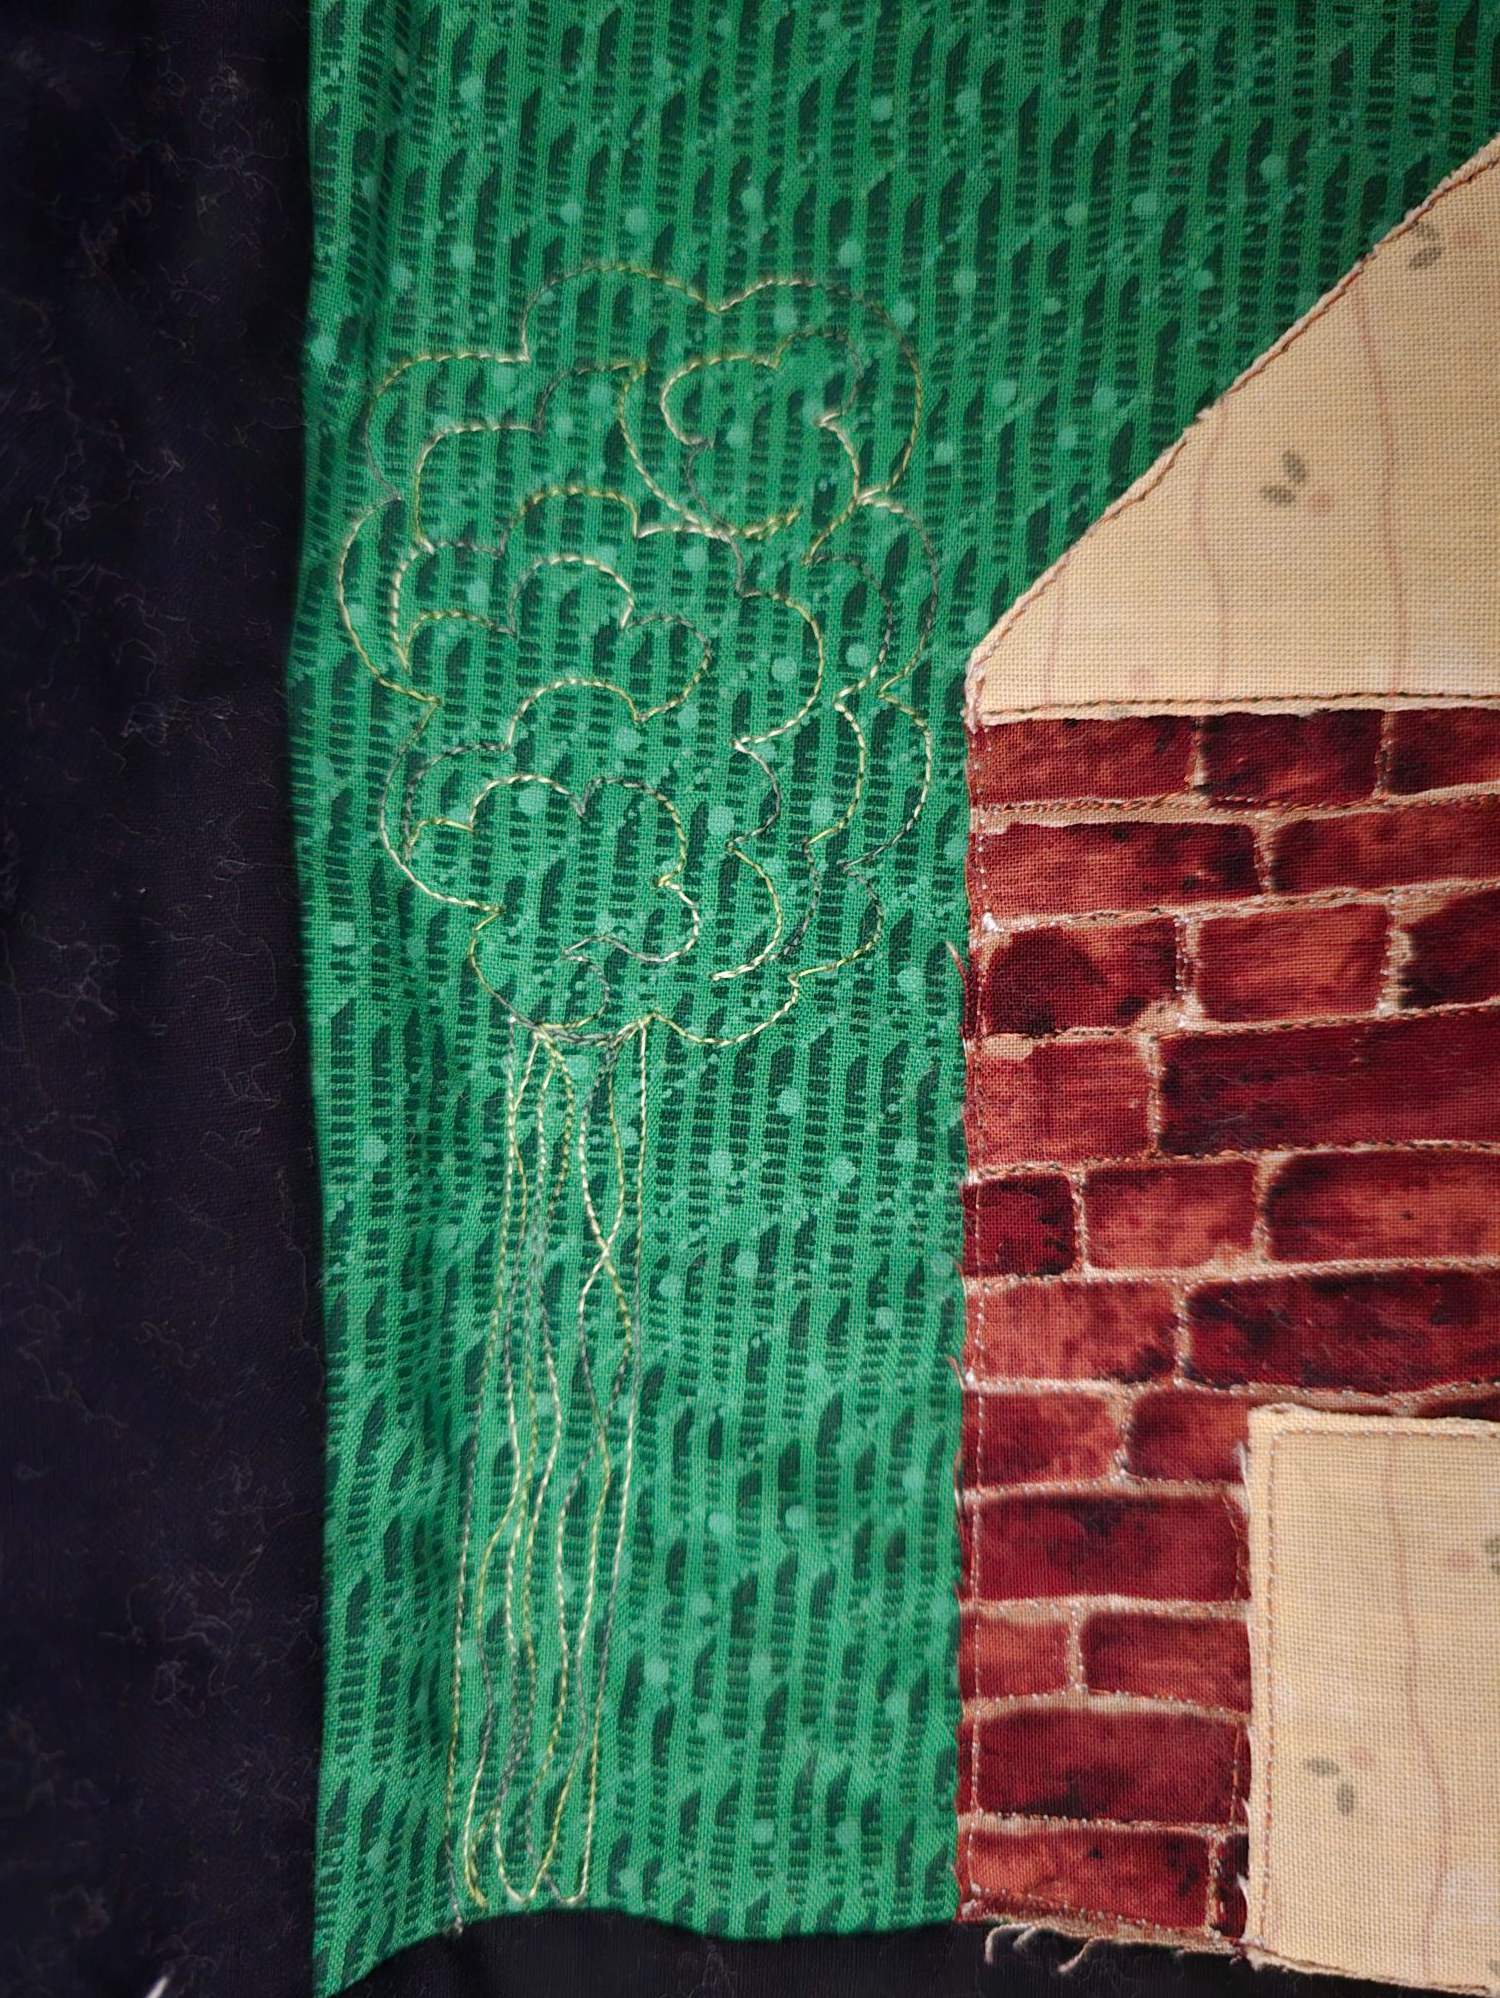

After the quilting was done, I took this quilt as the perfect opportunity to use my fabric paint to make this world come to life! I used Arteza fabric paint to add a color a detail that I would normally not be able to get into a quilt.

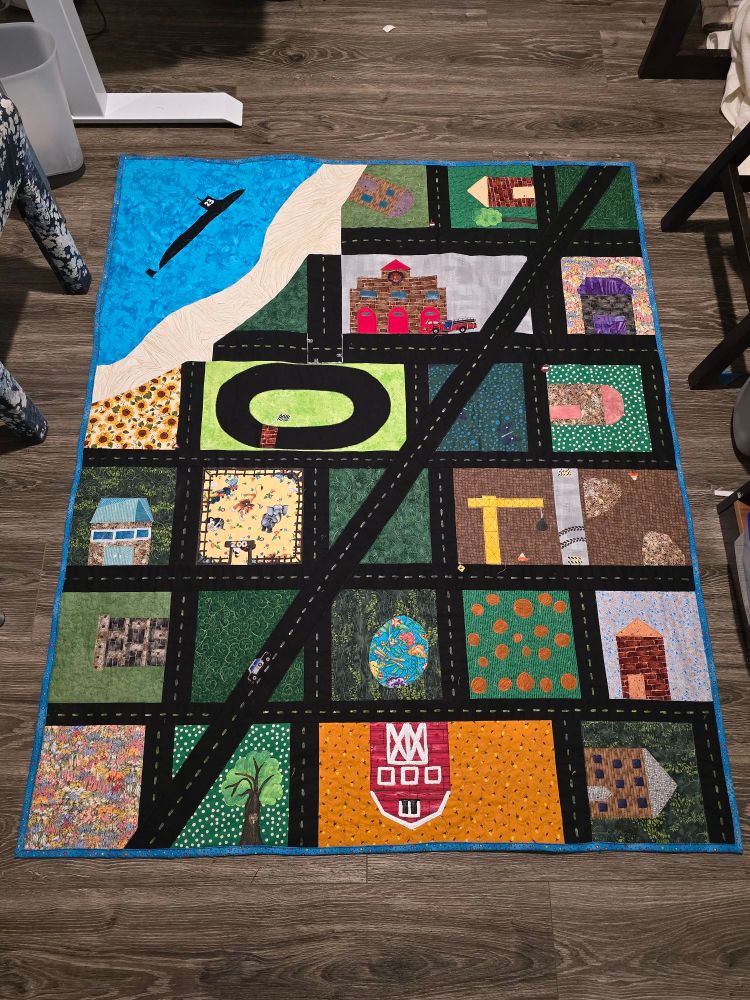
Final Results! I am very happy with how this quilt turned out. It only took me about two months to make ( while also working on two other quilts). I think this quilt is perfect for any little kid who loves cars, trucks, or submarines! I would love to hear your feedback on this quilt and the directions I tried to write if you make this quilt. Thanks for reading and happy quilting!
