I was on vacation this past week, and I brought my sewing machine and two projects to work on. My main goal was to finish a quilt top, and my second goal was to cut out about 100 diamonds for my Alaskan quilt. Cutting is not my favorite part, but I figured it would be something easy to work on after I got the quilt top finished. Well… I got my sewing machine all set up at our vacation spot when I realized I forgot the power cord!! I didn’t figure any local quilt stores would have a power cord for a 35 year old machine laying around for sale, so I had to readjust my expectations for the week.
I tend to get really upset or frustrated when things don’t go according to plan, but I have recognized that flaw in myself and am working on it. I’ve been trying to think, will this matter in 5 days, 5 months, 5 years…? The answer is almost always no. Maybe an even better question to ask would be, “Was this plan in alignment with God’s purpose?”
Proverbs 19:21 says, “Many are the plans in the mind of a man, but it is the purpose of the LORD that will stand.” I, in no way, think that forgetting the power cord to my sewing machine was divine intervention, but I did think it was a good reminder to not rely too heavily on my own plans.
Plans are not bad, they can be a great tool. However, we get caught up so often in making plans and trying to bring those plans to fruition, that we forget the bigger picture. Luckily for us, God does not!
So from this, I took two things away. Make plans aligned to God’s will (to the best of your ability) and then hold those plans with open hands. Holding too tightly to plans made by you may lead to more frustration, resentment, and anger. While being flexible and attentive to the Spirit, will allow us to walk a path towards God’s perfect plan and purpose. Also, always bring a backup project to work on! We had so much fun enjoying Williamsburg, VA that I ultimately didn’t get everything done, but that is okay!!
Easy Turned-Edge Applique
I love the look of turned-edge applique, but really hated the idea of needle turning applique. I mostly used raw-edge applique until I found this easy turned-edge technique! Now, I have used this on two quilts I have finished and one in the making. I think it makes the quilt look just a little more polished with less hastle!
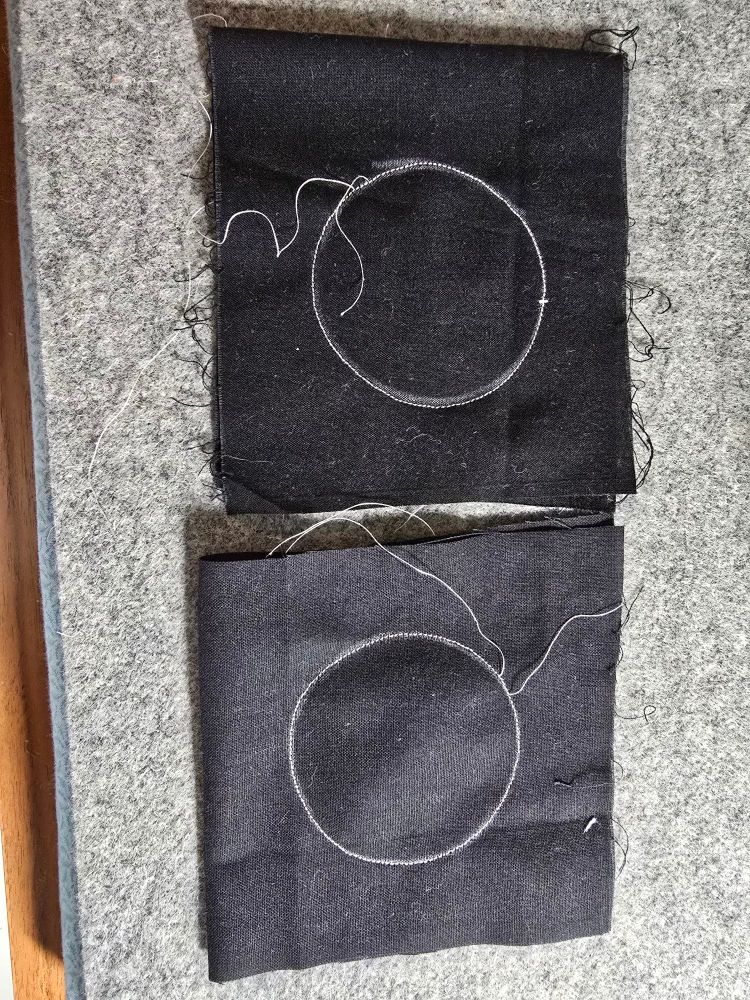
- Place desired fabric right side up and over the top place another layer In this example, I just used extra fabric, but iron-on interfacing is super useful as well. If you use iron-on interfacing, make sure the “sticky” part is facing the right side.
- Draw your shape. This example is going to be eyes, so they are circles. Next week, I will show you the quilt that these eyes went to, and you can see another fun shape you can make with this technique.
3. Stitch on the outline. I recommend shortening your stitch length, especially for curves. I used white thread for demonstration purposes, but I recommend using a thread color close to your fabric color.
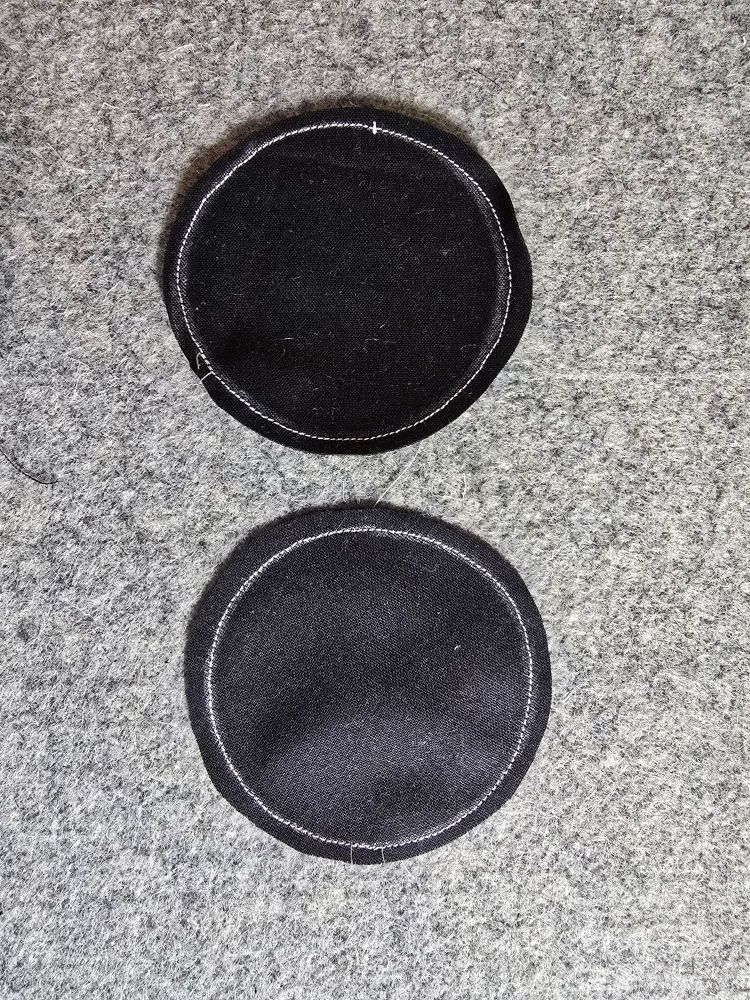
4. Cut out shape. I used slightly smaller than a quarter inch seam allowance. If you have outer curves, like this circle, snip along the seam allowance for more flexibility. If you have inner curves, I recommend snipping small triangles. When you are snipping, ensure you are not getting too close to the stitching!
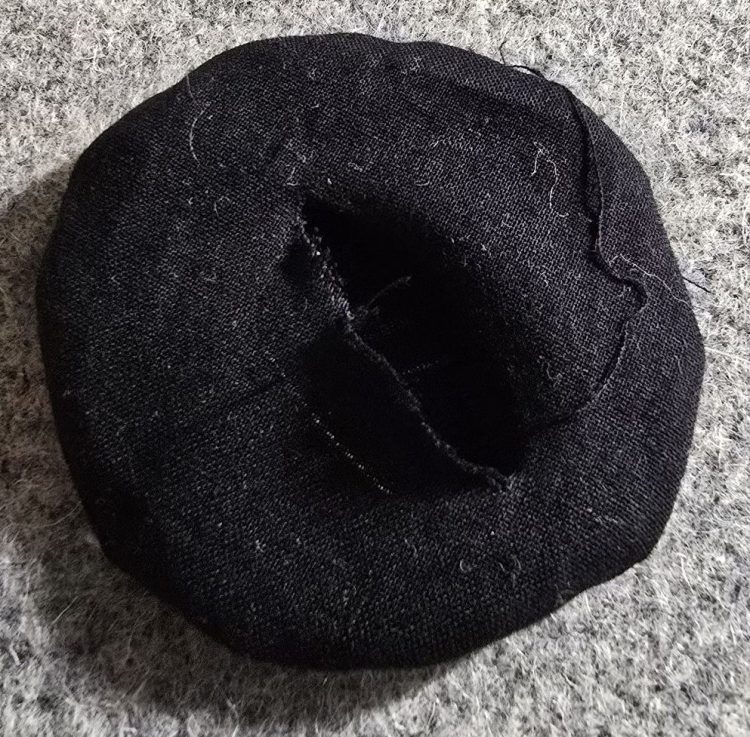
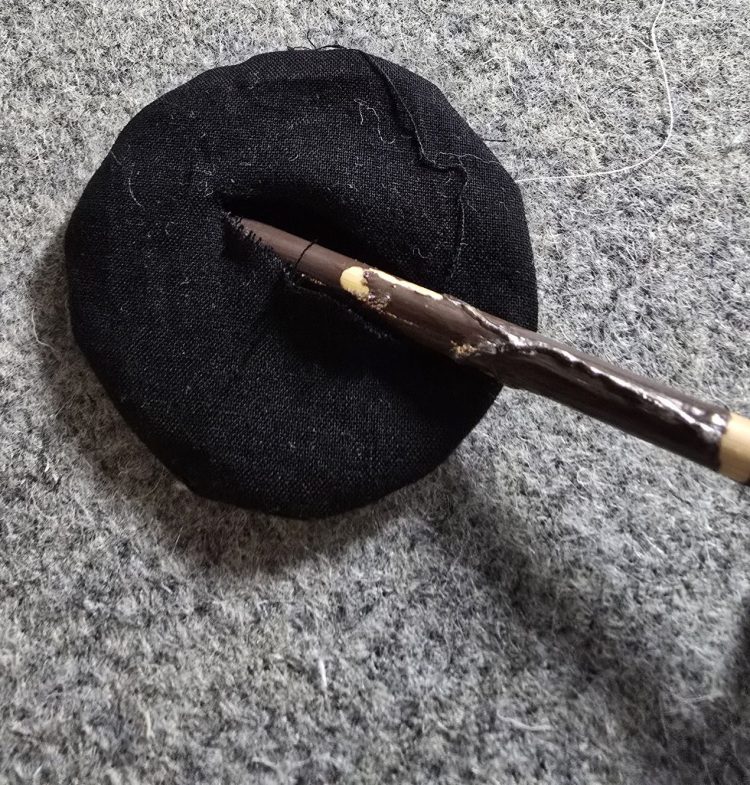
4. Cut hole and turn. I used a seam ripper to cut a small opening in the back to turn the shape inside out. Use a turning tool to ensure your shape is the correct size. (They make nice turning tools, but I found a knitting needle or a chopstick works just as well!)
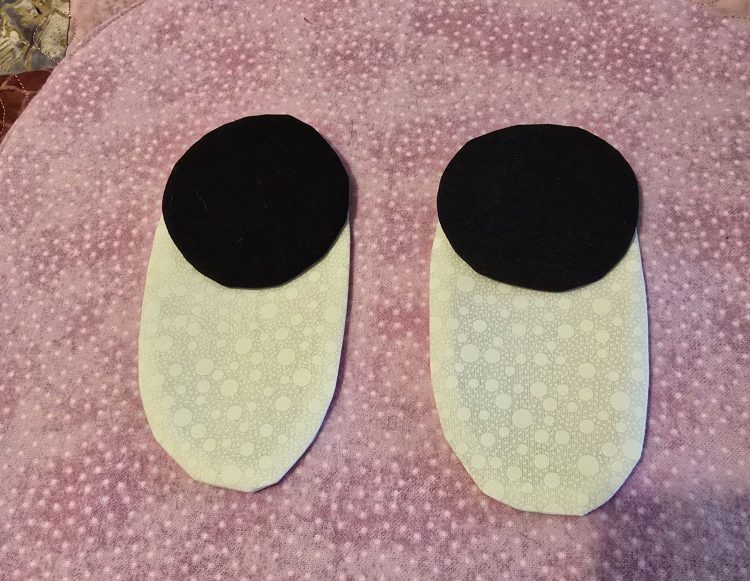
5. Place on your quilt and stitch! If you use iron-on interfacing, this is the time to iron your project, so it doesn’t slide while you sew it onto your quilt. For stitching, you can use any stitch you like! I used a straight stitch for this project, but a zig zag or blanket stitch also looks nice.
Can you guess what animal I made for this quilt? Stay tuned for next weeks post to find out!
