O give thanks unto the Lord, for he is good: for his mercy endureth for ever. ~Psalm 107:1
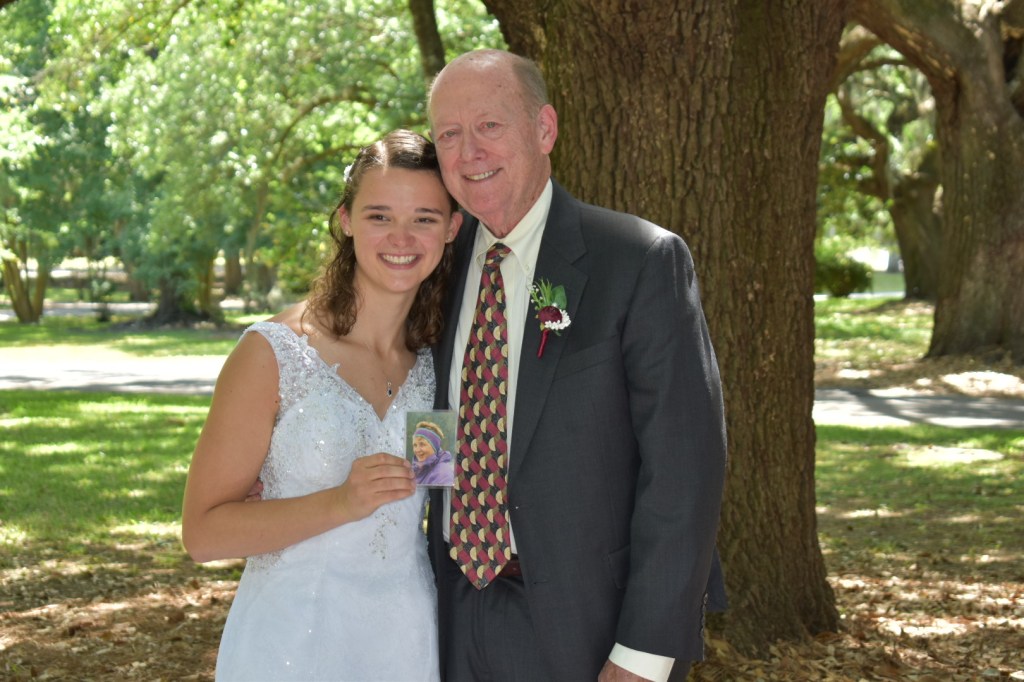
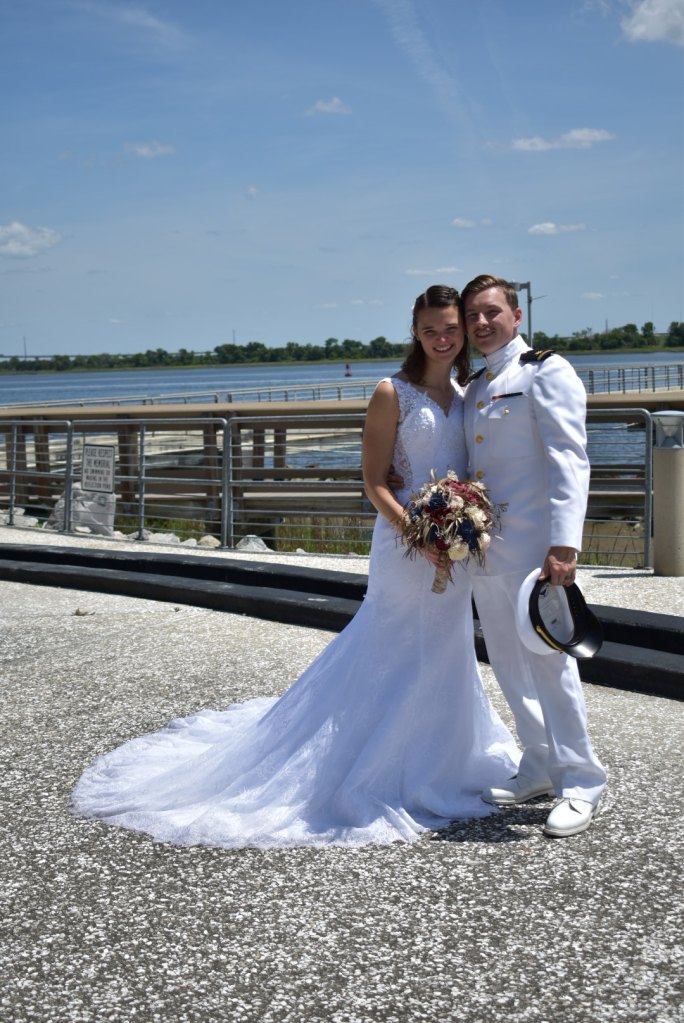
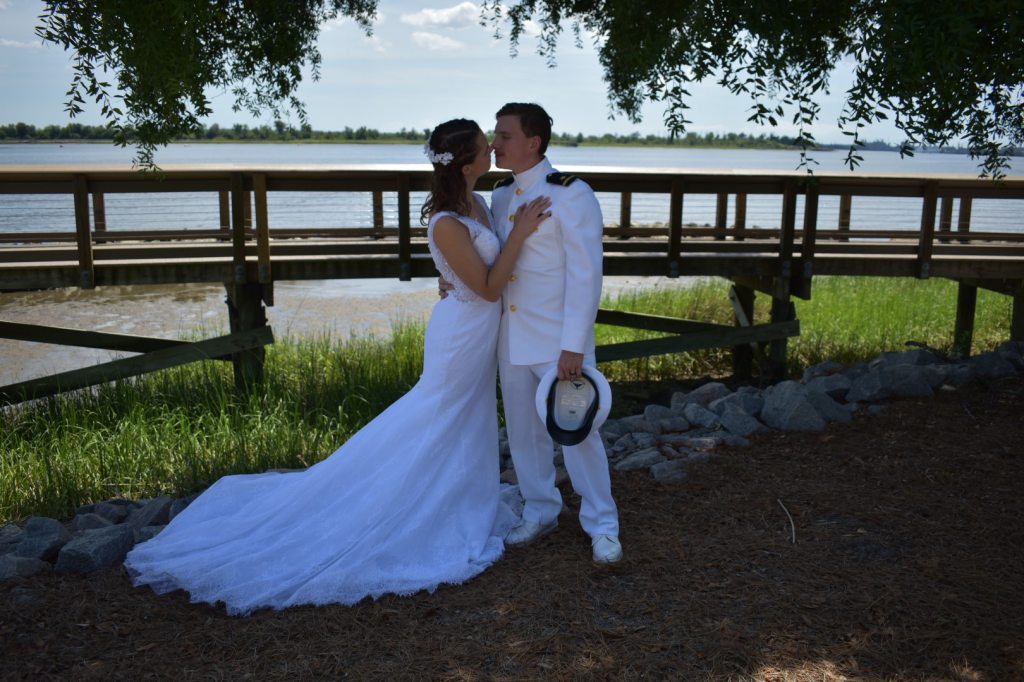
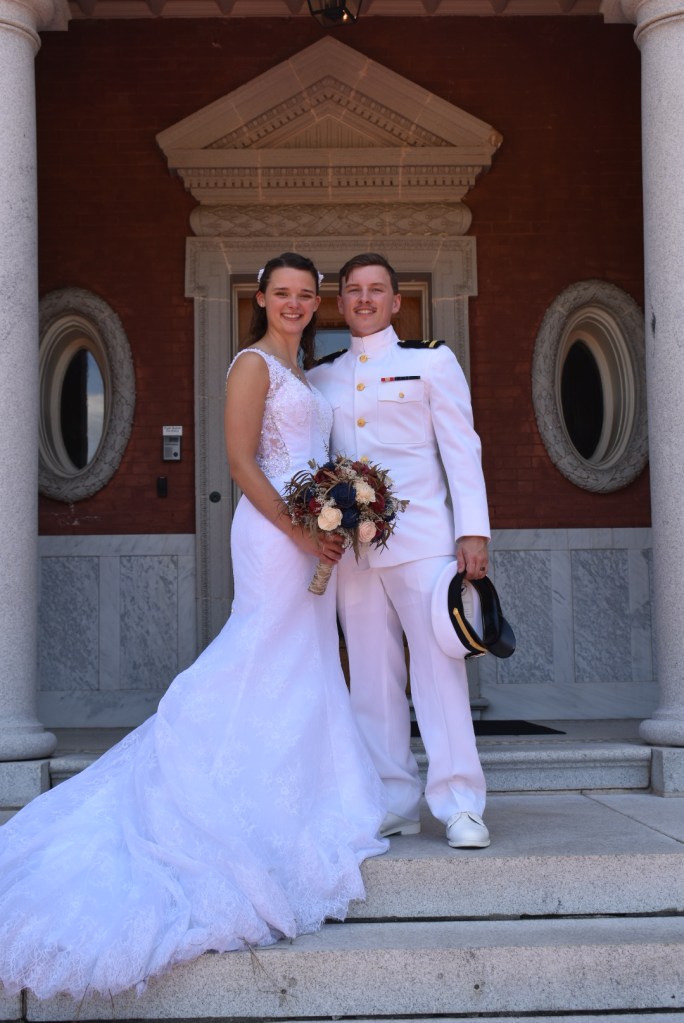
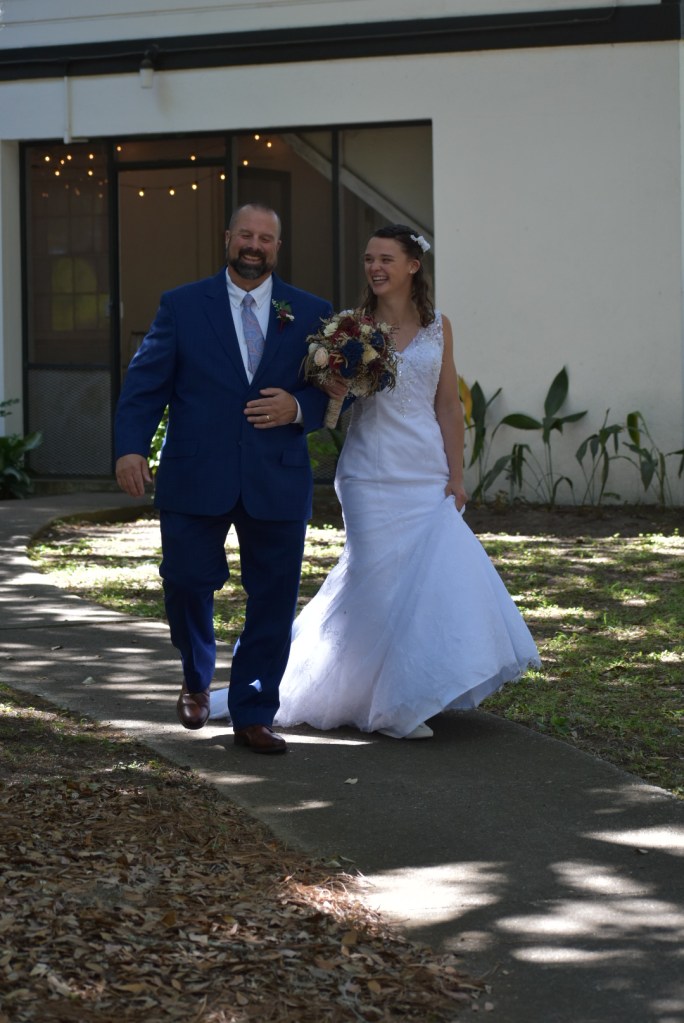
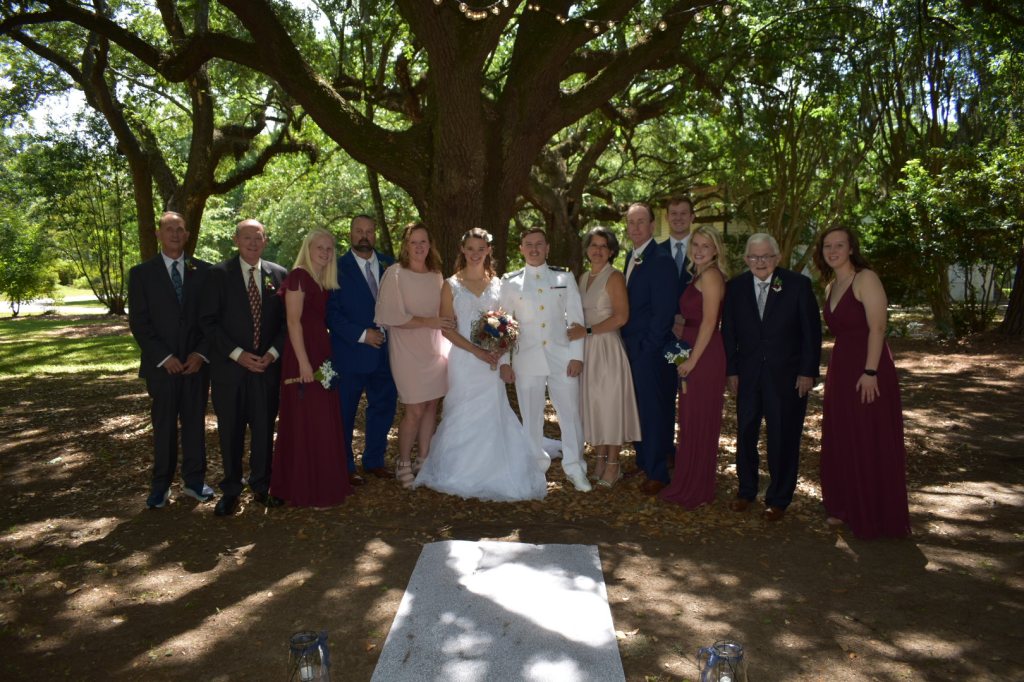
Some life updates: I’ve been really busy these past couple of weeks, so I have been unable to write or sew very much. However, my family was in town last weekend for my wedding to my best friend Zachary Toole! I am almost done with my 6 month school, so I hope to have a little more time to sew before I start another 6 month school. See at the end of the post for some pictures from the wedding:) I am so thankful to my family and friends who have supported us on our journey of life, but more importantly, I give thanks to God for all the opportunities He has provided me to glorify His name.
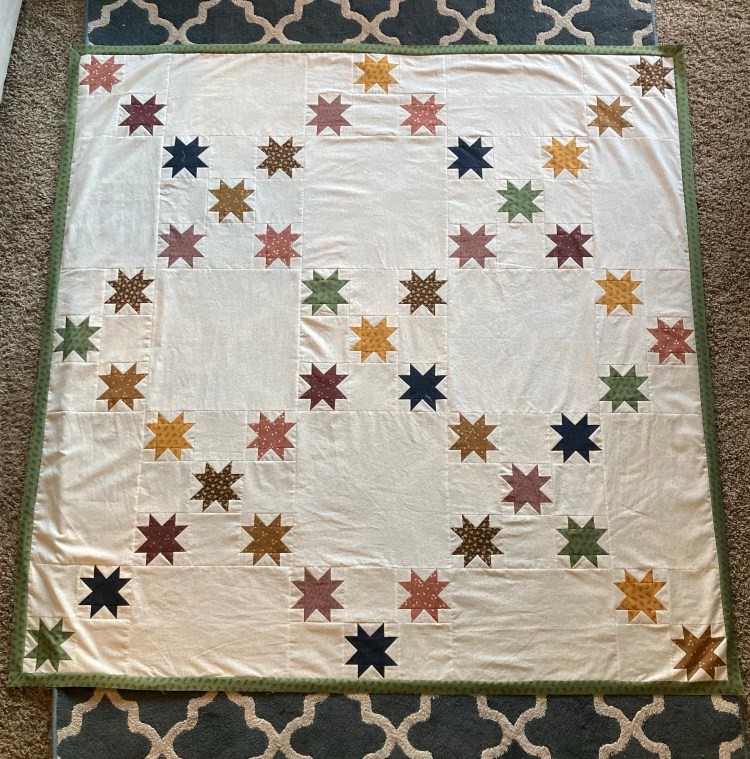
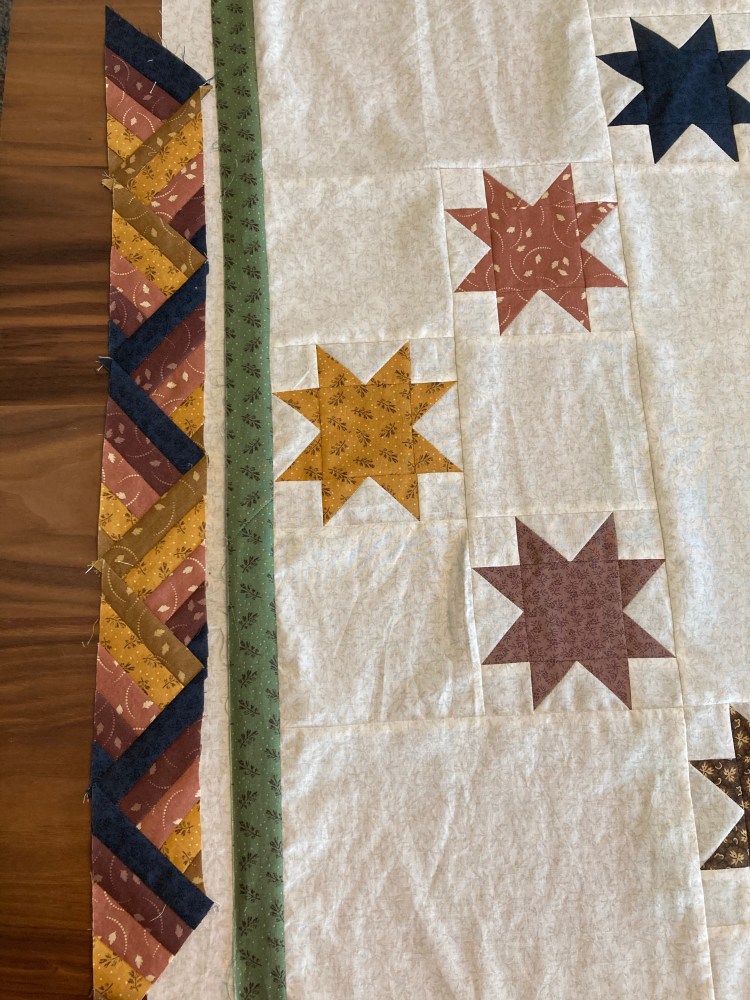
I am currently working on a quilt titled “Star Chain” from the book Quilt-Lovers’ Favorites from the American Patchwork & Quilting for my new parents-in-law. It has been taking me a little longer than I thought to finish the top, but I am very excited to quilt this one. There is a lot of open space that I think will be really beautiful quilted! Stay tuned for when I finish! I decided to change up the border from the original pattern because I did not feel like making a ton of tiny triangles. Not sure if I picked a quicker way now… but I think this “ribbon” border will add a really nice pop of color to contrast the big open spaces in the main quilt. It is not a traditional ribbon border, and I can not find an actual name for this. To me, it looks more like a braid than a ribbon. Let me know if you have ever made this border and know if there is another name! Check out my 5 steps to make this border and send me pictures if you do use it!
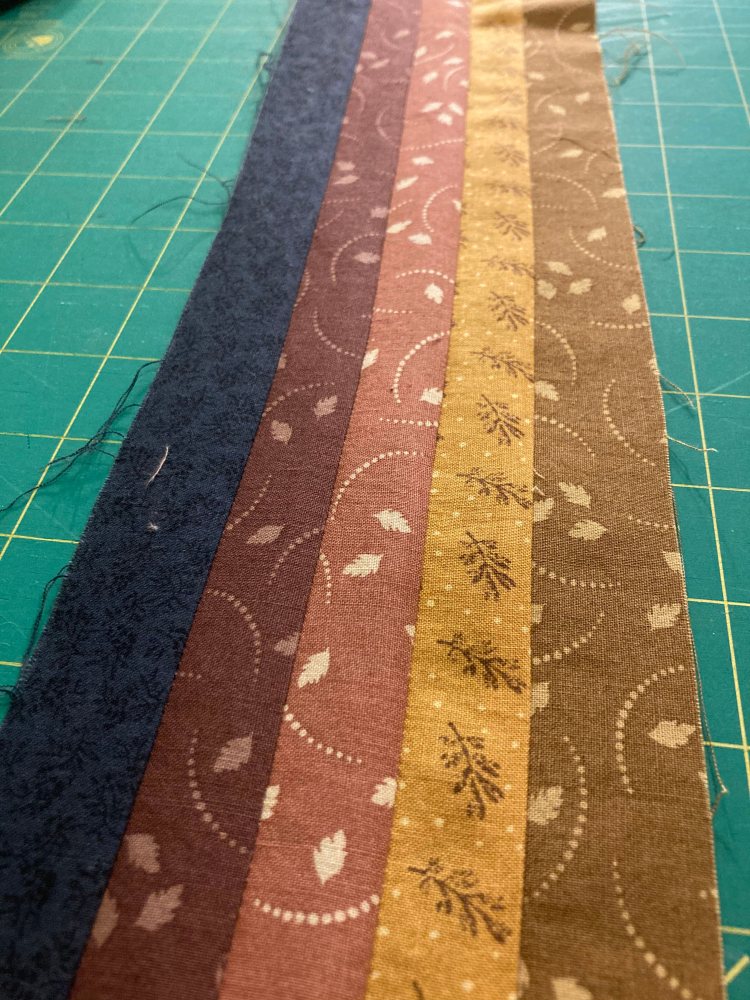
Step 1: Cut strips and sew the strips together in color order
The thickness of the strips and the number of colors is up to you. The outer colors (so the blue and the brown) will show up in the “ribbon” effect. My strips are 1 1/4 ” wide and my border comes out to be 2 1/2 ” wide. Once sewn onto the quilt, it will be a 2” wide border. I recommend pressing all your seams towards one edge.

Step 2: Cut into squares.
Some math may be required to figure out how many blocks you need for each border. You will be sewing the edges of the squares together, so the hypotenuse of the triangle will be the “length” that will be needed to sum up the total length. If that doesn’t make sense, I would recommend just building your border a couple of triangles at a time until it is long enough.
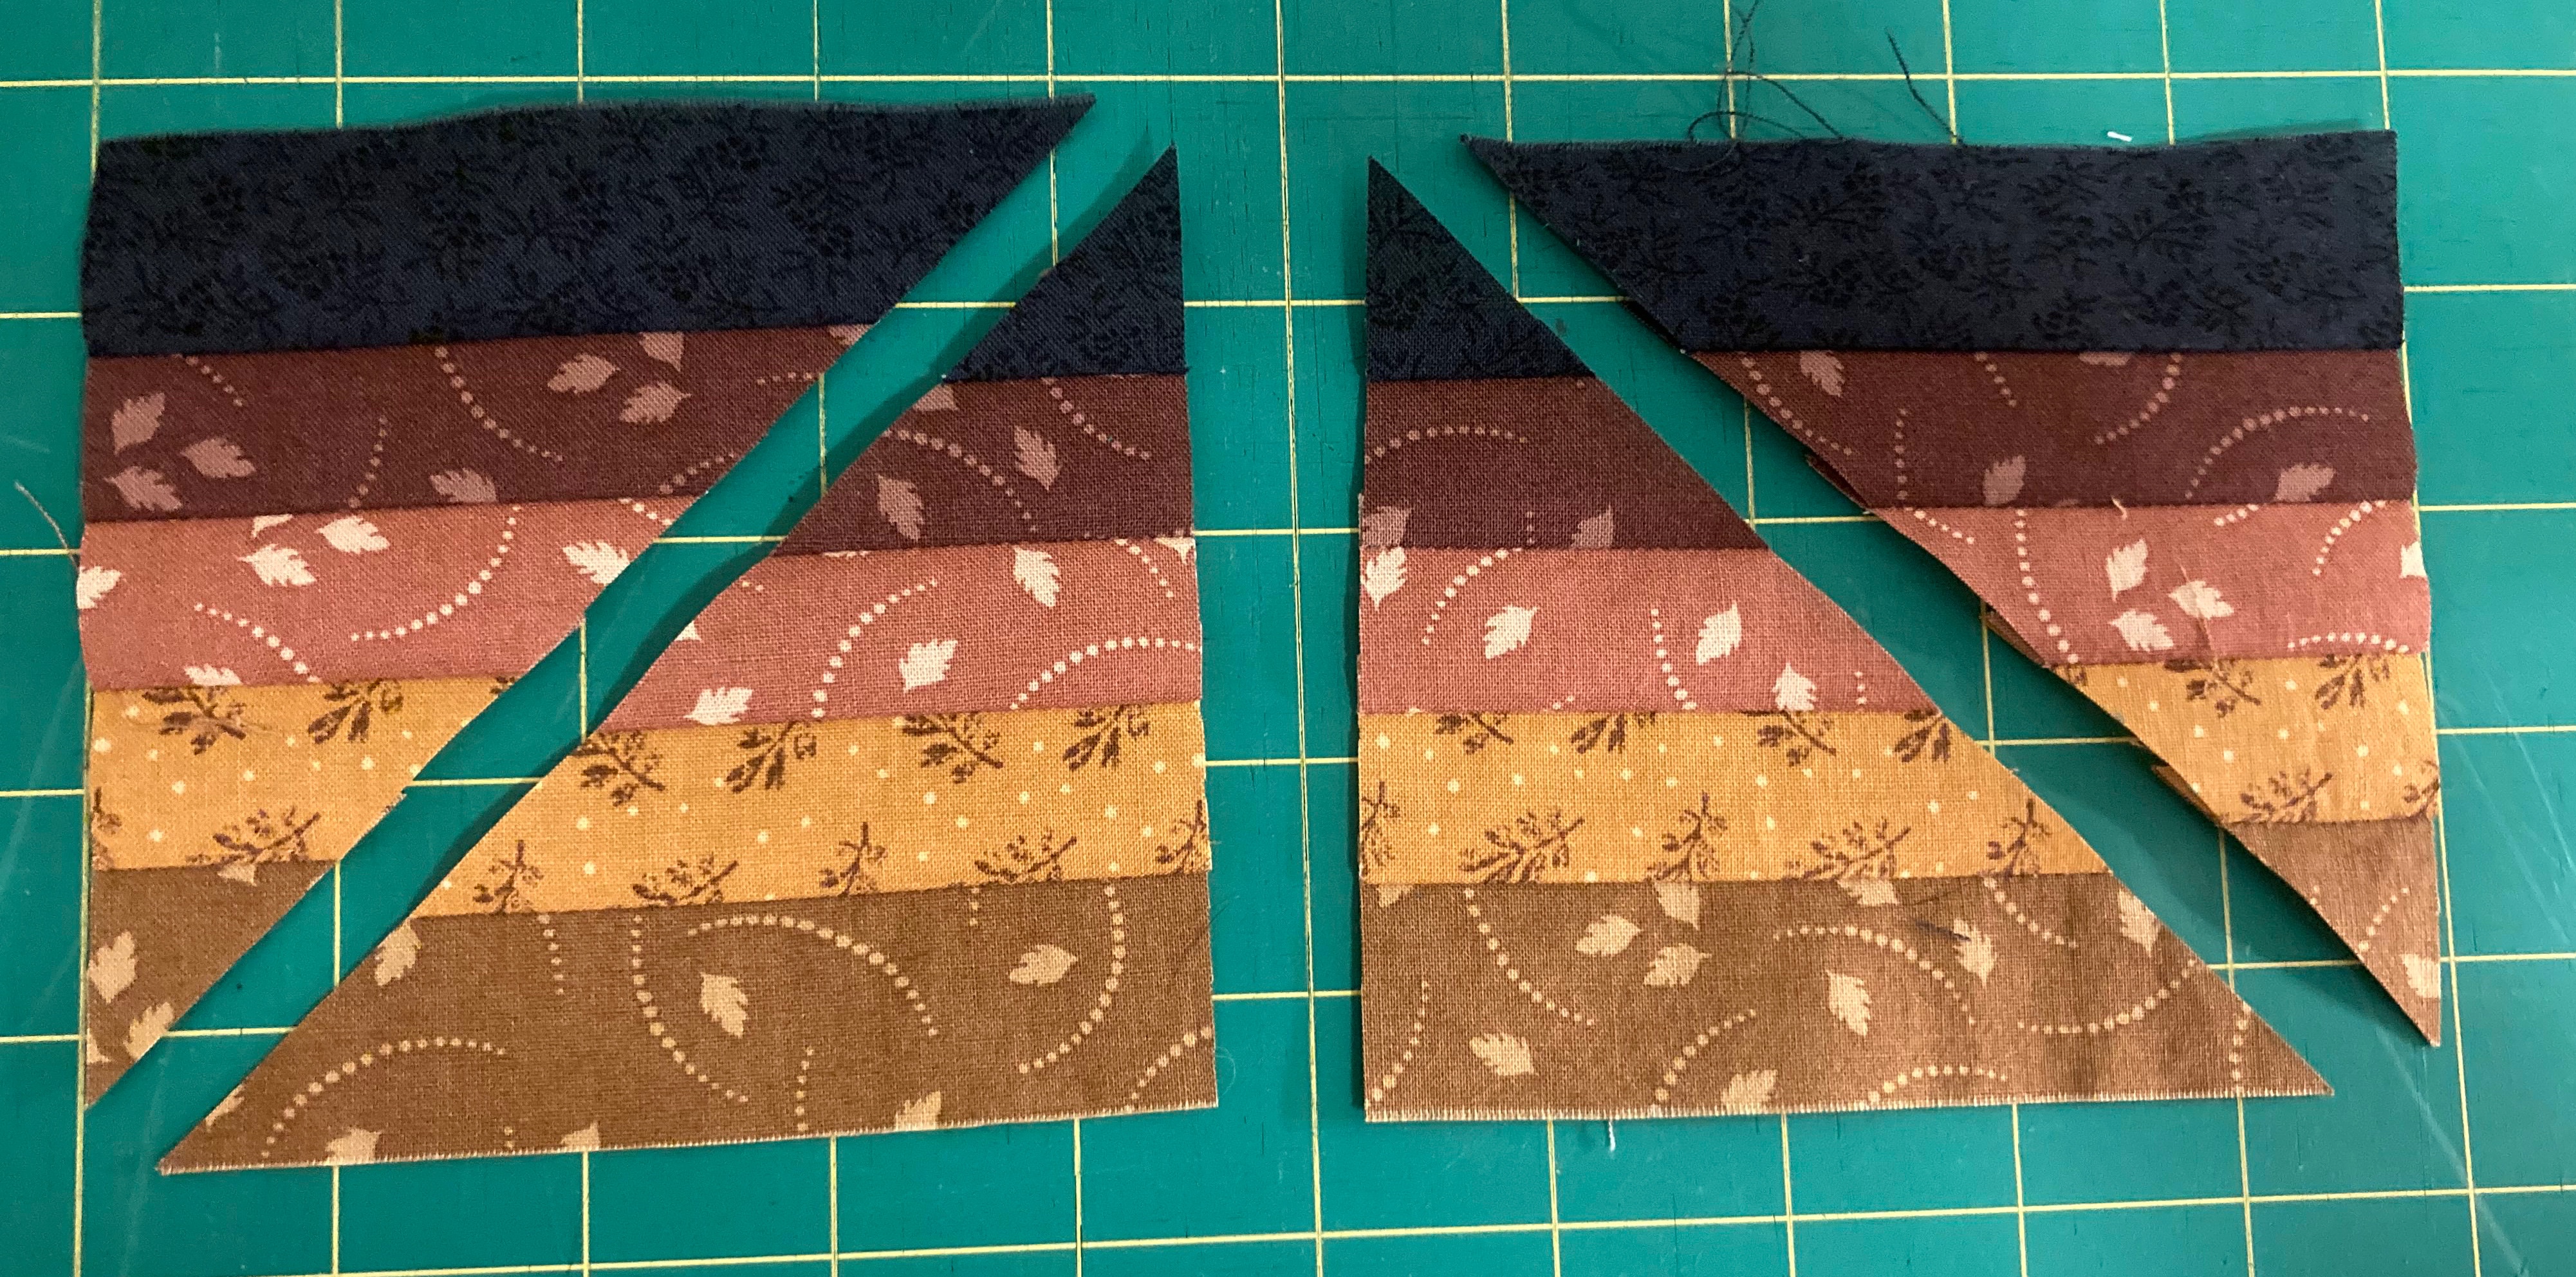
Step 3: Cut into triangles.
Note: You will need to alternate on what diagonal you cut so that you can successfully create the pattern. I recommend splitting your squares up into two piles and cut all of one pile the same way.
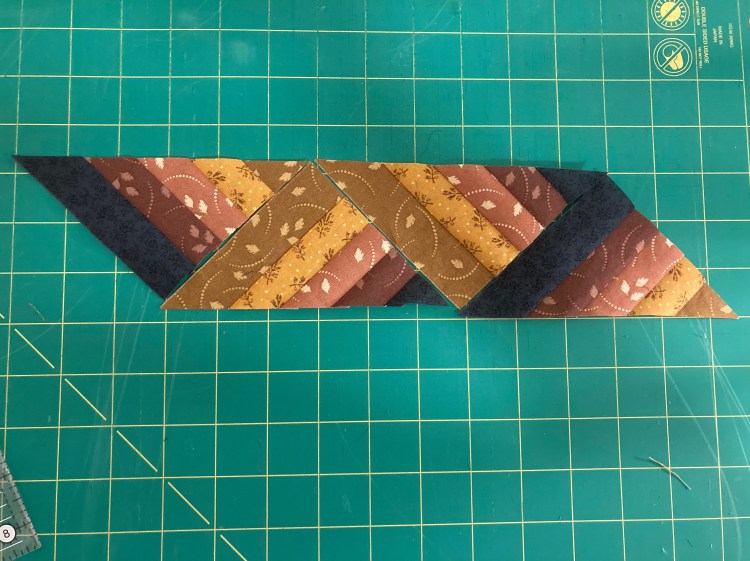
Step 4: Lay out your triangles into the ribbon pattern shown to the right, and sew the sides of the triangles together.
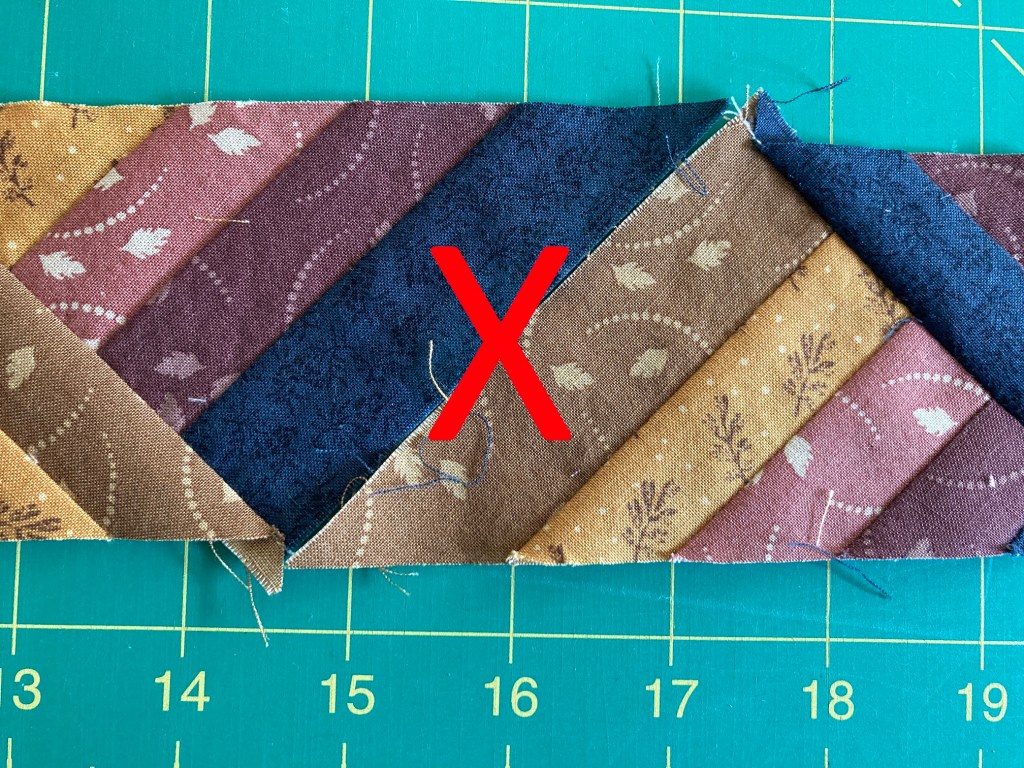
DO NOT sew the strips together in this way unless you want a different border design!

Step 5: Iron and repeat until you have a long enough border for your project!
I recommend sewing sets of these two combinations to the left. This will hopefully help eliminate your pieces not fitting together properly!


Congratulations! My heart smiled when Hope posted you wedding pictures. The joy in your smiles was precious I wish you both a lifetime of love and happiness.
LikeLike
Thank you!
LikeLike
You replied to this comment.
LikeLike
Thank you Theresa! I would love to see your project when you are done!
LikeLike
Thanks Theresa! Did you use the ribbon border? If so, I would love to see how your project turned out!
LikeLike