“And though a man might prevail against one who is alone, two will withstand him- a three-fold cord is not quickly broken.” ~ Ecclesiastes 4:12
A bit of wisdom from the Bible, from my sewing experience, and an easy beginner project! Below, you will find instructions in how to make a marble bag. Requires very little time and material. My church’s busy hands group is making these bags for Operation Christmas Child boxes. This string tied bag can be used to place any small toys or items the children will receive. I encourage everyone, even those who have little experience with sewing, to make this bag! You can use any size dimensions that you want, for anything you can think of. I think this would be a pretty great bag for presents or a travel sack for your car. Next, I am going to try and make the bag out of a water proof material to see if it could be used to give out to homeless with some essentials on the inside.
Three-fold cord: Ecclesiastes is a very interesting book of the Bible, and I personally wrestle with understanding it at some points. However, it also holds one of my favorite verses: Ecclesiastes 4:12. My pastor once said that the over arching theme of Ecclesiastes was “the beauty of God and the brokenness of man.” I highly recommend taking some time to read through Ecclesiastes and reflect on how amazing our Creator is and how desperately we need Him. Verse 12 is even better in context. Ecc. 4:9-12, “Two are better than one, because they have a good reward for their toil. For if they fall, one will lift up his fellow. But woe to him who is alone when he falls and has not another to lift him up! Again, if two lie together, they keep warm, but how can one keep warm alone? And though a man might prevail against one who is alone, two will withstand him- a three-fold cord is not quickly broken.” This message is clear, we are better together than alone. Friendship, mentorship, marriage, family… these relationships make us stronger than by our lonesome. But what I find so beautiful about this passage is where the author goes from writing about the strength of two to the might of three. Our relationships should not just be built between each other, but between us and God.
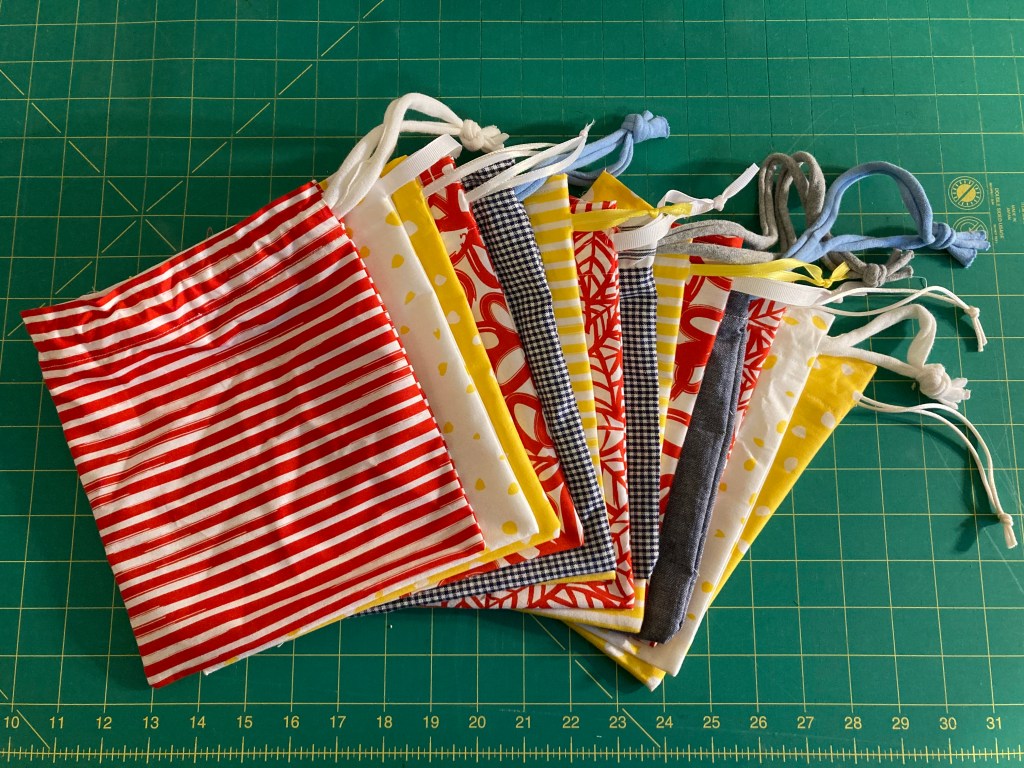
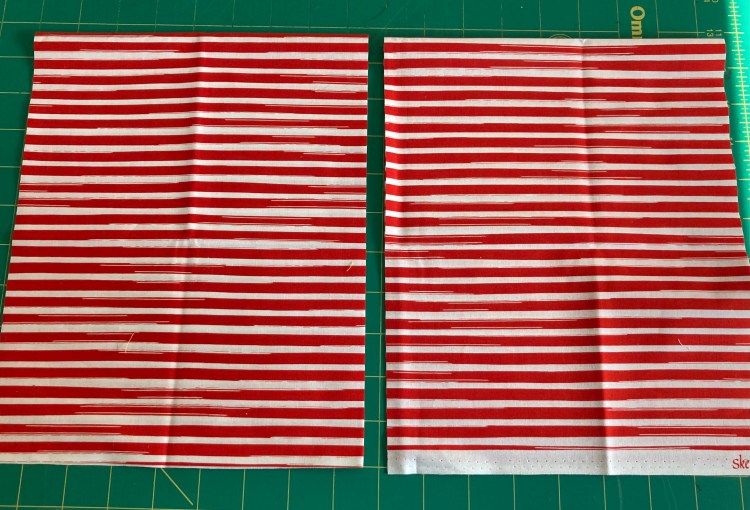
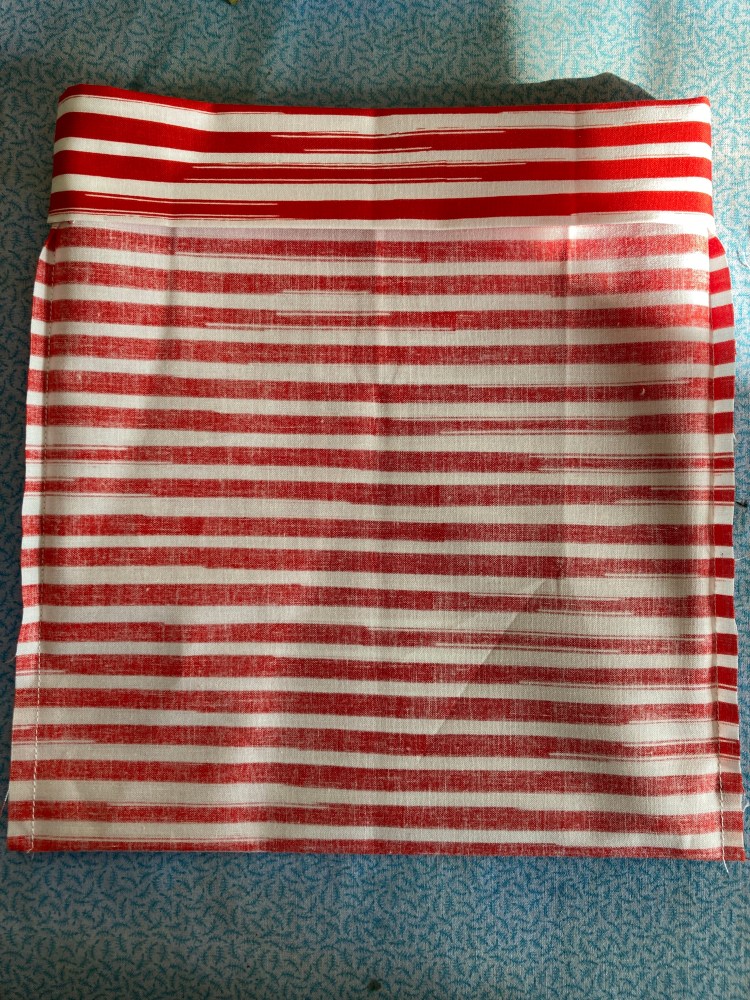
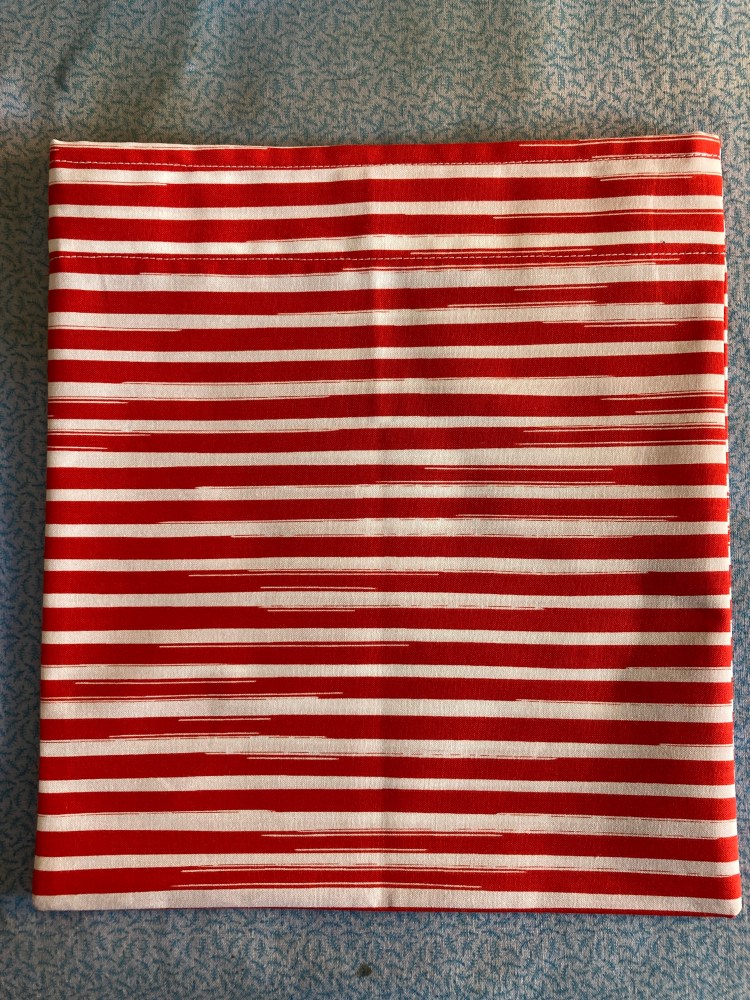
All of my bags, the right version is the red stripped on top. 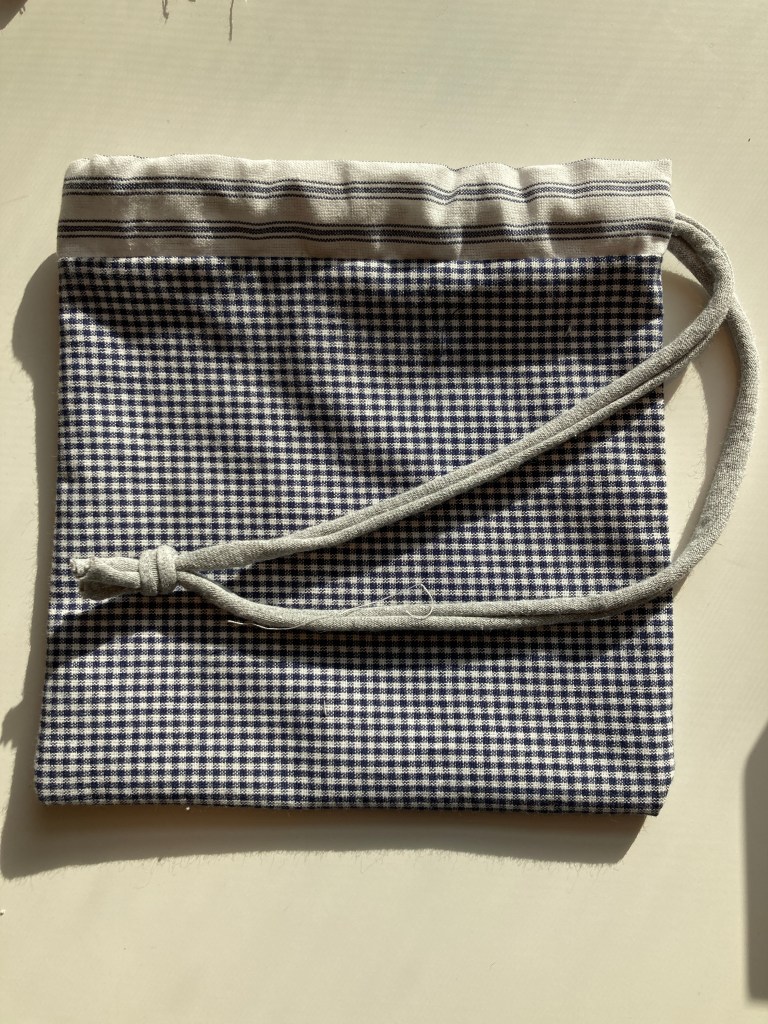
My mom’s idea on how to fix my bags! It was a little more involved than my 15-20 minute version that I was hoping for, but I think it is really cute! 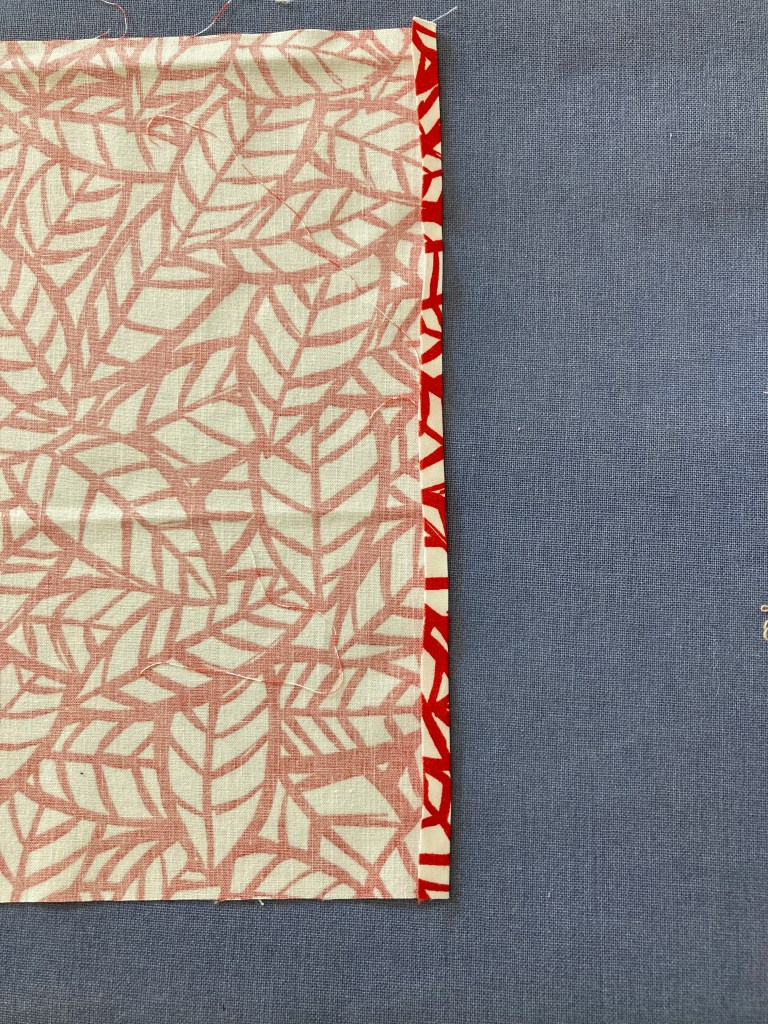
Quarter to half an inch ironed over. You should do this for the right version of the bag as well. 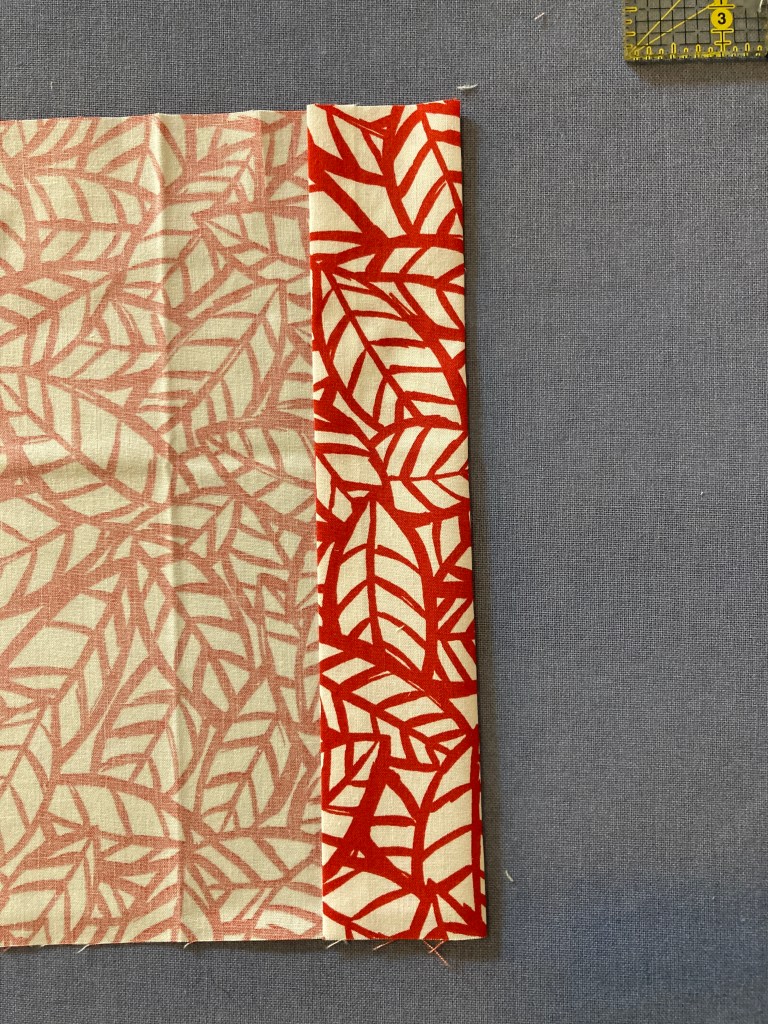
What you should not do! This might seem a little easier than the directions; however, I promise you won’t have the tunnel you are looking for. 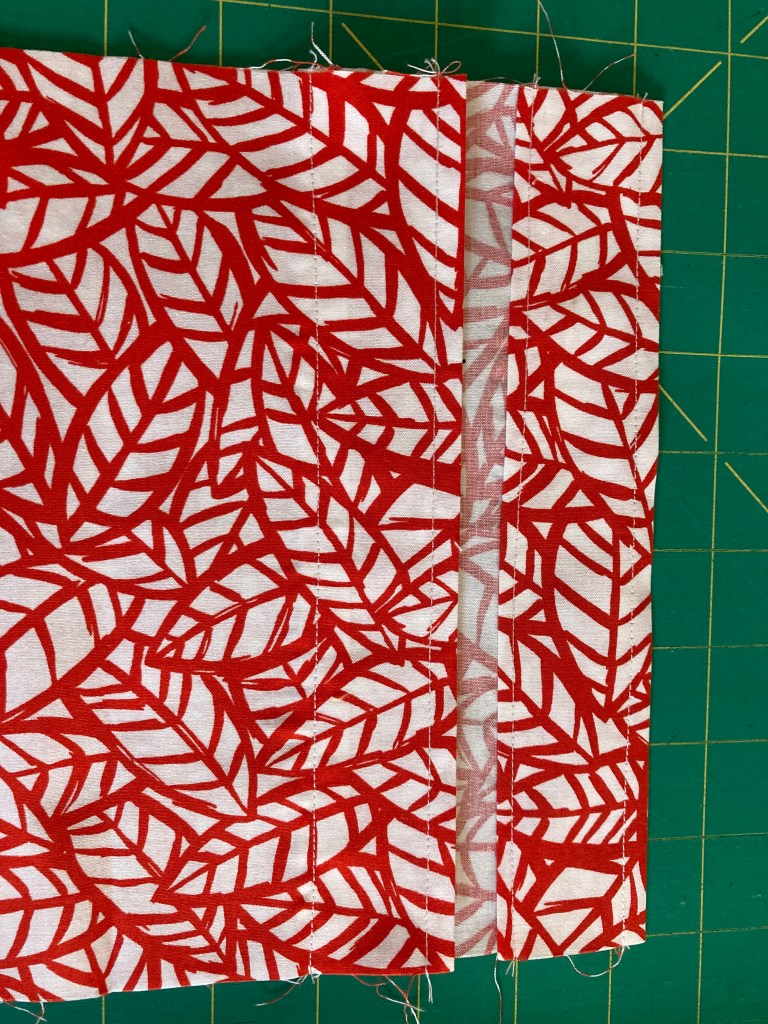
Still wrong. I should have sewed the side seams before the two layers on top. 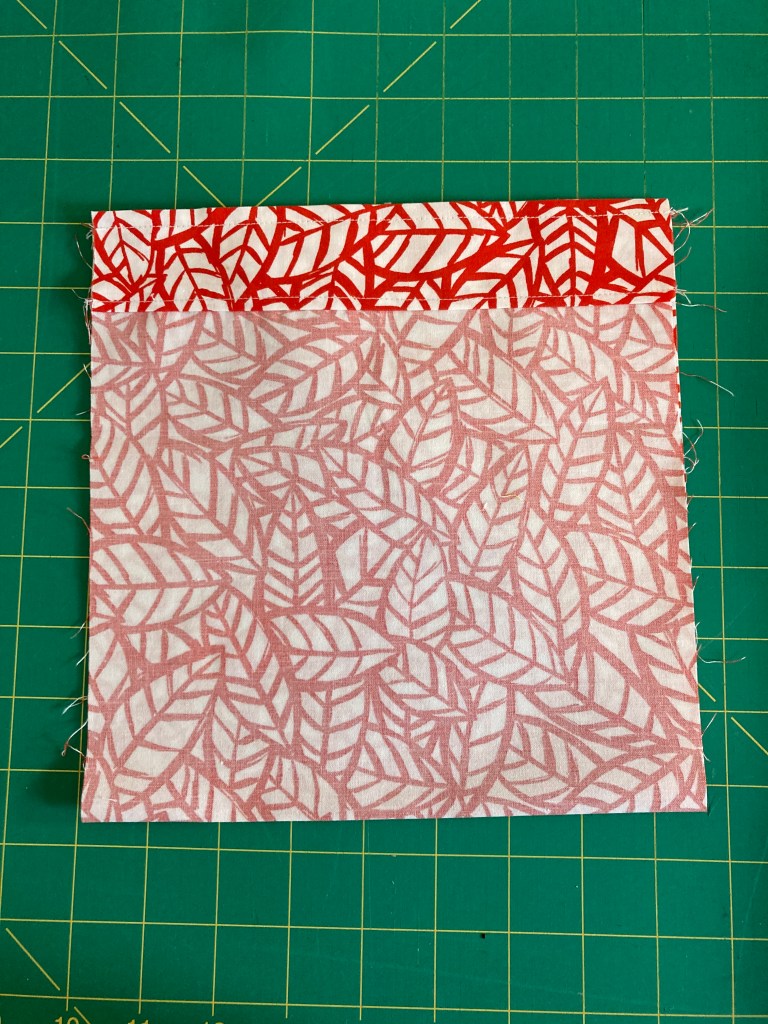
Wrong, but hopefully seeing these pictures will help you know what not to do! 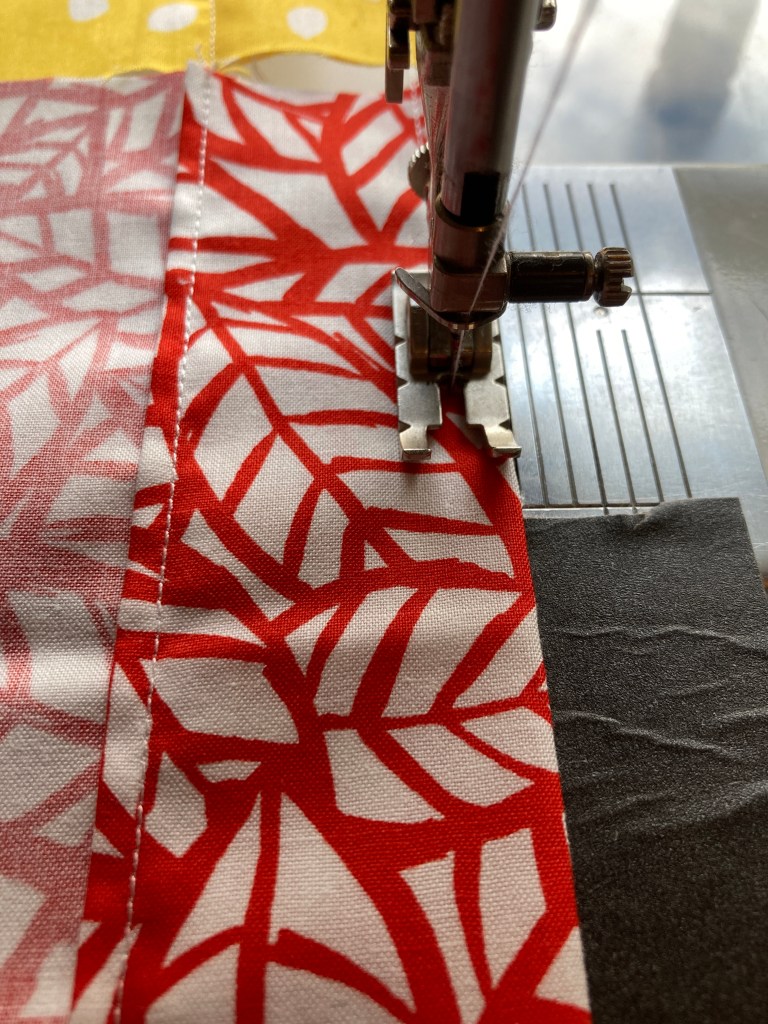
A pretty picture before I realized my mistake.
Don’t give up on a project… when you sew something wrong, until you have tried everything you can think of to make it work AND you phone a friend for help. Obviously, smaller mistakes can be easily undone with a seam ripper and some time. However, some mistakes are just a little beyond the help of a seam ripper, and that is exactly what I did when I made 14 marble bags all wrong… The instructions below are how to correctly make the marble bag; however, I was initially making them from memory from instructions I was given verbally three or four months ago. Let’s just say, I did not remember them correctly. In the slideshow of pictures above, you can see the incorrect bags, the correct version, and a modified version all in attempts to fix a problem that would have taken me days to rip all the seams out. The problem was this: I sewed my tunnel first and them my side seams (you can see the progression of my first bags in the pictures above). This lead to an improper tunnel that did not go all the way around my bag. If you are having a hard time imaging what I did wrong, just follow the below pattern and make the right version! I ended up calling my mom for help in ideas to not throw these bags away and still make them functional. The second picture with the two fabrics was my mom’s idea and it looks really neat! If you would like directions on how to make a two fabric marble bag, please reach out and let me know! The rest of the bags, I made holes in the sides of my tunnel to make the bag functional. Not my best work, but hopefully, they will still bring a smile to someone one day! The moral of the story is this: if a project goes badly towards the end, don’t trash it! Phone a friend to help you find a solution to your problem or set it aside and come back to it later. Maybe the problem was not as bad as it seemed in the first place!
Marble Bag:
- 1 fat quarter = two marble bags
- Tie: 28” (for one bag) string, ribbon, scrap fabric…
- Basic sewing items: rotary cutter, ruler, iron, sewing machine
- Time Required: 15-20 minutes
Step 1: Cut 8 1/2 inches width wise on your fat quarter. Fold hamburger style right sides together (the side you would like to see), then fold half an inch on top on both sides and iron the folds down.
If you are using scraps from your stash, an 8 1/2 by 21 1/2 rectangle will work. This bag is easily adjustable to any size, so you don’t need to stick to these measurements! Ironing a half an inch at this step will clean up the edges of the inside of the bag later on.
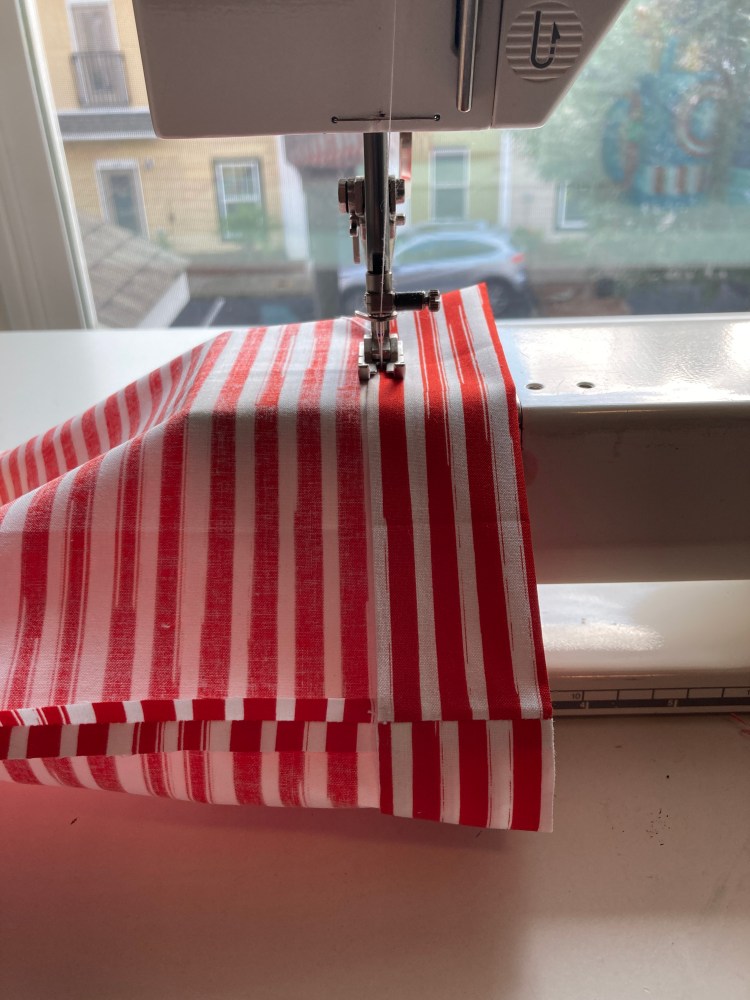
Step 2: With the right sides facing one another, sew along the non-ironed edges.
Modification: You can modify this pattern to already have a built in opening instead of having to use seam rippers to open one afterwards (step 8). To do this, when sewing along one of the edges, you will sew 2 inches from the top, backstitch, leave a 3/8th inch opening, and then continue sewing. Your opening may need to be larger or smaller depending on how thick your tie is. You will only need to do this part for one side of the bag.

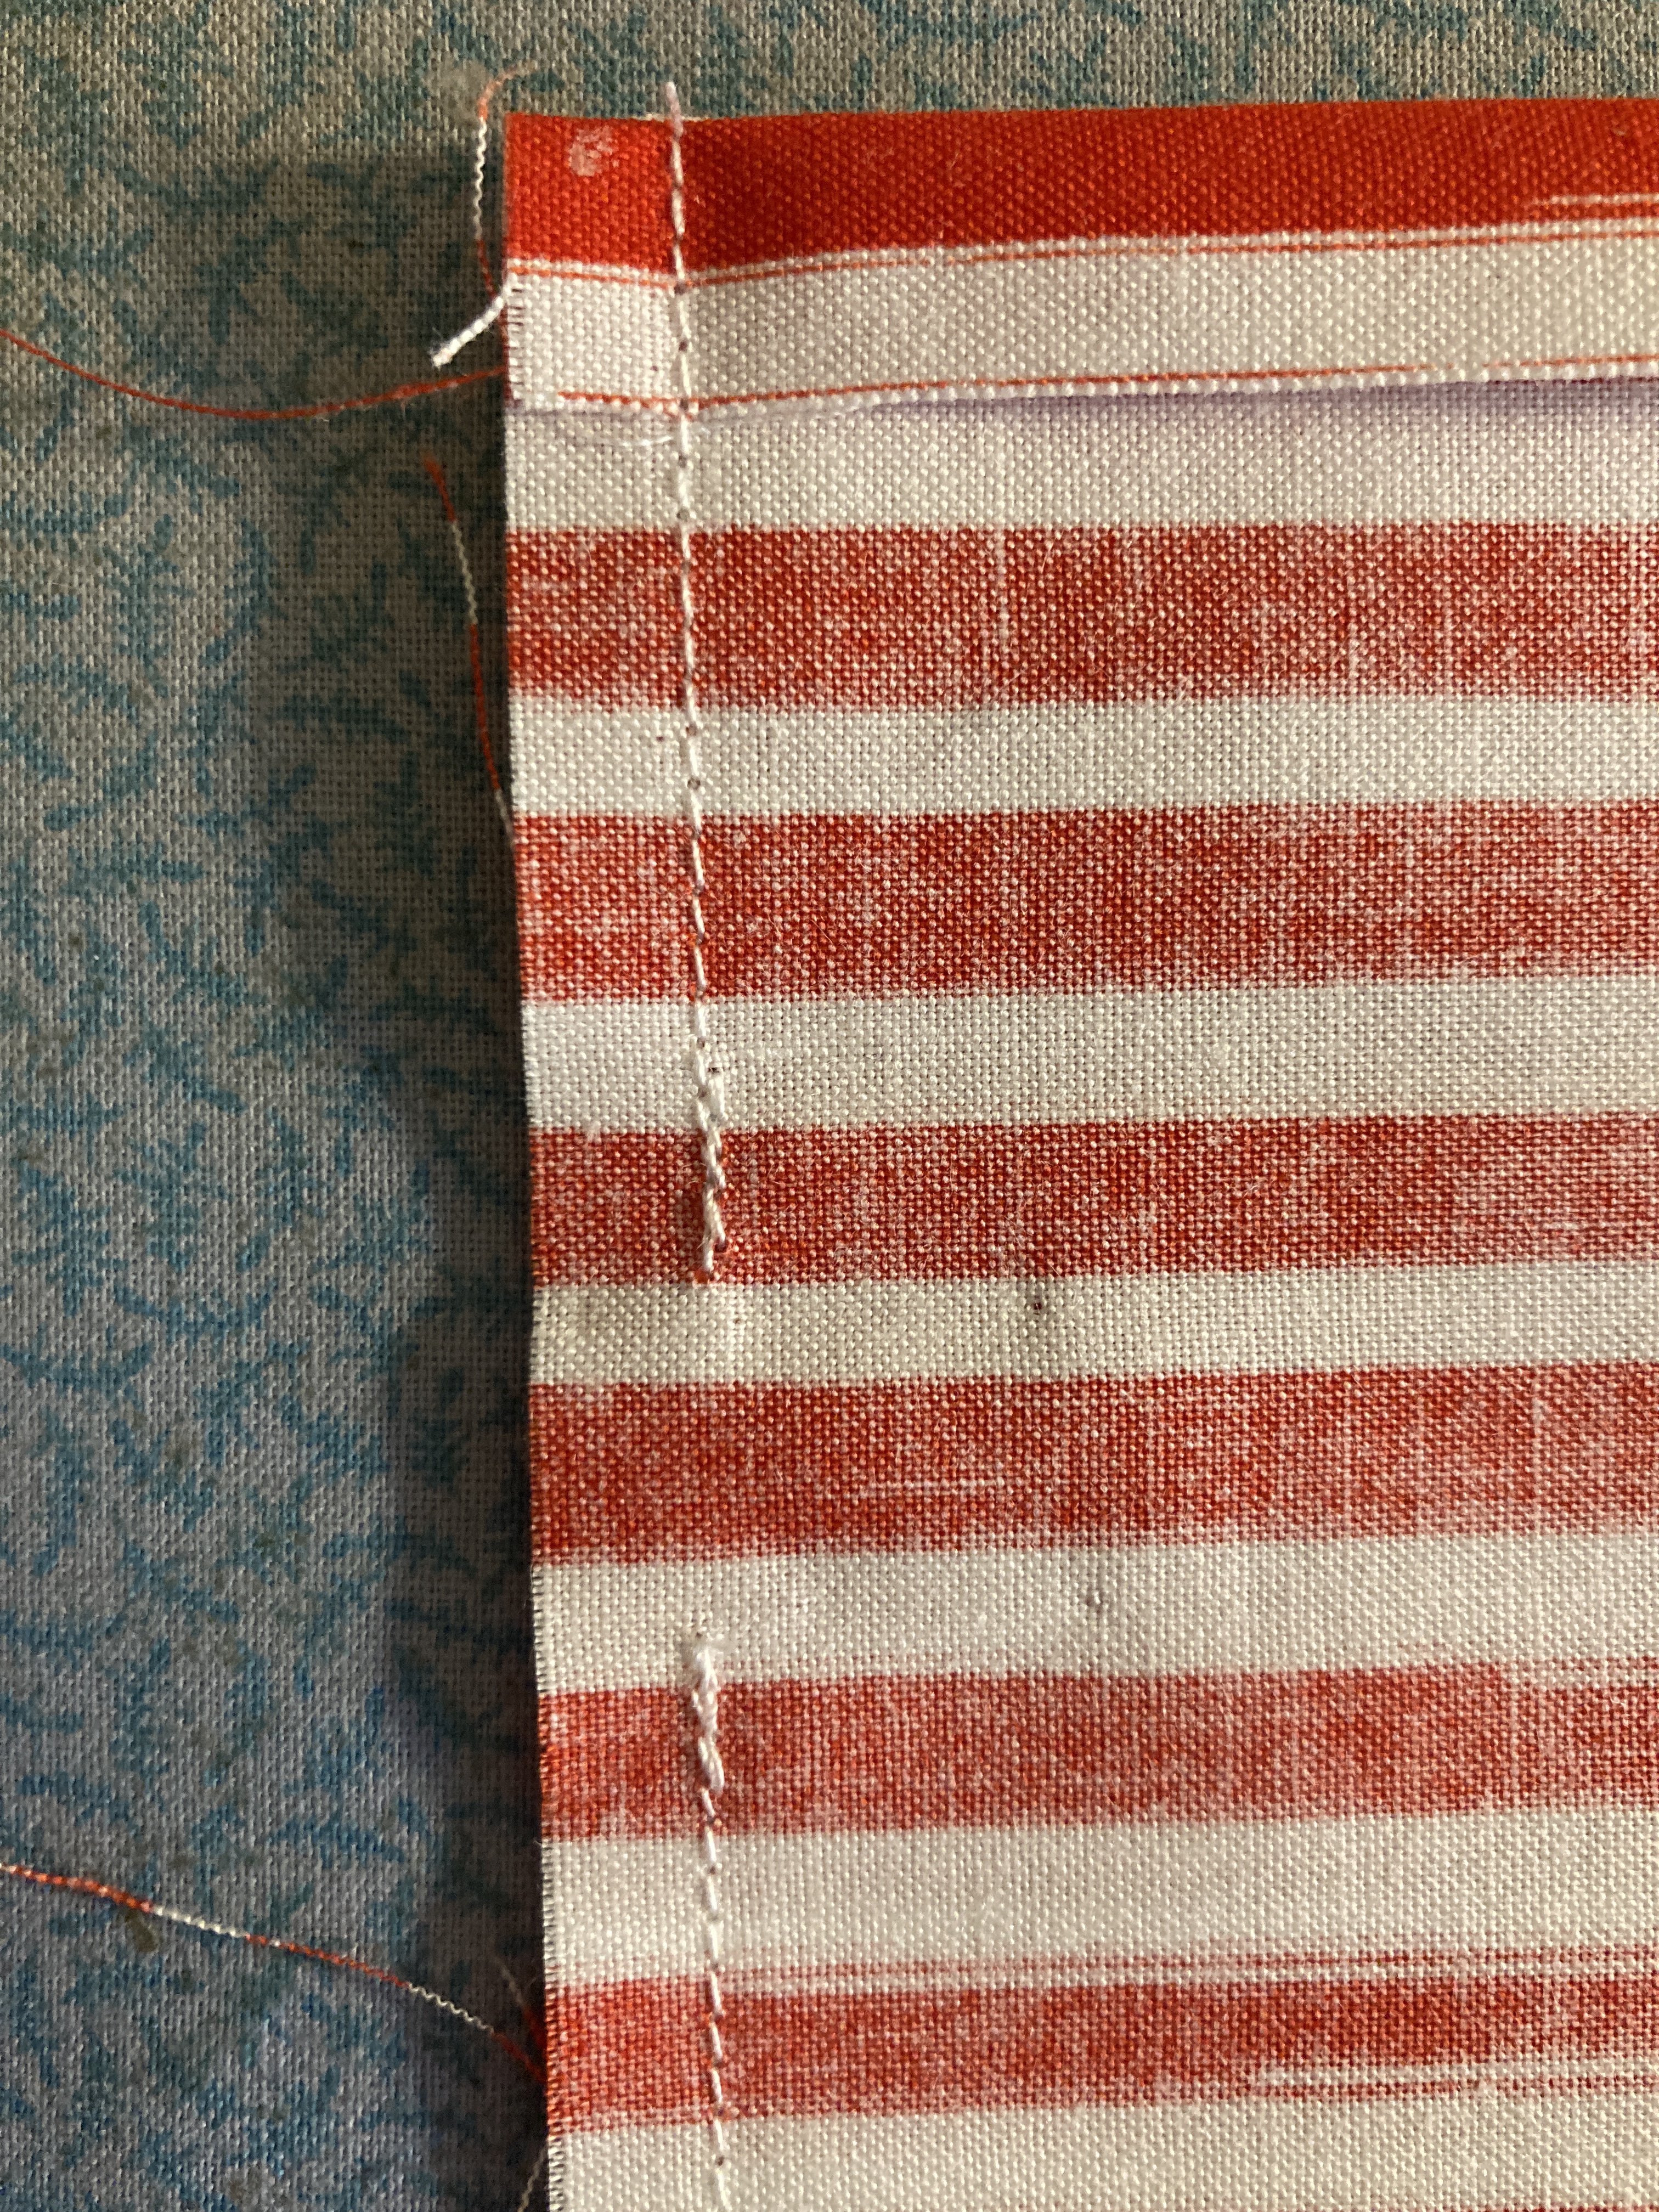
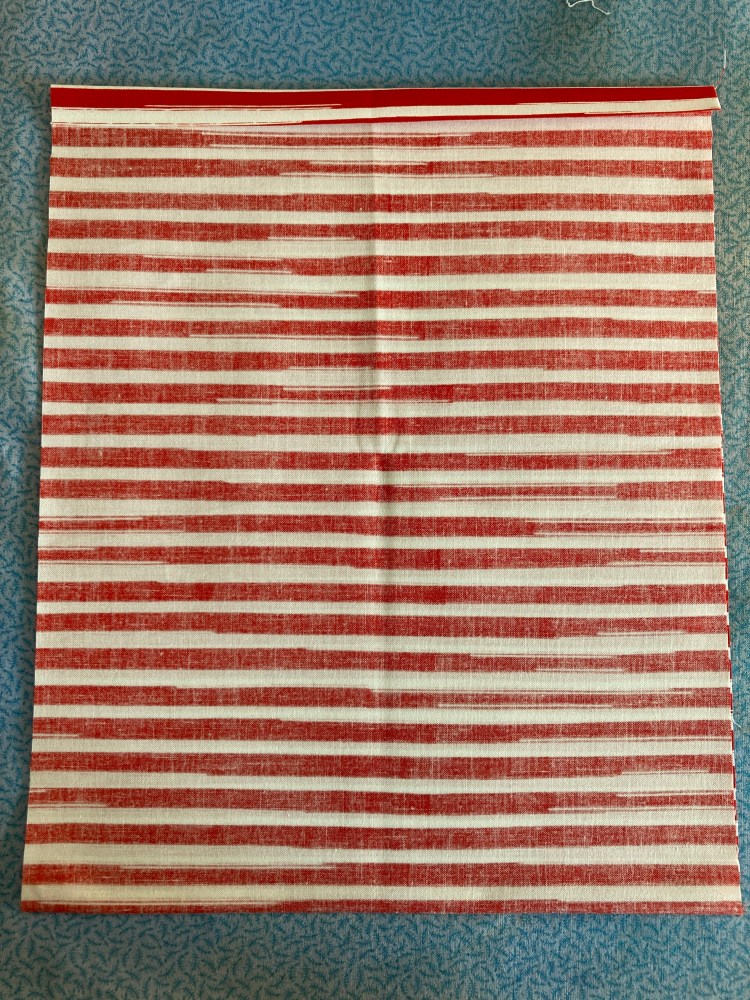
Step 3: Iron open your seams and fold the top of your bag down 1 1/2 inches. Iron or pin to hold the top.
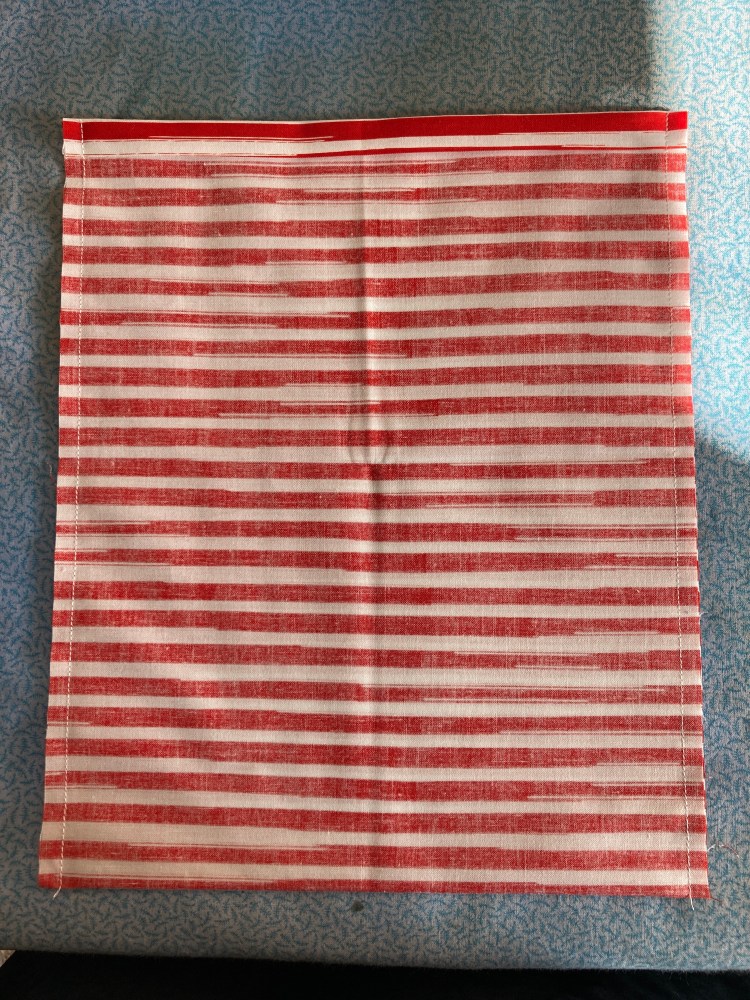
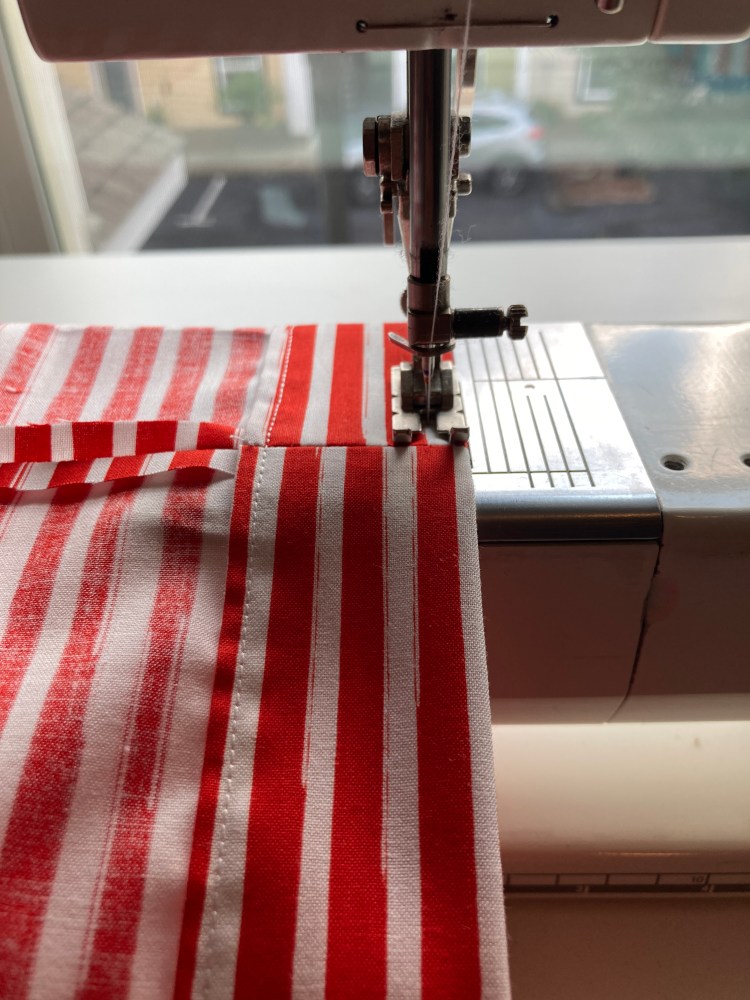
Step 4: Sew around the inside of the bag. Make sure you align your seams.
Step 5: Sew a top stitch around the top of your bag to finish off the sewing portion of this project! (make sure you don’t sew all the layers together, you still want an opening)
For beginners: most sewing machines have a wider surface that can come off to make sewing around the top of a bag easier.
Step 6: Iron well. At this point, you have built yourself a tunnel for our ribbon!
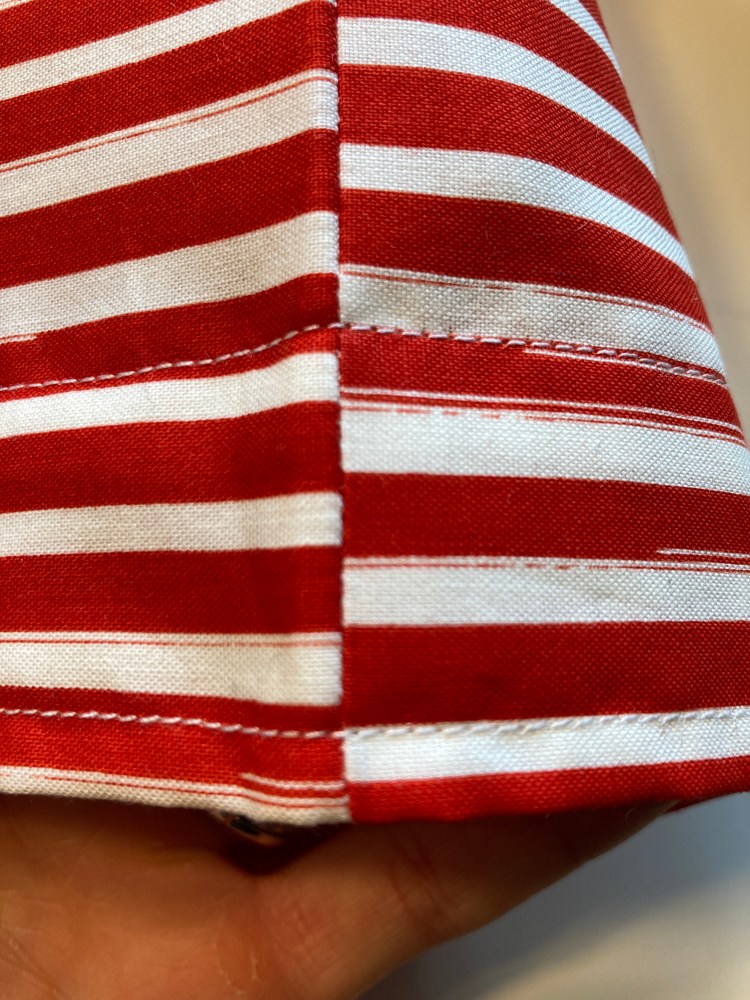
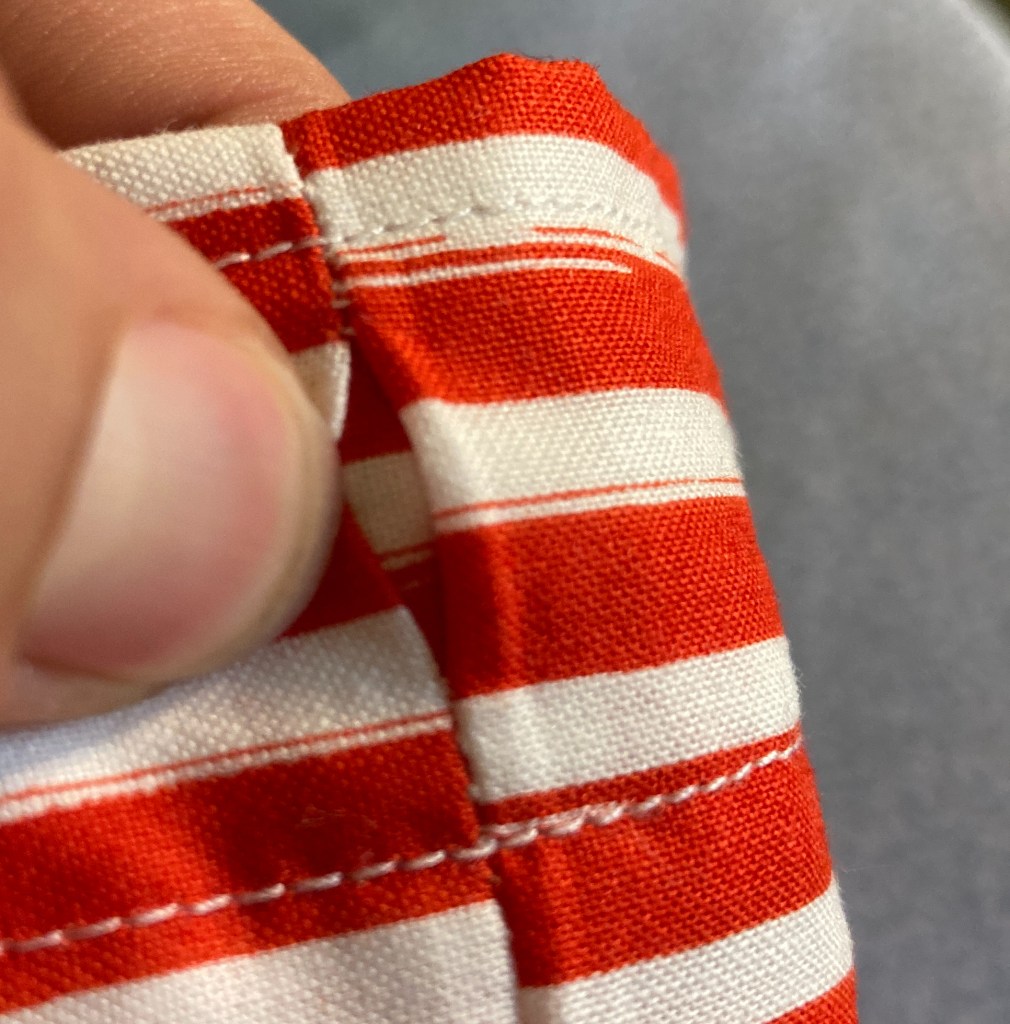
Step 7: Find a seam between the top of your bag and your second stitch line.
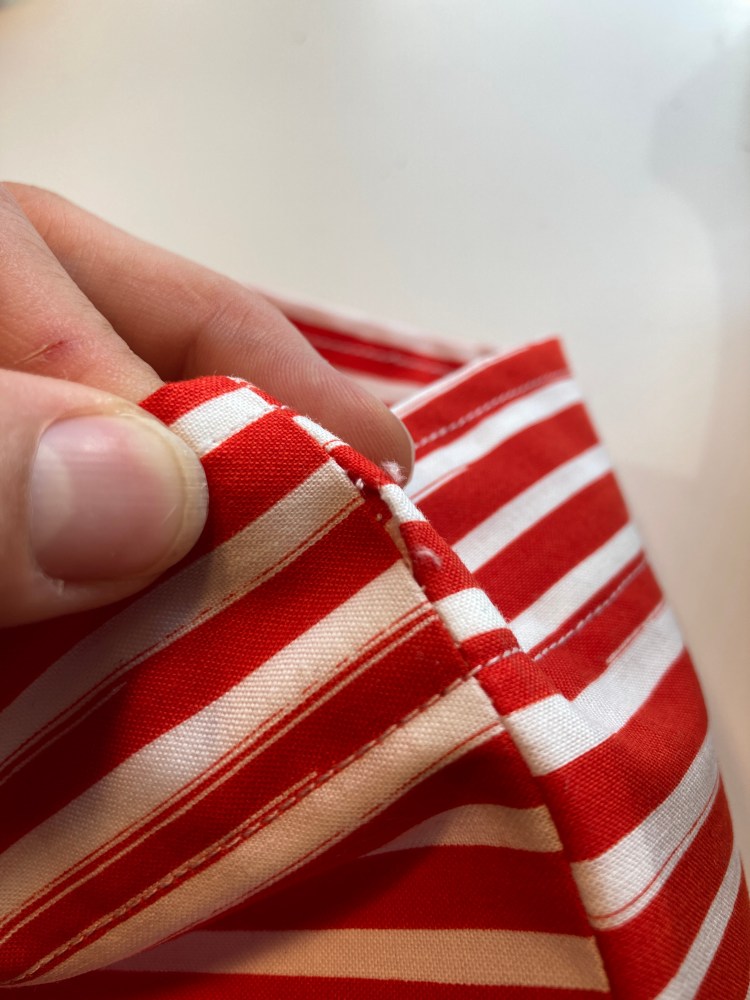
Step 8: Using a seam ripper, open a small hole on the front of your bag. Note: Be Careful! Only open one layer! You should see a tunnel and not be able to see inside your bag.
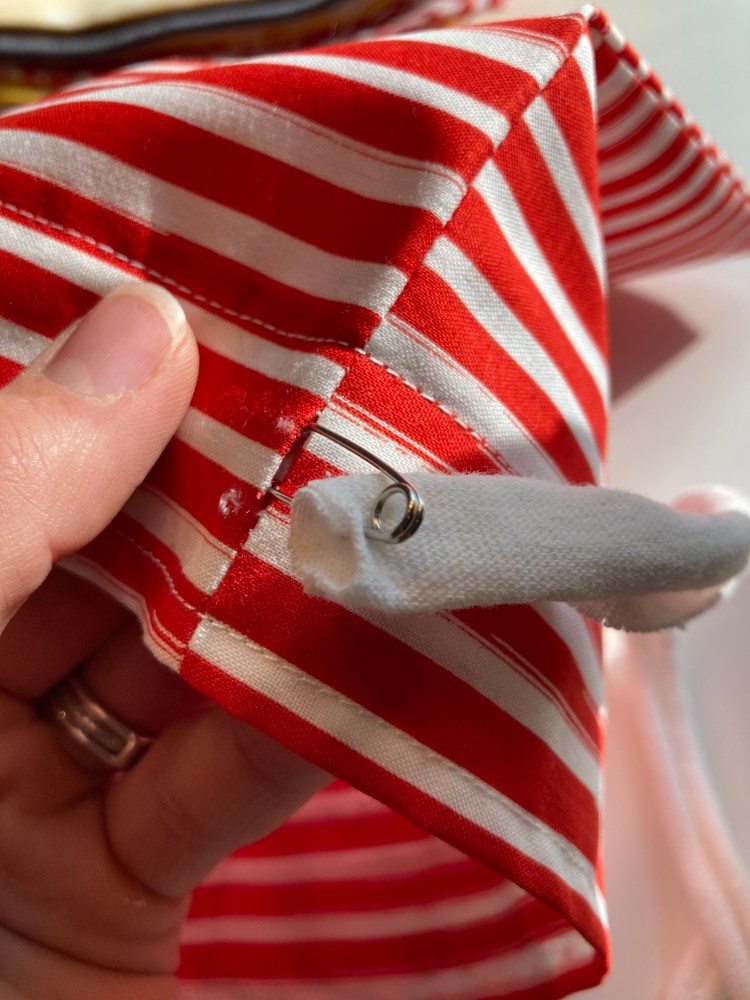
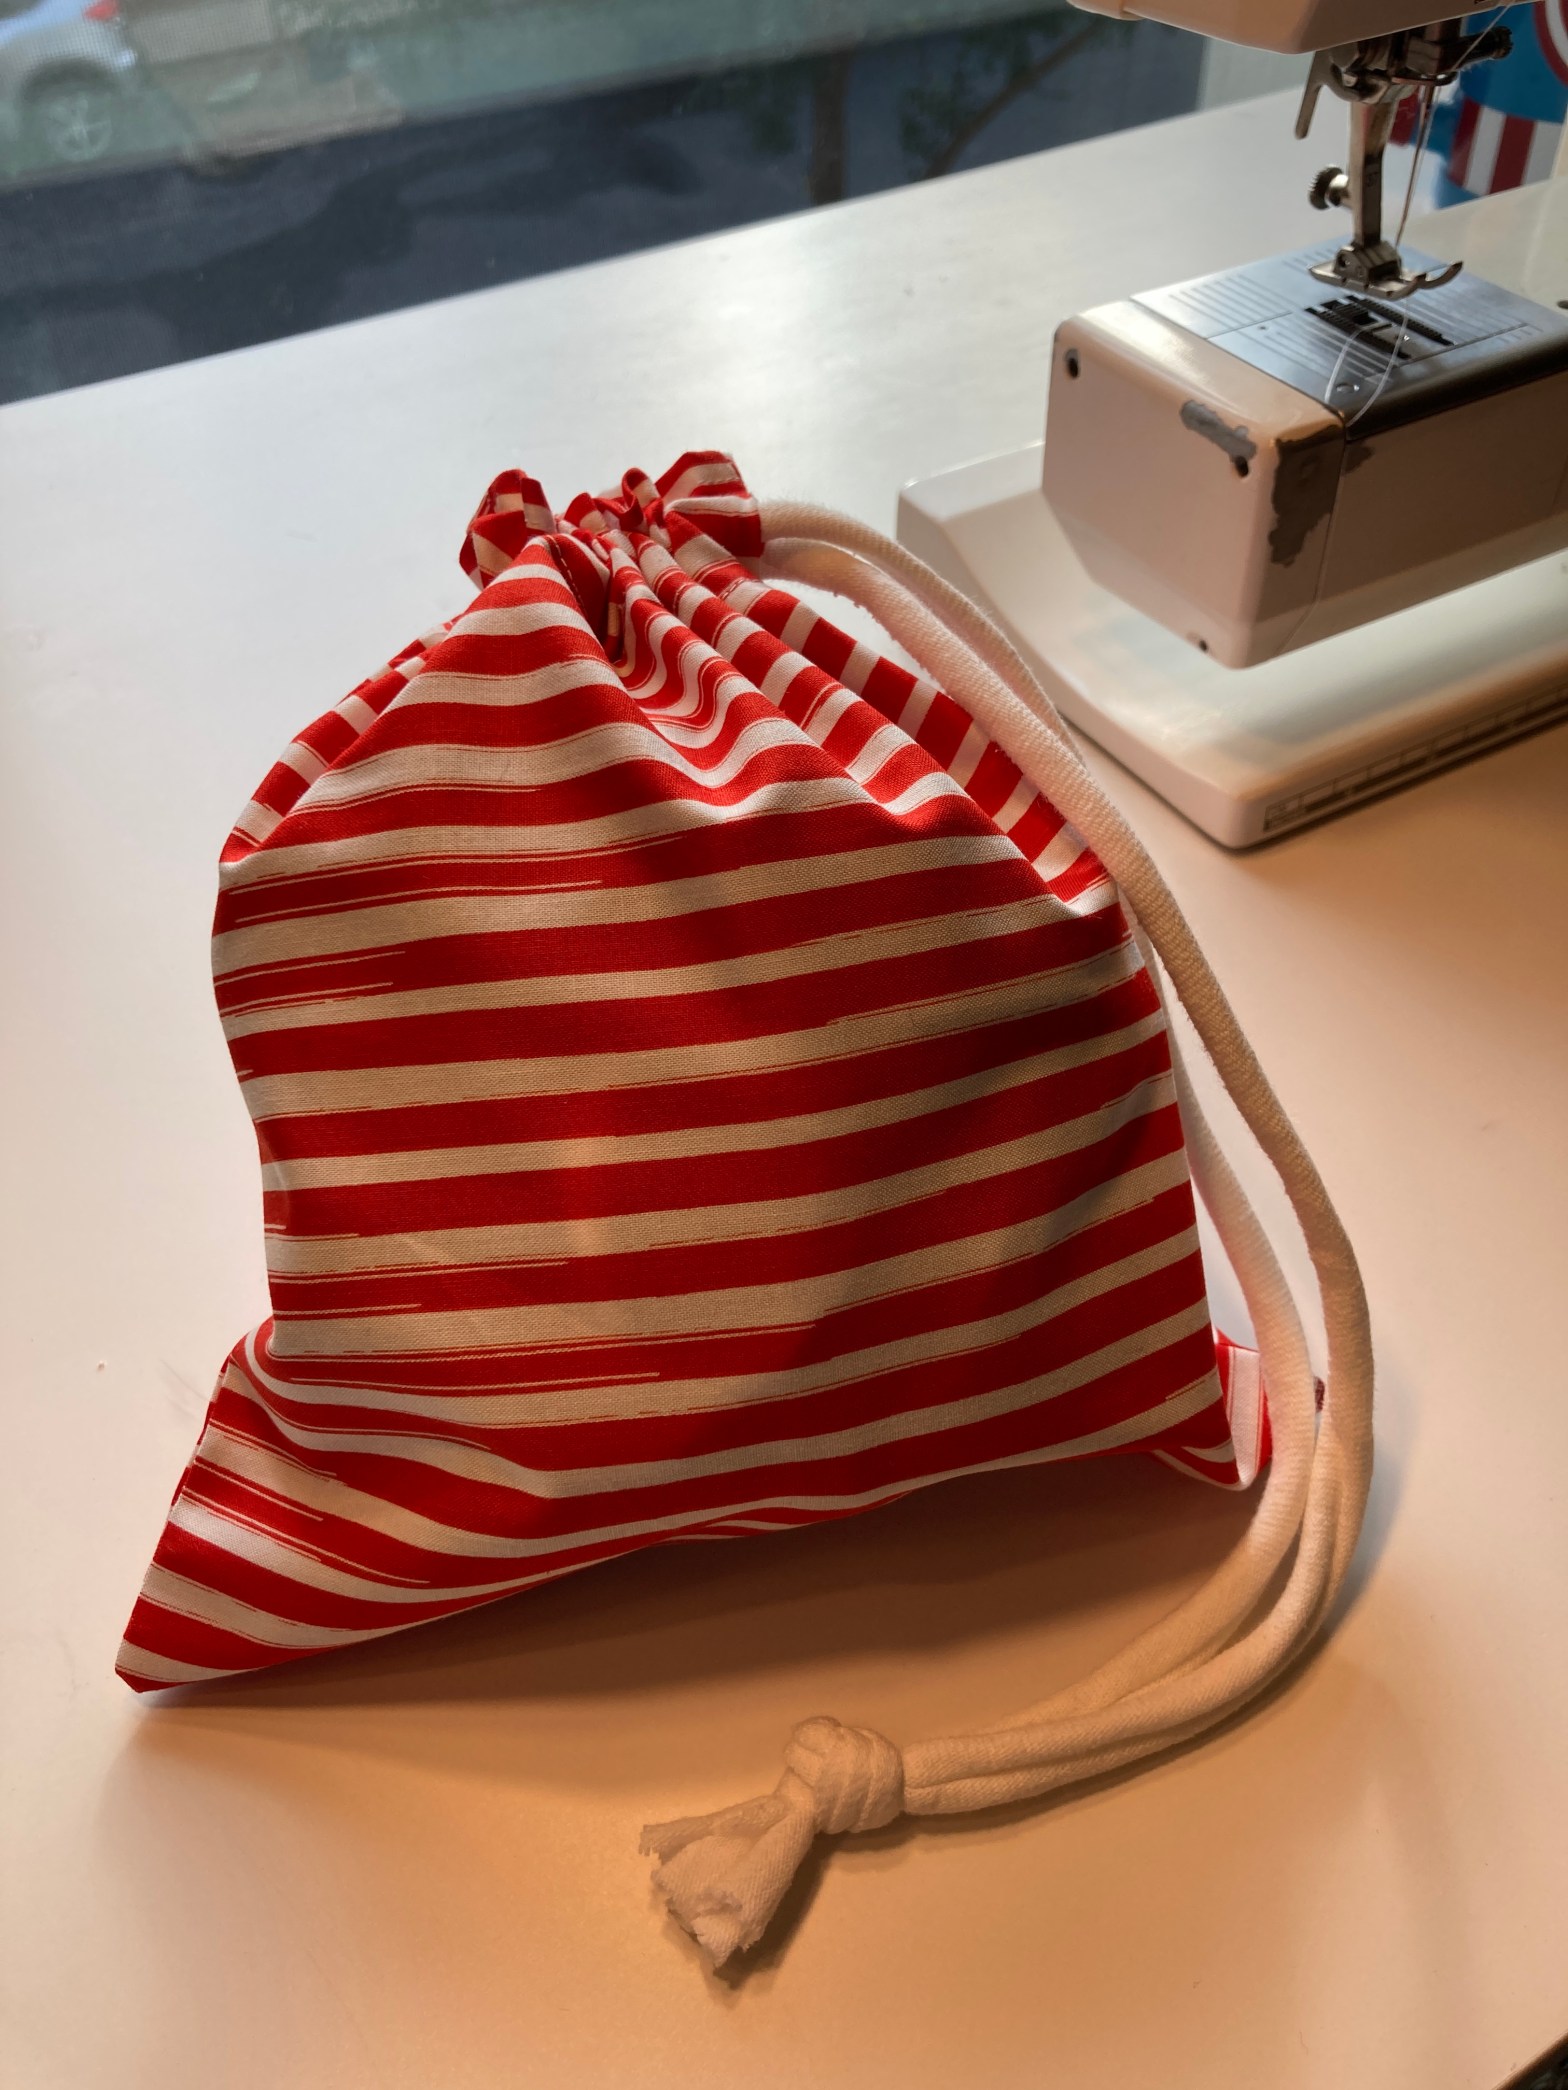
Step 9: Using a safety pin, thread your tie through the opening all the way around your bag.
You can use anything you would like for the tie to this bag. I actually used a strip of a cotton tee-shirt for my tie. If you are making this project in bulk,

Step 10: Knot off your tie and enjoy!